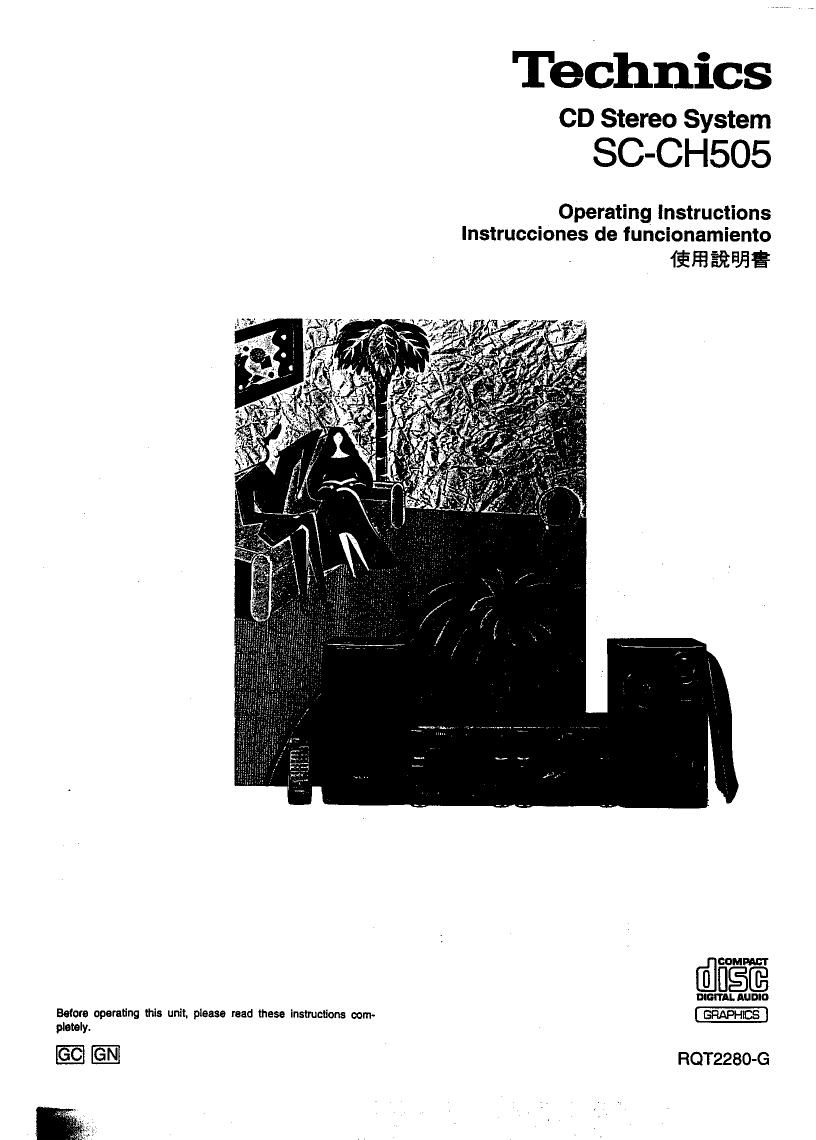
Technics SCCH 505 Owners Manual
This is the 83 pages manual for Technics SCCH 505 Owners Manual.
Read or download the pdf for free. If you want to contribute, please upload pdfs to audioservicemanuals.wetransfer.com.
Extracted text from Technics SCCH 505 Owners Manual (Ocr-read)
Page 1
Before operating this unit, please read these instructions com-
pletely.
EN
Technics
CD Stereo System
SC-CH505
Operating Instructions
lnstrucciones de funcionamiento
fififiéfiifig
Qflflfélfi
RQT2280-G
Page 2
Dear customer
Thank you for purchasing this system.
For optimum performance and safety'
please read these lnstmctions carefully.
These operating instructions are applicable
to the following systems.
Depending on the area. the model number
of the unit is different. it is indicated In a ( ).
System SC-CH505
Amplifier _ SE-CH505
Tunerleound ST-Ci-l707
processor (ST-CHSOS)
Compact disc SL-CH707
player (SL-CHSOS)
Cassette deck RS-CH505
Spoekere SB-CH505
Table of contents
Suggestions for safety . . . 5
Before use .......... 5
Supplied accessories .. a
Location of controls . . . 10
Installation ........ . . . 16
Connections ..................... 18
Concerning the multI-control
section ........................ 28
Concerning the remote control . . 32
Setting the time ........... . 34
Memory presettlng ........ . 36
Listening to radio broadcas s . 42
Listening to compact discs . . 46
Listening to tapes ...... . . . 58
Convenient functions ............. 70
Making a recording from radio
broadcasts . . . . ................ 14
Recording from compact discs . . . . . 82
Tepe-to-tepe recording ..... . . . . . .100
Changing the tone ...... . . .
Using the timer ..................
Enjoying the microphone mixing ..... 138
Changing the display .............. 144
Using an extemai unit .............. 146
Quick reference of remote control
operations ..................... 150
Corlceming compact discs . . . 154
Maintenance .............. . 156
Concemlng cassette tapes . . 158
Troubleshooting guide .. 160
Technical specifications ............ 166
Page 48
we
(Continued)
To specify the tracks to be edited:
1. Replace the CD.
2. Press PROGRAM on the remote control.
and specify the track number you want to
record using the program play proce-
dure. (See page 54.)
3. Press i> to start recording.
To record from the same disc In suc-
ceasion:
1. Press PROGRAM on the remote control,
and specify the track number you want to
record using the program play proce-
dure. (See page 54.)
2. Press D to start recording.
OWhen you record the first compact disc
using LAST FADE. tracks to be recorded
will not be displayed. However. it Is possi-
ble to record from another disc.
OWhen the display shows 0:00", you can-
not record from another disc. Press El on
the compact disc player to cancel the edit
mode. v
tit the time remaining on the tape Is shorter
than the length of the tracks to be re-
corded, you cannot record the tracks. Fie-
' place the disc with the tracks shorter than
the time remaining on the tape or press El ,
on the compact disc player to cancel the
edit mode.
(To be continued)
00
00
Page 49
(Continued)
Synchro recording
You can use normal. chrome, and metal
tapes for recording.
Check that the tapes erasure prevention
tabs (see page 158) are Intact, and then
Insert the cassette into deck 2.
The leader tape must be wound up before-
hand. (See page 78.)
1
2
Press A OPEN to load a cas-
sette In deck 2.
Press CLOSE to close deck's
cassette holder.
Press DOLBY NR to select Dolby
nolse reductlon B or C mode.
If the tape will not be recorded uslng
Dolby NR. press DOLBY NR again so
that the Dolby NR Indicator (B or C) will
go off.
Press REVERSE MODE to select
the reverse mode you went to
use.
2 : One side will record, and then
the tape wlll stop automatl-
cally.
(:3 : Both sides will record (forward
00 side/reverse slde), and than
the tape wlll stop automati-
cally.
Press CORT to activate the
CCRT functlon.
You can record without using the
CCRT function. (See page 76.)
Set the tape dlrectlon.
To change the tape travel directlon.
first press l> or <1 on the cassette
deck, then El.
>: Recording from the forward slde
<: Recordan from the reverse side
(To be continued)
Page 65
(Continued)
7 Press POWER on the amplifier
to switch the power to standby
mode.
Please confirm (5| REC appears on the
display.
The sound will be automatically muted
durlng timer recordlng.
*5.
To cancel the timer:
Press [9 REC to go out El FlEC on the
display.
The record timer will not function, but the
record timer settlng will stay in the memory.
It you make an error:
Press CLOCK/TIMER to return to step 1.
About the variation of the day set-
ting:
One day from
Sundayto Saturday. SUN...SAT
Everyday from
SundaytoSaturday: SUN-SAT
To confirm the record timer:
Press CLOCK/TIMER to show ['5] REC on
the display.
The display will show the ON time, OFF
time. the broadcast station you select, in
2 seconds steps.
(To be continued)
Page 68
(Contlnued)
i
T a use each timer mode in
conjunction
CLOCK]
TIMER
(Q..-) (Ea-v.)
To go to sleep listening to a tape,
and wake up the next morning
listening to a compact disc, and
record from a radio broadcast while
going out
1. Make a record timer setting.
(See pages 126. 128 end 130.)
2. Make a play timer setting for a compact
disc. (See pages 120. 122 and 124.)
Be sure to set the timer play to off belore
the tlmer recording will start.
3. Play back the tape in deck 1. and adjust
the volume level.
(Select "(:2)" of the reverse modes.)
4. Press CLOCK/TIMER to select SLEEP
timer, and set the sleep time.
(See page 132.)
To go to sleep listening to a compact
disc, and then to make a timer
recording from a radio broadcast
M
1. Make a record timer settlng.
(See pages 126, 128 and 130.)
2. Play a compact dlsc. and adjust the vol-
ume level.
3. Press CLOCK/TIMER to select SLEEP
timer, and set the sleep time.
(See page 132.)
Be sure to set the sleep tlmer to off be-
fore the timer recording wlIl begln.
(To be continued)