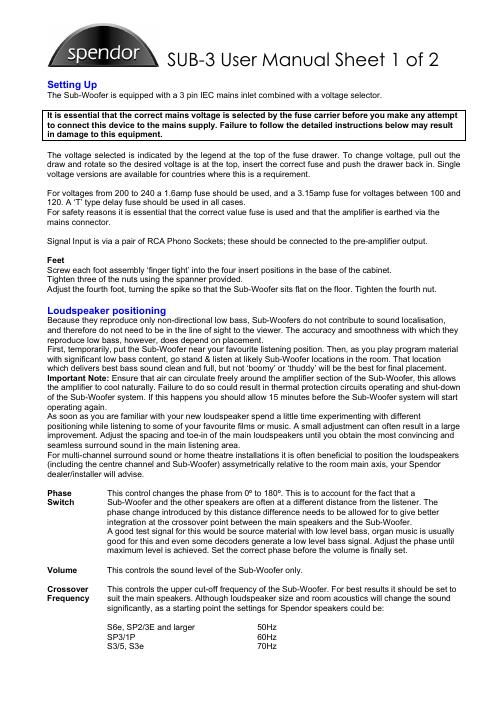
Spendor sub 3 owners manual
This is the 2 pages manual for spendor sub 3 owners manual.
Read or download the pdf for free. If you want to contribute, please upload pdfs to audioservicemanuals.wetransfer.com.
Extracted text from spendor sub 3 owners manual (Ocr-read)
Page 1
Spendor
SUB-3 User Manual Sheet l of 2
Setting Up
The Sub-Woofer is equipped with a 3 pin IEC mains inlet combined with a voltage selector.
It is essential that the correct mains voltage is selected by the fuse carrier before you make any attempt
to connect this device to the mains supply. Failure to follow the detailed instructions below may result
in damage to this equipment.
The voltage selected is indicated by the legend at the top of the fuse drawer. To change voltage, pull out the
draw and rotate so the desired voltage is at the top, insert the correct fuse and push the drawer back in. Single
voltage versions are available for countries where this is a requirement.
For voltages from 200 to 240 a 1.6amp fuse should be used, and a 3.15amp fuse for voltages between 100 and
120. A T type delay fuse should be used in all cases.
For safety reasons it is essential that the correct value fuse is used and that the amplifier is earthed via the
mains connector.
Signal Input is via a pair of RCA Phono Sockets; these should be connected to the pre-amplifier output.
Feet
Screw each foot assembly finger tight into the four insert positions in the base of the cabinet.
Tighten three of the nuts using the spanner provided.
Adjust the fourth foot, turning the spike so that the Sub-Woofer sits flat on the floor. Tighten the fourth nut.
Loudspeaker positioning
Because they reproduce only non-directional low bass, Sub-Woofers do not contribute to sound localisation,
and therefore do not need to be in the line of sight to the viewer. The accuracy and smoothness with which they
reproduce low bass, however, does depend on placement.
First, temporarily, put the Sub-Woofer near your favourite listening position. Then, as you play program material
with significant low bass content, go stand & listen at likely Sub-Woofer locations in the room. That location
which delivers best bass sound clean and full, but not boomy or thuddy will be the best for final placement.
Important Note: Ensure that air can circulate freely around the amplifier section of the Sub-Woofer, this allows
the amplifier to cool naturally. Failure to do so could result in thermal protection circuits operating and shut-down
of the Sub-Woofer system. If this happens you should allow 15 minutes before the Sub-Woofer system will start
operating again.
As soon as you are familiar with your new loudspeaker spend a little time experimenting with different
positioning while listening to some of your favourite films or music. A small adjustment can often result in a large
improvement. Adjust the spacing and toe-in of the main loudspeakers until you obtain the most convincing and
seamless surround sound in the main listening area.
For multi-channel surround sound or home theatre installations it is often beneficial to position the loudspeakers
(including the centre channel and Sub-Woofer) assymetrically relative to the room main axis, your Spendor
dealer/installer will advise.
Phase This control changes the phase from 0° to 180°. This is to account for the fact that a
Switch Sub-Woofer and the other speakers are often at a different distance from the listener. The
phase change introduced by this distance difference needs to be allowed for to give better
integration at the crossover point between the main speakers and the Sub-Woofer.
A good test signal for this would be source material with low level bass, organ music is usually
good for this and even some decoders generate a low level bass signal. Adjust the phase until
maximum level is achieved. Set the correct phase before the volume is finally set.
Volume This controls the sound level of the Sub-Woofer only.
Crossover This controls the upper cut-off frequency of the Sub-Woofer. For best results it should be set to
Frequency suit the main speakers. Although loudspeaker size and room acoustics will change the sound
significantly, as a starting point the settings for Spendor speakers could be:
SGe, SP2/3E and larger 50Hz
SP3/1P 60H:
83/5, 83e 70Hz
Page 2
SUB-3 User Manual Sheet 2 of 2
Cable Quality
Signal cables can have an important effect on sound quality. Choose good quality low resistance cables with
high purity metal conductors and low-loss dielectric (insulation). Ask your dealer for advice on cables to suit your
system and budget.
Caring for your Loudspeakers
Spendors real wood veneers and solid timber elements should be treated like high quality furniture. Routine
dusting with a soft cloth is recommended. Do not apply any aerosol spray directly as this could damage the
drive units. Do not expose the cabinets to damp, widely fluctuating temperatures or direct sunlight, appearance
and performance may suffer. Spendor 8 series cabinets are finished in natural wood, over time the wood will
age and mature, evening out and often darkening the surface colour while highlighting the natural grain and
patina.
Queries and Service
If you require advice or service on your audio system please contact your Spendor dealer. We recommend that
you retain all the packaging for your loudspeakers in case you need to transport them safely in the future.
Warranty
Your Spendor SUB-3 loudspeaker (The Equipment) is guaranteed against defects in components and materials
for a period of 12 months from date of purchase. Within this period parts will be replaced free of charge provided
that failure is not due to accident, negligence or misuse. Labour and carriage are not covered except by local
agreement. The guarantee offered does not affect the consumers statutory rights. To obtain Service under
guarantee the equipment together with an original or clear copy of proof of purchase must be delivered to a
local Spendor dealer or distributor at the owners expense.
Spendor Audio Systems Ltd and any of its authorised distributors or dealers reserve the right to refuse service
under guarantee if the equipment has been subject to unauthorised modification or any of the serial numbers
identifying the equipment have been defaced or removed.
Please register ownership of your Spendor loudspeakers by completing and returning the enclosed registration
card. This will help us to deal quickly with any queries regarding your equipment.
Specification Spendor SUB-3 Sub-Woofer loudspeaker
Low Frequency unit Spendor 250mm (40mm coil) Rigid PVC Cone
Nominal Impedance 8 ohms
Frequency response :BdB 33Hz to 85Hz
Crossover frequency range 50Hz - 90Hz
Amplifier Power 120 watts
Sensitivity -6dB for 100dB@1mt
Maximum SPL 110dBA at 1 metre
Input connections Gold-plated RCA Phono
Cabinet size (HxWxD) 520x310x445mm (20.4x12.2x17.5 in)
Weight 14.3kg (31.5lb)
All Spendor loudspeakers have low magnetic leakage to avoid interaction With video equipment.
Spendor Loudspeakers are designed and manufactured by SpendorAudia Systems Ltd We reserve the right to alter
designs and specifications without notice
Spendor is a registered trademark
User Manual Sub3 ver 2.doc
Spendor Audio Systems Limited
Station Road Industrial Estate
Hailsham
East Sussex
BN27 2ER UK
Tel: +44 (0)1323 843474
Fax: +44 (0)1323 442254
Email: info@spendoraudio.com
Web Site: www.5pendoraudio.com