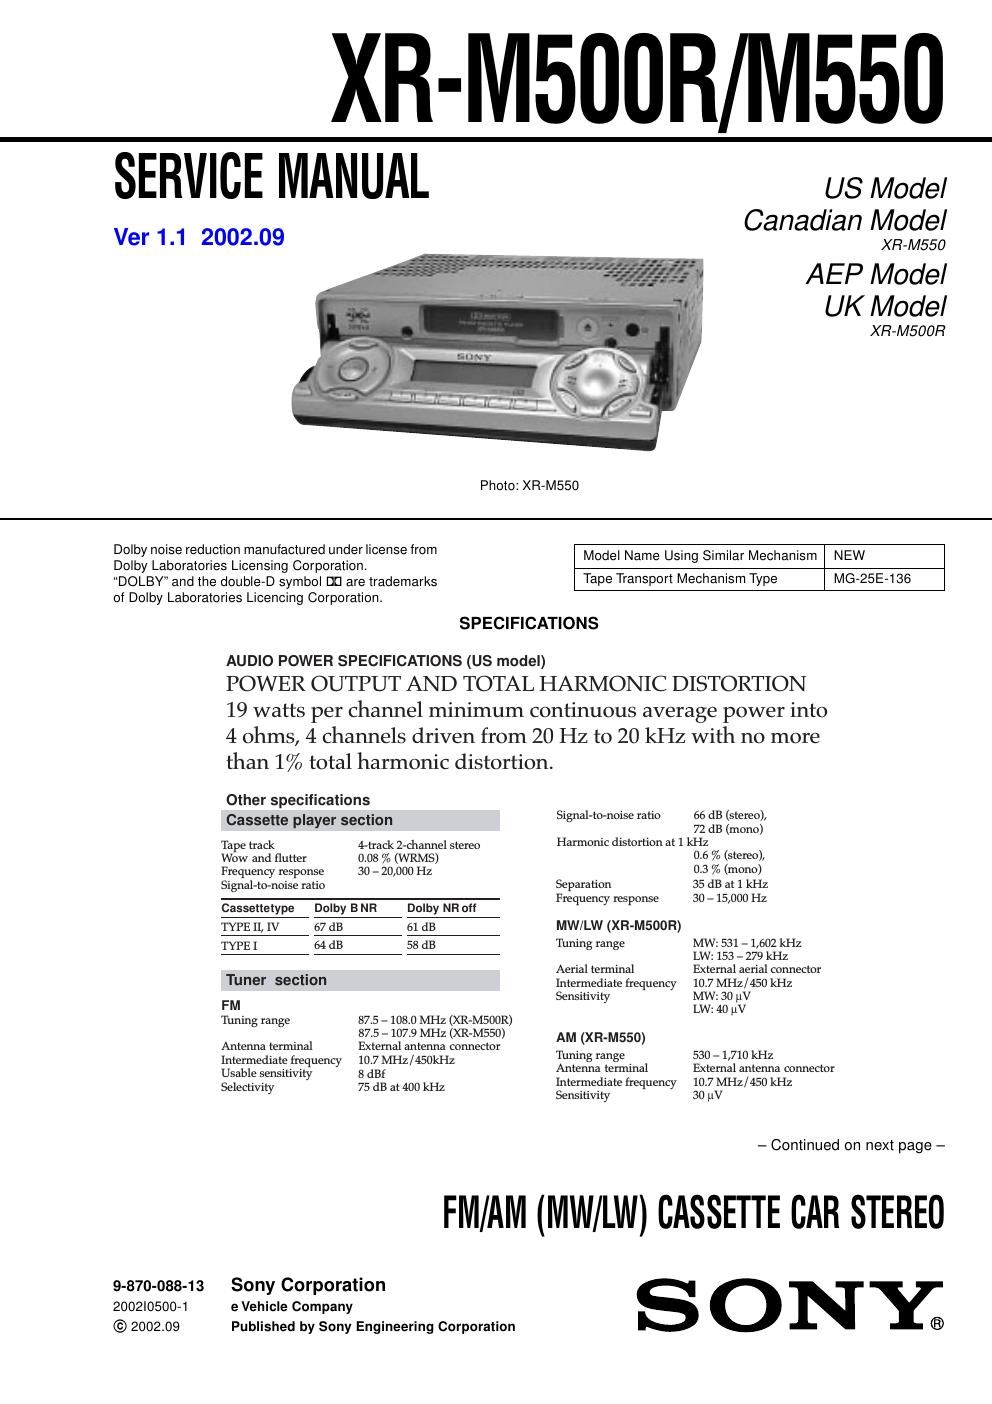
Sony xr m 500 r service manual
This is the 88 pages manual for sony xr m 500 r service manual.
Read or download the pdf for free. If you want to contribute, please upload pdfs to audioservicemanuals.wetransfer.com.
Extracted text from sony xr m 500 r service manual (Ocr-read)
Page 1
2 TABLE OF CONTENTS 1. SERVICING NOTES ............................................... 3 2. GENERAL Location of Controls (XR-M500R) ................................ 4 Setting the Clock ............................................................. 4 Changing the Sound and Display Setting ....................... 4 Locations of Controls (XR-M550) ................................. 5 Setting the Clock ............................................................. 5 Changing the Sound and Display Setting ....................... 5 Installation (XR-M500R) ................................................ 6 Installation (XR-M550) .................................................. 7 Connections (XR-M500R) .............................................. 8 Connections (XR-M550) ................................................ 12 3. DISASSEMBLY ......................................................... 15 4. ASSEMBLY ................................................................. 19 5. MECHANICAL ADJUSTMENTS ....................... 24 6. ELECTRICAL ADJUSTMENTS Tape Deck Section .......................................................... 24 Tuner Section .................................................................. 25 7. DIAGRAMS 7-1. Block Diagram – TUNER/TAPE Section – .................. 27 7-2. Block Diagram – MAIN Section – ................................ 28 7-3. Block Diagram – DISPLAY/BUS CONTROL Section – ....................... 29 7-4. Block Diagram – POWER SUPPLY Section – ............. 30 7-5. Note for Printed Wiring Boards and Schematic Diagrams ....................................................... 31 7-6. Printed Wiring Board – MAIN Board (Component Side) – .............................. 32 7-7. Printed Wiring Board – MAIN Board (Conductor Side) – ................................ 33 7-8. Schematic Diagram – MAIN Board (1/4) – .................. 34 7-9. Schematic Diagram – MAIN Board (2/4) – .................. 35 7-10. Schematic Diagram – MAIN Board (3/4) – .................. 36 7-11. Schematic Diagram – MAIN Board (4/4) – .................. 37 7-12. Printed Wiring Board –SUB Board – ............................ 38 7-13. Schematic Diagram – SUB Board – .............................. 39 7-14. Printed Wiring Board – DISPLAY Board – .................. 40 7-15. Schematic Diagram – DISPLAY Board – ..................... 41 7-16. IC Pin Function Description ........................................... 44 8. EXPLODED VIEWS ................................................ 51 9. ELECTRICAL PARTS LIST ............................... 55 Flexible Circuit Board Repairing - Keep the temperature of the soldering iron around 270 ˚C dur- ing repairing. - Do not touch the soldering iron on the same conductor of the circuit board (within 3 times). - Be careful not to apply force on the conductor when soldering or unsoldering. Notes on chip component replacement - Never reuse a disconnected chip component. - Notice that the minus side of a tantalum capacitor may be dam- aged by heat. General Outputs Audio output (2) (M500R) Audio output (3) (M550) Power aerial relay control lead Power amplifier control lead Inputs Telephone ATT control lead Illumination control lead Tone controls Bass ±9 dB at 100 Hz Treble ±9 dB at 10 kHz Power requirements 12 V DC car battery (negative earth) Dimensions Approx. 178 (7 1/8 × 2 × 7 4/1 in.) (7 1/4 × 2 1/8 × 6 1/2 in.) × 50 × 182 mm (w/h/d) Mounting dimensions Approx. 182 × 53 × 163 mm (w/h/d) Mass Approx. 1.3 kg (2lb. 14 oz.) Supplied accessories Card remote commander RM-X94 (XR-M550) RM-X96 (XR-M500R) Parts for installation and connections (1 set) Design and specifications are subject to change without notice. Power amplifier section Outputs Speaker outputs Speaker impedance 4 – 8 ohms Maximum power output 50 W × 4 (at 4 ohms)
Page 2
3 SECTION 1 SERVICING NOTES PRECAUTION ON OPEN/CLOSE FRONT PANEL The front panel opens to the bottom of main unit. In performing the repair, place the main unit on the base having the height exceeding 1 cm. Open the front panel by supplying the power through the follow- ing steps: 1. Disconnect the motor connector (CN501) from main board. 2. Supply the power to the motor. Voltage : 9 V Violet wiring : MOTOR – Gray wiring : MOTOR + front panel XR-M500R/M550 ( SIDE VIEW)1c m base gray wiring violet wiring connecto r (CN501) – + MODEL IDENTIFICATION There are four types of main board in according of destination for XR-M500R. – MAIN BOARD (Componet Side) – R625 R626 R719 R720IC601 – MAIN BOARD (Conductor Side) – R625 R626 R719 R720 Indicated language TYPE Aaa××English, Spanish, Swedish, Portuguese TYPE B××aaGerman, Italian, Dutch, French TYPE C×aa×English, German TYPE Da××aEnglish, Polish, Czeck, Turkish TYPE A, B, C, or D can also be identified from the front panel display language. For a switching method of display language, see page 4.