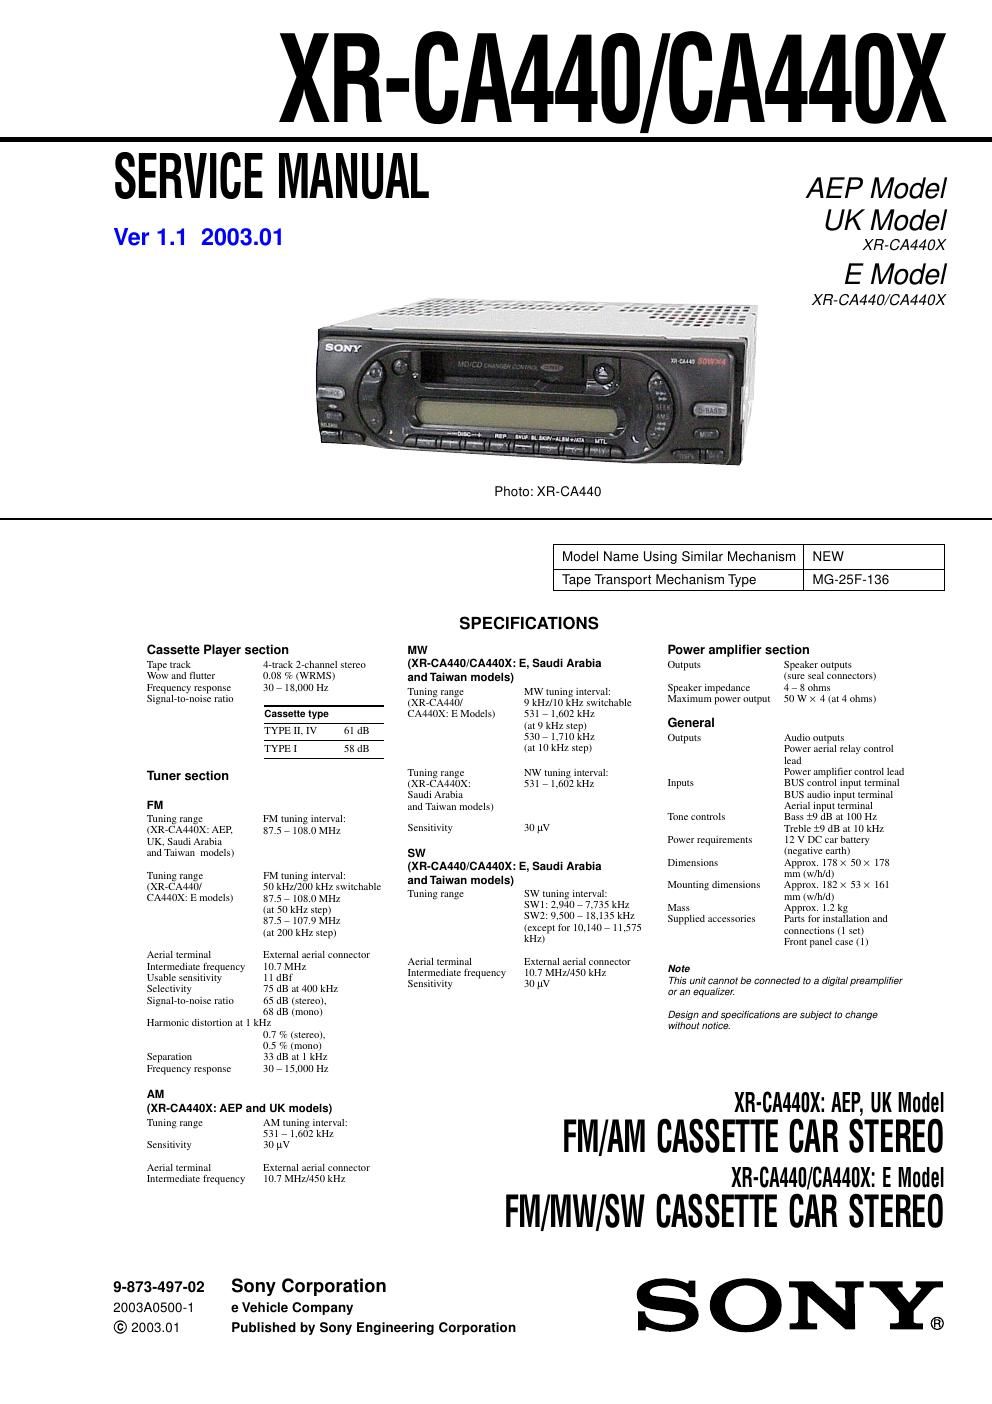
Sony xr ca 440 x service manual
This is the 41 pages manual for sony xr ca 440 x service manual.
Read or download the pdf for free. If you want to contribute, please upload pdfs to audioservicemanuals.wetransfer.com.
Extracted text from sony xr ca 440 x service manual (Ocr-read)
Page 2
3 XR-CA440/CA440X SECTION 1 GENERAL This section is extracted from instruction manual. Location of controls Refer to the pages listed for details. aSOURCE (Power on/Tape/Radio/CD/ MD) select button bMODE (o) button Selecting the source. cVOL +/– button dATT (attenuate) button eDisplay window fZ (eject) button 8 gSEEK/AMS button Ta p e : Fast-forwarding, reversing a tape Radio: Tuning in stations automatically. Finding a station manually. CD (MP3 files)/MD: Skipping tracks. hMBP (My Best sound Position) button 12 iD-BASS button 12 jRELEASE (front panel release) button kSEL (select) button Selecting items. lRESET button (located on the front side of the unit, behind the front panel) 6 mSENS button Storing the stations with the strongest signals.nNumber buttons Ta p e : (3): REP (Repeat) (5): BL SKIP (Blank Skip) (6): ATA (Automatic Tuner Activation) Radio: Storing the desired station on each number button. CD (MP3 files)/MD: (1): DISC – (2): DISC + (3): REP (Repeat) (4): SHUF (Shuffle) MP3 files: (5): ALBM – (6): ALBM + oFrequency select switch (located on the (XR-CA440/CA440X: E models)bottom of the unit) See Frequency select switch in the Installation/Connections manual. pBTM/MTL (Best Tuning Memory/Metal) button 9 qDSPL (display mode change) button rOFF (Stop/Power off) button* *Warning when installing in a car without an ACC (accessory) position on the ignition switch After turning off the ignition, be sure to press (OFF) on the unit for 2 seconds to turn off the clock display. Otherwise, the clock display does not turn off and this causes battery drain. XR-CA440X XR-CA440 SOURCE AT T VOL SENS DISC REP SHUF BL SKIP/ ALBM- +/ATA MTL –+ MODE SELRELEASE 12345 6 D-BASS SEEK AMS BTMMBP OFF DSPL Setting the clock The clock uses a 12-hour digital indication. Example: To set the clock to 10:08 1 Press (DSPL) for 2 seconds. The hour indication flashes. 1Press either side of (VOL) to set the hour. 2Press (SEL). The minute indication flashes. 3Press either side of (VOL) to set the minute. 2 Press (DSPL). The clock starts. After the clock setting is completed, the display returns to normal play mode. VOL to go forward to go back VOL to go forward to go back