Sony xm 444 w service manual

This is the 18 pages manual for sony xm 444 w service manual.
Read or download the pdf for free. If you want to contribute, please upload pdfs to audioservicemanuals.wetransfer.com.

Page: 1 / 18
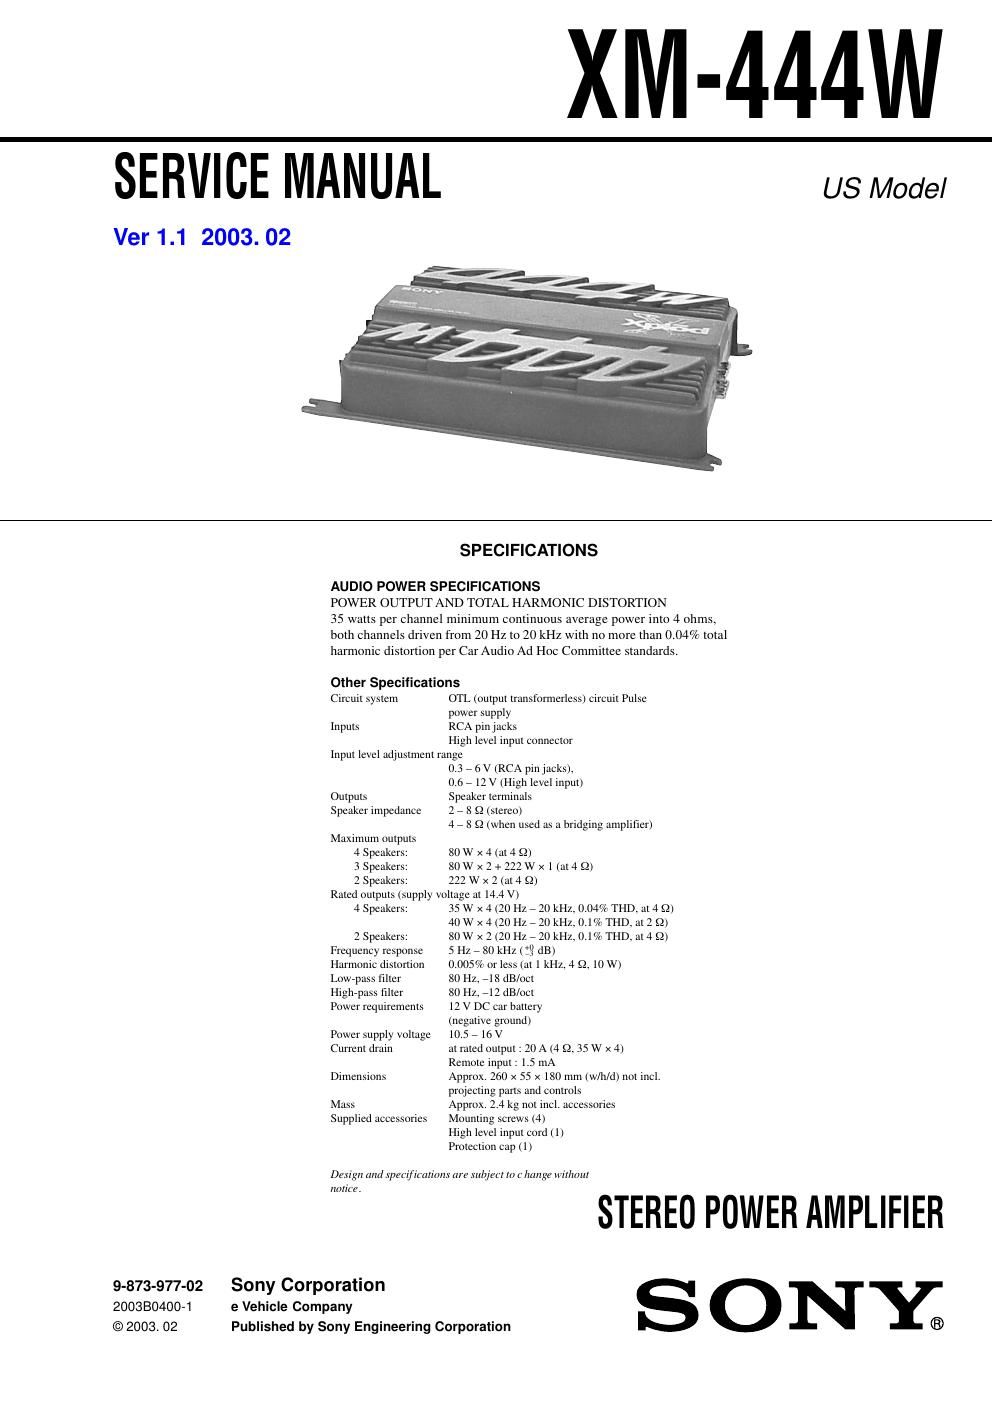
sony xm 444 w service manual

Extracted text from sony xm 444 w service manual (Ocr-read)


Page 2

XM-444W

PROTECTOR OPERATION CHECK

Thermal Protect

1. Short across TH801 with the power on.

2. Verify that the protector is operated and LDSOI illuminates red.

3. Verify that the protector is released and LD801 illuminates green
when the short is removed.

4. Likewise, perform items I to 3 for TH802 and TH803.

Over Current Protect

1. Short between the positive and negative sides of the speaker
output terminal CN802 with the power on.
(Perform this shorting for each channel on FRONT and REAR.)

2. Verify that the protector is operated and LDSOI illuminates red.

3. Verify that the protector is not released and LD801 remains red
even when the short is removed.

4. Verify that the protector is released and LD801 illuminates green
when the power is turned off and then on again.

Offset Protect

1. Short between the +12V terminal of CNSOl and the BTL+ or
BTL- of the speaker output temtinal CN802.
(Short between +l2V terminal and BTL+ and between +12V
terminal and BTLi.)

2. Verify that the protector is operated and LDSOI illuminates red.

3. Verify that the protector is not released and LDSOI remains red
even when the short is removed.

4. Verify that the protector is released and LD801 illuminates green
when the power is turned off and then on again.

Chassis Short Protect

1. Short between the +12V terminal of CN801 and the chassis with
the power on.

2. Verify that the pilot lamp PL801 goes on.

3. Verify that PL801 goes off when the short is removed.

TABLE OF CONTENTS

1. GENERAL

Connections ............................................................................. 3

2. DISASSEMBLY

2-1. Bottom Plate ........................................................................ 5
2-2. Heat Sink 6
2-3. Amp Board .

3. DIAGRAMS

3-1. Block Diagram -Front Section- ..... 7
3-2. Block Diagram -Rear/Power Section- 8
3-3. Schematic Diagram iAmp Section- .. 9
3-4. Schematic Diagram iPower Section- . 10
3-5. Printed Wiring Board ........................................................ l l
4. EXPLODED VIEW. .12
5. ELECTRICAL PARTS LIST ......................................... 13

Notes on Chip Component Replacement

' Never reuse a disconnected chip component.

' Notice that the minus side ofa tantalum capacitor may be dam-
aged by heat.

SAFETY-RELATED COMPONENT WARNING

COMPONENTS IDENTIFIED BY MARK A OR DOTTED LINE
WITH MARK A ON THE SCHEMATIC DIAGRAMS AND IN
THE PARTS LIST ARE CRITICAL TO SAFE OPERATION.
REPLACE THESE COMPONENTS WITH SONY PARTS WHOSE
PART NUMBERS APPEAR AS SHOWN IN THIS MANUAL OR
IN SUPPLEMENTS PUBLISHED BY SONY.