Sony xa 110 ip service manual

This is the 4 pages manual for sony xa 110 ip service manual.
Read or download the pdf for free. If you want to contribute, please upload pdfs to audioservicemanuals.wetransfer.com.

Page: 1 / 4
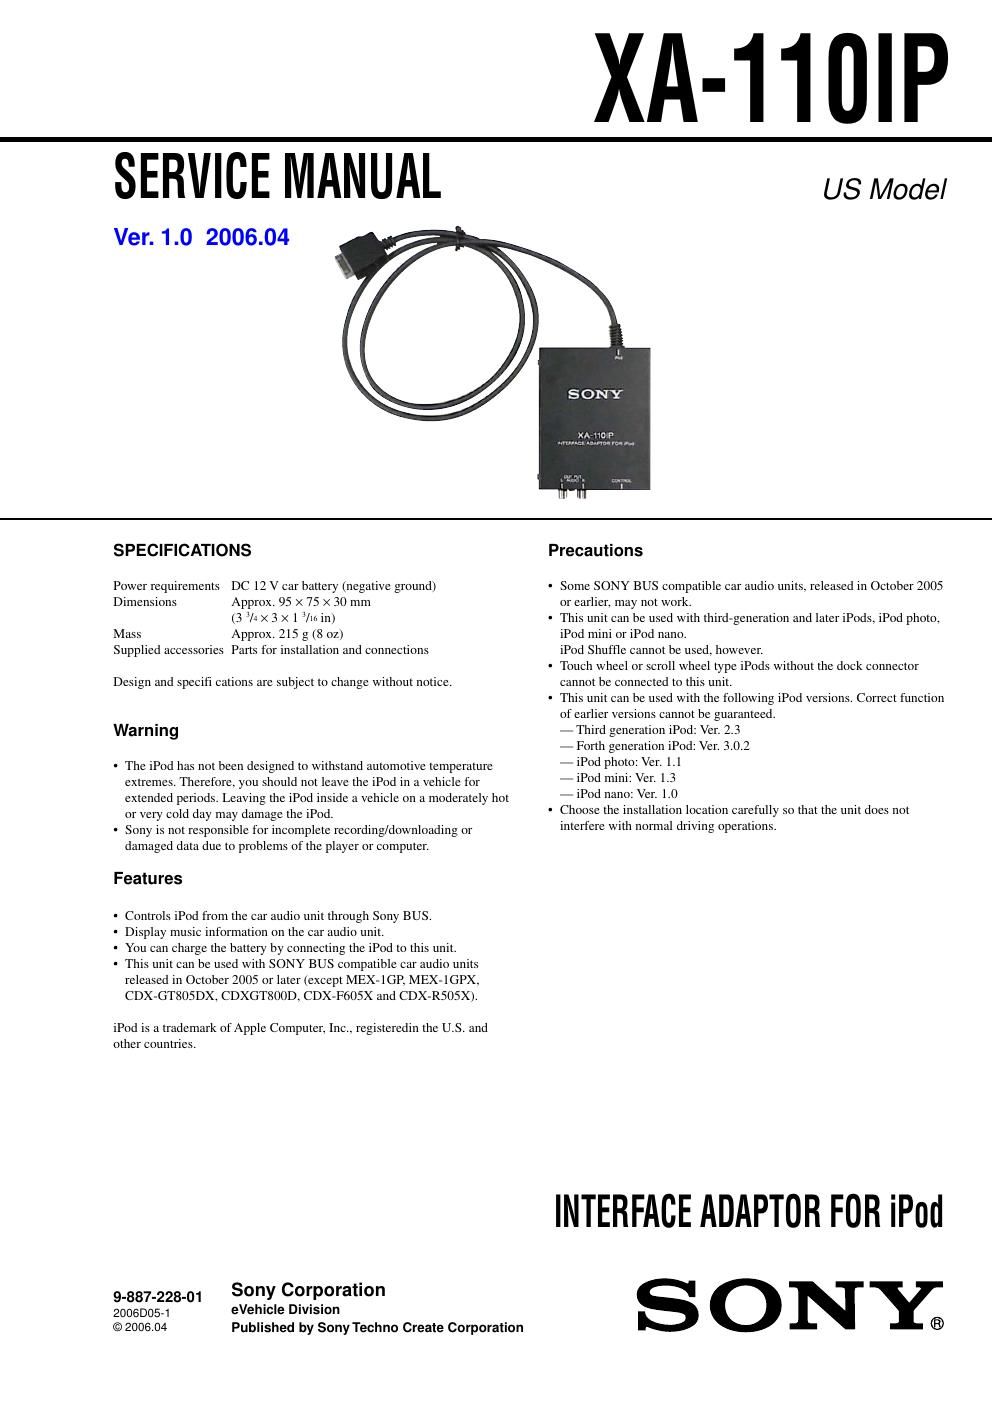
sony xa 110 ip service manual

Extracted text from sony xa 110 ip service manual (Ocr-read)


Page 1

2 XA-110IP Installation Before installation  Choose the installation location carefully so that the unit does not int\ erfere with normal driving operations.  Avoid installing the unit in areas subject to: - high temperatures, such as from direct sunlight or hot air from the heat\ er. - draft, rain or moisture. - dust or dirt. - magnetic elds.  Use only the supplied mounting hardware for a safe and secure installation. If you have any questions or problems concerning your unit that are not covered in this manual, please consult your nearest Sony dealer. GENERAL This section is extracted from instruction manual. Connection diagram Connection example Mounting example BU SA UDIO IN INPUT 2 INPUT 1 INPUT 3 BUSCONTROL IN Source selectorXA-C40 (not supplied) Satellite radio tuner (XM/SIRIUS) *1 CD/MD changer iPod *1 Yo u cannot connect two or more satellite radio tuners (XM/SIRIUS) to XA-C40 at the same time. When you use a satellite radio tuner, be sure to connect to the INPUT 1 terminal of XA-C40. *2 Only one iPod can be used with the source selector. A B XA-110IP *2 L R BUS CONTROL IN BUS A UDIO IN BUS A UDIO IN Sony BUS compatible car audio unit iPod Œ Ž  1m 2m 2m BUSA UDIO IN BUSCONTROL IN iPod XA-110IP  Œ Make sure that the iPod is placed where driving is not obstructed, such as the glove box of the car, etc. Operation Playing tracks 1 Connect the iPod to the adaptor. The iPod will turn on automatically, and the display as below will appear on the iPod screen. 2 Press hŽ‚„i to select the iPod. PD1 or Portable appears in the display of a car audio un\ it, and the tracks on the iPod start playing automatically. Note If the iPod is not connected, No iPod will be displayed in the display of the car audio unit. 3 Adjust the volume. To Press Stop playback hŽ……i P ause tracks hvi (PAUSE) Resume play after pause hvi (PAUSE) Skip tracks Ê/¼ (SEEK +/) [once for each track] Skip tracks continuously Ê/¼ (SEEK +/) [ press, then press again within about 2 seconds and hold ] F ast-forward/reverse Ø/ò (SEEK +/) [hold to desired point] Tips  The iPod can be connected to or disconnected from the dock connector either during playback or pause.  When the ignition key is turned to the ACC position, or the car audio unit is on, the iPod will be recharged.  If the iPod is connected while playing a track, the track will continue to play after the connection. If the iPod is disconnected during playback, playback will pause. Note To turn the iPod off, either disconnect it from the adaptor, or turn the ignition key to the OFF or ACC position. The iPod will turn off after approx. 2 minutes. Changing the display items 1 During playback, press hƒ‹i. The display items changes as follows: T rack name { Tr ack number { Elapsed playing time { Album name { Artist name { (Clock) Notes  If the name of a track, album, artist or playlist is not entered on the iPod, No name will appear in the display of a car a udio unit.  If the car audio unit has a separate display for the clock, the current time will not appear in the display of the car audio unit even by pressing hƒ‹i. Setting the play mode Selecting Album, Artist or PlaylistYou can select an Album, Artist or Playlist, and playback starts . 1 During playback, press hŒŽƒ„i. The mode changes as follows: Album { Artist { Playlist Skipping albums, artists and playlists To Press Skip GP/ALBM +/ [press once for each] Skip continuously GP/ALBM +/ [hold to desired point] Repeat PlayY ou can select to play tracks on the iPod repeatedly . 1 During playback, press h„i until the desired setting appears.Select To play Repeat track track repeatedly Repeat album album repeatedly Repeat artist artist repeatedly Repeat playlist playlist repeatedly Repeat play starts. To return to normal play mode, select Repeat off. Shuffl e PlayY ou can select to play tracks on the iPod in random order.1 During playback, press h‡…i until the desired setting appears.Select To play Shuf e album album in random order Shuf e artist artist in random order Shuf e playlist playlist in random order Shuf e all all tracks in random order Shuf e play starts. To return to normal play mode, select Shuf e off. Note GP/ALBM +/ button will not work during shuf e play. ScanY ou can quickly locate a speci c point on the iPod.1 During playback, press hui (BBE MP) until Scan on appears. The rst 10 seconds of each track will be played. To return to normal play mode, select Scan off. Note This function will not work during shuf e play. - The display and function buttons differs depending on the car audio unit that controls the iPod. - When the iPod is connected to the adaptor, operation from it cannot be performed; operate the iPod from your car audio unit. - Before connecting the iPod to the adaptor, turn down the volume of the car audio unit.

Page 2

3 XA-110IP 31 78 9 6 5 4 6 2 not supplied not supplied MAGIC TAPE × 2 CONNECTION CORD (RK-C320) (RCA PIN CORD) × 1 CORD (WITH CONNECTOR) (BUS CABLE)× 1 PA RTS LIST Ref. No. Part No. Description Remark 2-684-677-11 MANUAL, INSTRUCTION (ENGLISH) 1 A-1191-609-A IP BOARD, COMPLETE 21 -833-007-11 CORD, CONNECTION (iPod CONNECTION CORD) 33 -376-464-11 SCREW(+PTT 2.6X6), GROUND POINT 47 -685-646-79 SCREW +BVTP 3X8 TYPE2 IT-3 57 -685-790-01 SCREW +PTT 2.6X4 (S) 67 -685-790-09 SCREW +PTT 2.6X4 (S) 72 -684-673-01 TAPE, MAGIC 81 -765-259-31 CORD, CONNECTION (RK-C320) (RCA PIN CORD) 91 -791-701-31 CORD (WITH CONNECTOR) (BUS CABLE)