Sony wm fx 173 service manual

This is the 32 pages manual for sony wm fx 173 service manual.
Read or download the pdf for free. If you want to contribute, please upload pdfs to audioservicemanuals.wetransfer.com.

Page: 1 / 32
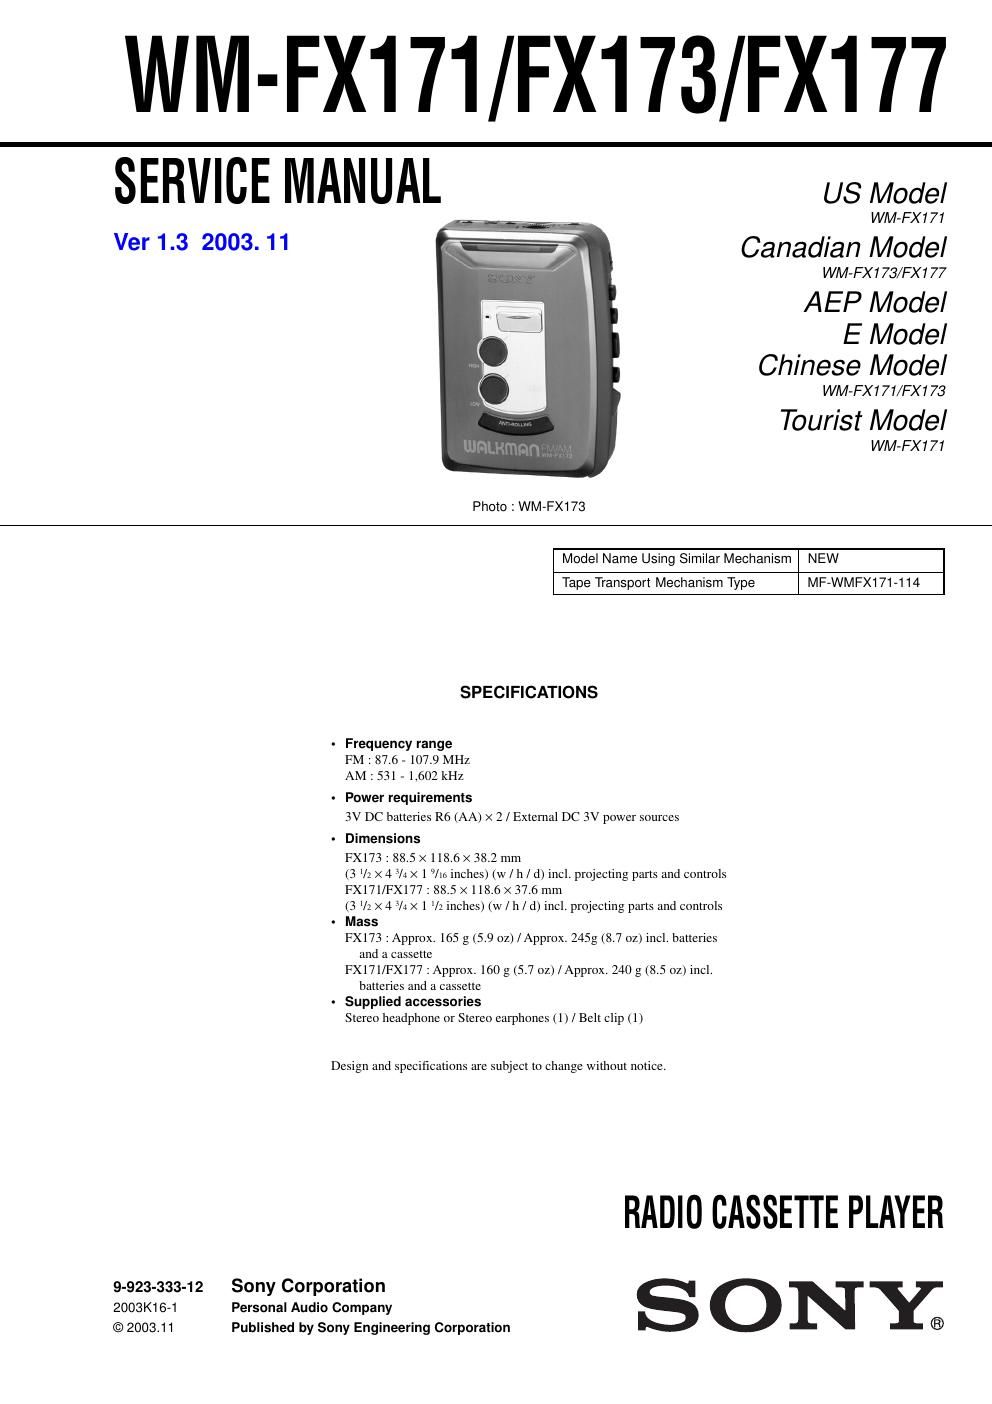
sony wm fx 173 service manual

Extracted text from sony wm fx 173 service manual (Ocr-read)


Page 1

Ñ 2 Ñ TABLE OF CONTENTS Flexible Circuit Board Repairing ¥ Keep the temperature of the soldering iron aroud 270û C during repairing. ¥ Do not touch the soldering iron on the same conductor of the circuit board (within 3 times). ¥ Be careful not to apply force on the conductor when soldering or unsoldering. Notes on chip component replacement ¥ Never reuse a disconnected chip component. ¥ Notice that the minus side of a tantalum capacitor may be damaged by heat. SECTION 1 GENERAL 1. GENERAL ááááááááááááááááááááááááááááááááááááááááááááááááááá\ ááááááááááááááááááá 2 2. DISASSEMBLY 2-1. Cabinet (Front) Assy ááááááááááááááááááááááááááááááááááááááááááááááááááá\ ááááááá 3 2-2. Main Board ááááááááááááááááááááááááááááááááááááááááááááááááááá\ áááááááááááááááááááááá 4 2-3. Cassette Lid ááááááááááááááááááááááááááááááááááááááááááááááááááá\ ááááááááááááááááááááá 4 2-4. Mechanism Deck ááááááááááááááááááááááááááááááááááááááááááááááááááá\ ááááááááááááá 5 2-5. Belt, Motor (Reel/Capstan) áááááááááááááááááááááááááááááááááááááááááááááááá 5 3. MECHANICAL ADJUSTMENT áááááááááááááááááááááááááááááá 6 4. ELECTRICAL ADJUSTMENT áááááááááááááááááááááááááááááááá 6 5. DIAGRAMS 5-1. Block Diagram ááááááááááááááááááááááááááááááááááááááááááááááááááá\ áááááááááááááááá 8 5-2. Schematic Diagram (FX171/FX177 Models) áááááááááááááááááá 10 5-3. Printed Wiring Board (FX171/FX177 Models) áááááááááááááááá 13 5-4. Printed Wiring Board (FX173 Model) ááááááááááááááááááááááááááááá 17 5-5. Schematic Diagram (FX173 Model) áááááááááááááááááááááááááááááááá 21 5-6. IC Block Diagrams ááááááááááááááááááááááááááááááááááááááááááááááááááá\ áááááááá 24 6. EXPLODED VIEWS 6-1. Cabinet Section ááááááááááááááááááááááááááááááááááááááááááááááááááá\ áááááááááááááá 25 6-2. Main Board Section ááááááááááááááááááááááááááááááááááááááááááááááááááá\ ááááááá 27 6-3. Mechanism Section-1 ááááááááááááááááááááááááááááááááááááááááááááááááááá\ áááá 28 6-4. Mechanism Section-2 ááááááááááááááááááááááááááááááááááááááááááááááááááá\ áááá 29 7. ELECTRICAL PARTS LIST ááááááááááááááááááááááááááááááááááá 30 This section is extracted from instruction manual. · LOCATION OF CONTROL

Page 2

Ñ 3 Ñ SECTION 2 DISASSEMBLY Note :Follow the disassembly procedure in the numerical order given. BCDE F G H I J K L A Cassette lid Cabinet (front) assy 1 Two screws [screw (B 1.7 ´ 9), tapping] 2-1. CABINET (FRONT) ASSY 2 Insert the precision screwdriver (1.4 mm flat-blade) into the slit at claw A and release the claw. 3 Remove the cabinet (front) assy. (Release all claws B to L in alphabetical order.) · This set can be disassembled in the order shown below. 2-1. CABINET (FRONT) ASSY 2-2. MAIN BOARD 2-3. CASSETTE LID2-4. MECHANISM DECK 2-5. BELT, MOTOR (REEL/CAPSTA N)