Sony tc k 8b manual

This is the 24 pages manual for sony tc k 8b manual.
Read or download the pdf for free. If you want to contribute, please upload pdfs to audioservicemanuals.wetransfer.com.

Page: 1 / 24
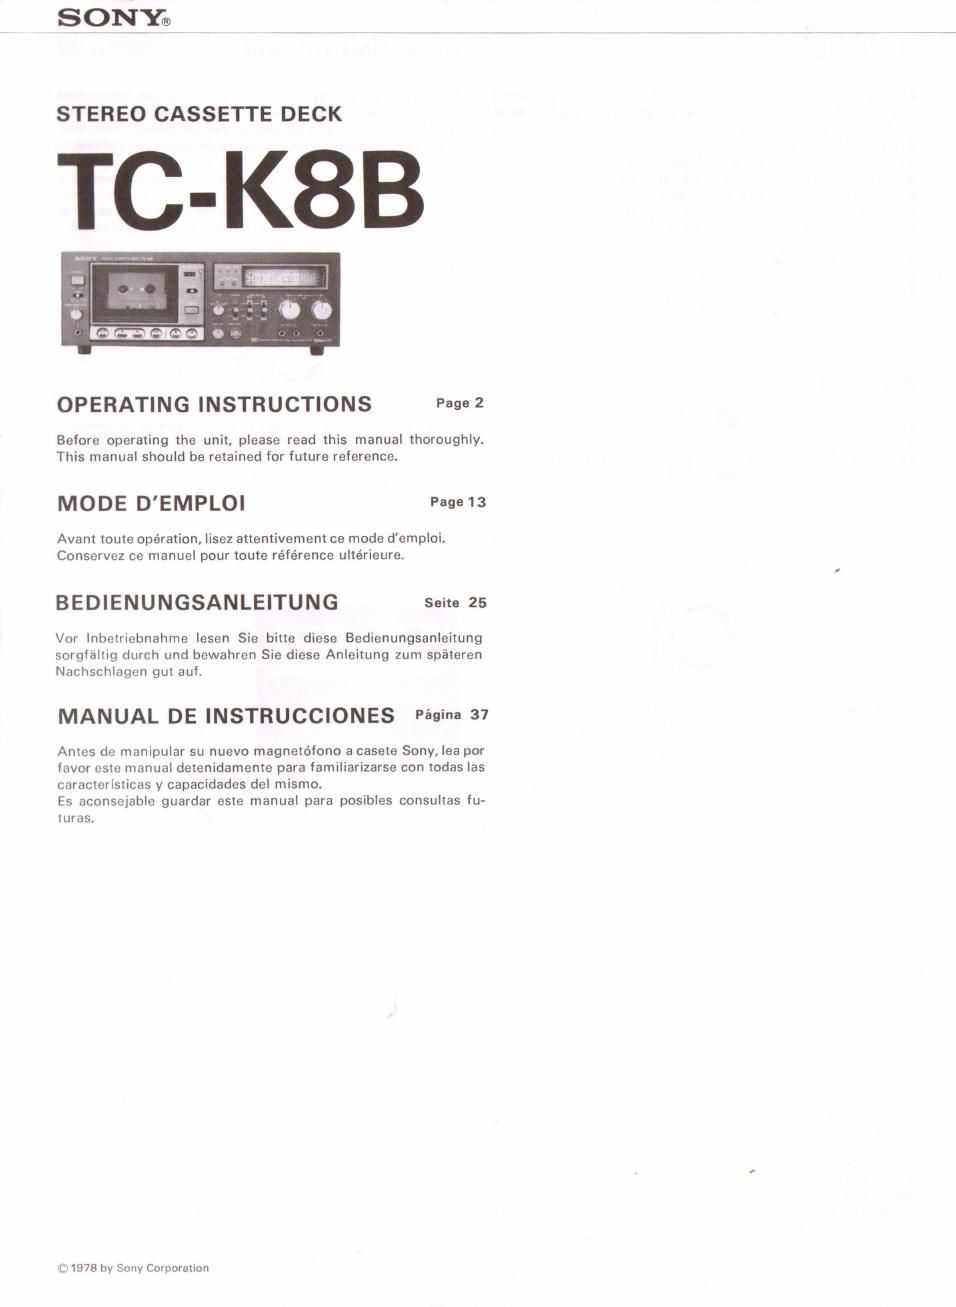
sony tc k 8b manual

Extracted text from sony tc k 8b manual (Ocr-read)


Page 1

OPERATING INSTRUCTIONS Pagez

Before operafing the unif, please read this manual thoroughly.
This manual should be retained for future reference.

MODE D'EMPLOI Page

Avam toute operation, lisez attentivemem ce mode demploi.
Conserve: ce manuel pour mute référence ultérieure

BEDIENUNGSANLEITUNG Ssile 25

Vor Inbefriebnahme lesen Sie bitte diese Bedienungsanleitung
sorgféltig durch und bewahren Sie diese Anleitung zum spateren
Nachschlagon gut aul

MANUAL DE INSTRUCCIONES Pénina 37

Antes de manipular su nuevo magnetéfono a casete Sony, lea por
favor 0519 manual detenidamenle para familiarizarse con Iodas Ias
caracterlsticas y capacidades del mismo.

Es aconsejable guardar esle manual para posibles consultas fu-
luras.

x 1978 by Sony Corporafian

Page 2

FEATURES

.Newly developed Liquid Crystal peak program meters with peak
hold function enable the recording of programs making full use of
the dynamic range of tapes.

OLogic~controlled function buttons

.Two-motor, high-performance drive system

.Low wow and flutter due to a large fly-wheel

.Timer-activated recording and playback

ORecord muting function useful for tape editing

.Full remote control operation with an optional Remote Control
RM-3O

.00le NR (Noise Reduction) system

.High-performance F St F (Ferrite and Ferrite) head

OAmplifier directly coupled to the playback head

.Memory stop and memory start

WARNING

.To prevent fire or shock hazard, do not expose the unit to rain
or moisture.

.To avoid electrical shock, do not open the cabinet. Refer servic-
ing to qualified personnel only.

TABLE OF CONTENTS

Operating voltage ............................. 2
Precautions ................................. 3
Function of controls ........................... 4
Connections 6
Recording .................................. 7

Recording level adjustment . . 8

Tape BIASJEO recommendations ...... 9
Playback ........................ 3
Erasing .................................... 9
Timer-activated recording and playback . .............. 9
Record muting operation ........................ 10
Memory counter operation ....................... 10
Mic and line mixing ............................ 10
Notes on cassettes ............................ 10
Maintenance . . . . ................. 11
Specifications ................. 11
Trouble checks ............................... 12

OPERATING VOLTAGE

Before connecting the unit to the power source, check that the
voltage selector setting is correct for your power supply.

(The voltage selector is located on the rear panel.)

If the selector must be reset, change the setting as follows.

WARNING : Check that the AC power cord is disconnected.

Turn the selector with a coin so that the arrow mark of the selec-
tor points to the proper voltage figure.

Note on PX model purchased in non-European countries

This model includes no userrserviceable voltage selector inside.
Consult your nearest Sony dealer for information on adapting the
set to other than the factory set voltage.

For the Customers in the United Kingdom

WARNING

This apparatus must be earthed at the terminals in the 3-pin mains
plug as follows:

Important
The wires in this mains lead are coloured in accordance with the
following code:

Green-and-yellow: Earth (safety earth)

Blue: Neutral

Brown: Live
As the colours of the wires in the mains lead of this apparatus may
not correspond with the coloured markings identifying the termi<
nals in your plug, proceed as follows:
The wire which is coloured green-and-yellow must be connected
to the terminal in the plug which is marked with the letter E, or by
the safety earth symbol 4- , or coloured green or green»and-yellow.
The wire which is coloured blue must be connected to the terminal
which is marked with the letter N, or coloured black.
The wire which is coloured brown must be connected to the terv
minal which is marked with the letter L, or coloured red.

PRECAUTIONS

0n safety

.Before operating, be sure the operating voltage of your unit is
identical with that of your local power supply.

.Should any liquid or solid object fall into the cabinet, unplug the
unit and have it checked by qualified personnel before operating
it any further.

.Unplug the unit from the wall outlet if it is not to be used for an
extended period of time. To disconnect the cord, pull it out by the
plug. Never pull the cord itself.

On installation

OAdequate air circulation is essential to prevent internal heat build-
up in the unit. Place the unit in a location with sufficient air cir-
culation.

ODo not install the unit in a location near heat sources such as
radiators or air ducts, or in a place subject to direct sunlight, exces-
sive dust or mechanical vibration.

OPlace the unit with the front panel facing toward you. Do not
operate the unit in an inclined position.

On head cleaning

The best performance of your unit depends on the periodic clean-
ing of the heads and all surfaces over which the tape travels. Dirty
heads and tape path cause:

OLoss of high frequency response

oLoss of sound volume

.Sound drop-out, etc

Cleaning should be done every after 10 hours of operation,

For details, see "Maintenance'.

Playback waveform
at 10 kHz

With a clean head

With a dirty head
(The output level
fluctuates.)

m

Frequency response

"T l l lll lilfl' " l7

i With a clean head
.. .

l r
E 0"f _i inmate. l
E l/ Wlth a dirty head \
- l l I ll 1 l
5 i l ' il l 1
Z l l r
310 r . l r i i ii i l \\ I 4
S Even hardly visible dust layer i 1 Il I
O of 1,5;1 deteriorates frequency response.
_15 .. .,_.... cm. -..,H-.. .
l r
l l i ll . l i . H L ,_

| _
100 1 k 10k
Frequency (Hz)

Others
OBefore inserting a cassette, take up the slack of the tape to pre-
vent it from becoming entangled around the capstan.

.Before depressing the POWER switch, check to see that the
TIMER switch is set at OFF. This switch should be placed to REC
or PLAY only for timer-activated operation.

TIMER

O REC OFF PLAV

1-

.The lamp in the holder illuminates when the holder lid is com-
pletely closed. Until this lamp lights up, the tape does not move.
.Turn down the REC LEVEL controls (MIC and LINE) not in use
while recording.

I

If you have any question or problem with your unit, please contact
your nearest Sony service facility.