Sony srs d 313 service manual

This is the 14 pages manual for sony srs d 313 service manual.
Read or download the pdf for free. If you want to contribute, please upload pdfs to audioservicemanuals.wetransfer.com.

Page: 1 / 14
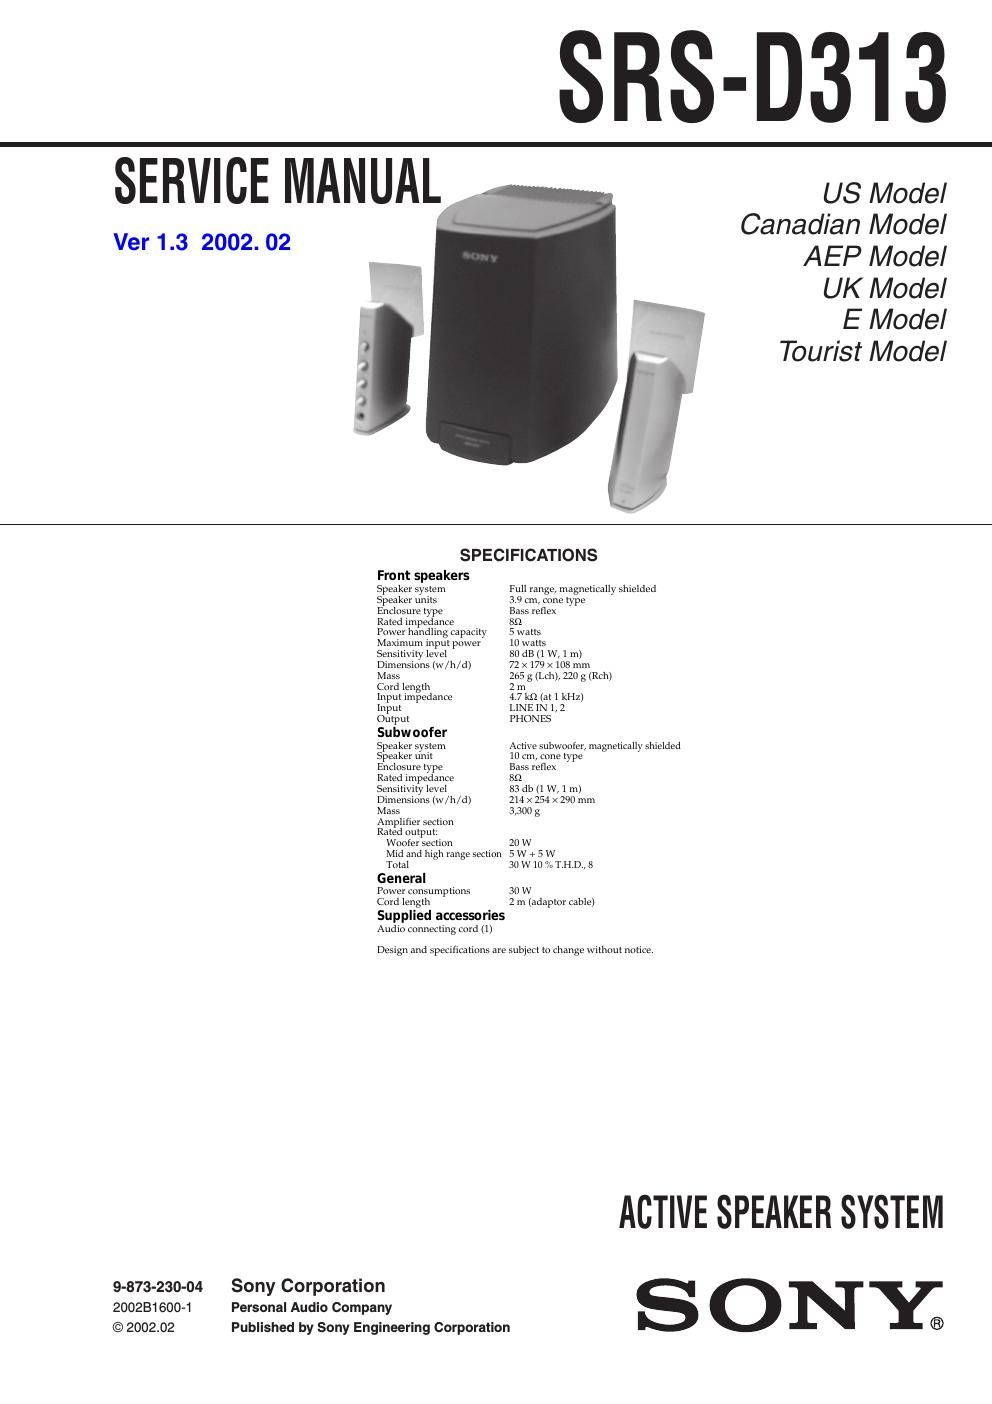
sony srs d 313 service manual

Extracted text from sony srs d 313 service manual (Ocr-read)


Page 1

2 SRS-D313 SAFETY CHECK-OUT After correcting the original service problem, perform the following safety check before releasing the set to the customer: Check the antenna terminals, metal trim, metallized knobs, screws, and all other exposed metal parts for AC leakage. Check leakage as described below. LEAKAGE TEST The AC leakage from any exposed metal part to earth ground and from all exposed metal parts to any exposed metal part having a return to chassis, must not exceed 0.5 mA (500 microamperes.). Leakage current can be measured by any one of three methods. 1. A commercial leakage tester, such as the Simpson 229 or RCAWT-540A. Follow the manufacturers instructions to use these instruments. 2. A battery-operated AC milliammeter. The Data Precision 245 digital multimeter is suitable for this job. 3. Measuring the voltage drop across a resistor by means of a VOM or battery-operated AC voltmeter. The limit indication is 0.75 V, so analog meters must have an accurate low-voltage scale. The Simpson 250 and Sanwa SH-63Trd are examples of a passive VOM that is suitable. Nearly all battery operated digital multimeters that have a 2 V AC range are suitable. (See Fig. A) To Exposed Metal Parts on Set 0.15 µF 1.5 kΩ AC Voltmeter (0.75 V) Earth Ground Fig. A. Using an AC voltmeter to check AC leakage. SAFETY-RELATED COMPONENT WARNING!! COMPONENTS IDENTIFIED BY MARK 0 OR DOTTED LINE WITH MARK 0 ON THE SCHEMATIC DIAGRAMS AND IN THE PARTS LIST ARE CRITICAL TO SAFE OPERATION. REPLACE THESE COMPONENTS WITH SONY PARTS WHOSE PART NUMBERS APPEAR AS SHOWN IN THIS MANUAL OR IN SUPPLEMENTS PUBLISHED BY SONY. ATTENTION AU COMPOSANT AYANT RAPPORT À LA SÉCURITÉ! LES COMPOSANTS IDENTIFÉS PAR UNE MARQUE 0 SUR LES DIAGRAMMES SCHÉMATIQUES ET LA LISTE DES PIÈCES SONT CRITIQUES POUR LA SÉCURITÉ DE FONCTIONNEMENT. NE REMPLACER CES COMPOSANTS QUE PAR DES PIÈSES SONY DONT LES NUMÉROS SONT DONNÉS DANS CE MANUEL OU DANS LES SUPPÉMENTS PUBLIÉS PAR SONY. Notes on chip component replacement - Never reuse a disconnected chip component. - Notice that the minus side of a tantalum capacitor may be damaged by heat. Ver 1.2 2001.12

Page 2

3 SRS-D313 SECTION 1 GENERAL This section is extracted from instruction manual. C B Front (Right)/Avant (droite) Vorne (rechts)/Parte frontal (derecha) Subwoofer Caisson de grave Tiefsttonlautsprecher Potenciación de graves Front (Right)/Avant (droite) Vorne (rechts)/Parte frontal (derecha) Front (Left)/Avant (gauche) Vorne (links)/Parte frontal (izquierda) A POWER (OPERATE for European model) (OPERATE pour le modèle européen) (OPERATE beim Modell für Europa) (OPERATE para el modelo europeo) BASS VOLUME INPUT Note PC PC Note Notebook-PC Portátil Attach the reflectors (no distinction between right and left) to the speakers as shownFixez les réflecteurs (pas de distinction entre le réflecteur gauche et le droit) sur les enceintes comme indiqué ci-dessous.Bringen Sie die Reflektoren (kein Unterschied zwischen rechts und links) wie abgebildet an den Lautsprechern an.Conecte los reflectores (no hay distinción entre derecho e izquierdo) a los altavoces, tal como se muestra . PHONES Front (Left)/Avant (gauche) Vorne (links)/Parte frontal (izquierda) PC/Ordinateur PC/PC CD Walkman Walkman CD CD-Walkman CD Walkman to 8 pin Din jack vers la prise Din à 8 broches an 8 polige DIN-Buchse a conector DIN de 8 patillas to Mono Mini Jack vers la mini prise mono an Mono-Ministecker a minienchufe monoto wall outlet vers la prise murale an eine Netzsteckdose a la toma de corriente POWERON OFF MIN MAX MIN MAX 12 VOLUME BASS INPUT PHONES L * * This switch is only for European models. Cet interrupteur ne concerne que les modèles européens. Dieser Schalter ist nur für Modelle für Europa. Este interruptor sólo está destinado a los modelos europeos. D Subwoofer Caisson de grave Tiefsttonlautsprecher Potenciación de graves Hooking up the system 1 Attach the reflector to the speakers. (See fig. A.) 2 (See fig. B for steps 2 through 4.)Connect the left speaker cord 8 pin plug to the rear panel jack with their respective arrows aligned. 3 Connect the subwoofer to the wall outlet. 4 Connect the CD walkman, PC, etc., to the INPUT jack on the left speaker. 5 Position the speakers. (See fig. C.) Listening to the sound (see fig. D) First, turn down the volume on the left speaker. The volume should be set to minimum before you begin playing the programme source. 1 Press POWER on the left speaker.The POWER indicator lights up green. For the European models Press POWER on the subwoofer to turn it on, and then press OPERATE on the left speaker. The OPERATE indicator lights up green. The main power source of the system is provided by the subwoofer. When the power of the subwoofer is turned off, the system does not operate, even if OPERATE is pressed. 2 Rotate INPUT to select 1/2.You can enjoy the mixed sound from INPUT 1 and 2. 3 Play the programme source. To adjust the volumeRotate VOLUME. To adjust the subwooferRotate BASS to adjust the bass volume. Set the volume level to best suit your preference according to the programme source. Using the headphones/earphonesConnect the headphones/earphones to the PHONES jack. Notes -To enjoy high-quality sound, do not turn the BASS volume too high. -When using the headphones, you cannot adjust the bass volume. TroubleshootingShould you encounter a problem with your speaker system, check the following list and take the indicated measures. If the problem persists, consult your nearest Sony dealer. There is no sound from the speaker system.-Make sure all the connections have been correctly made.-Make sure the volume on the left speaker and the connected component have been turned up properly. -Check if headphones are connected. If they are, disconnect them. There is distortion in the subwoofer sound output.-Turn down the volume level on the connected component. Or, if the connected component has the bass boost function, set it to off. -Rotate BASS on this unit to reduce the bass volume. There is hum or noise in the speaker output.-Make sure all the connections have been correctly made.-Make sure none of the audio components are positioned too close to the TV set. The sound has suddenly stopped.Make sure all the connections have been correctly made.