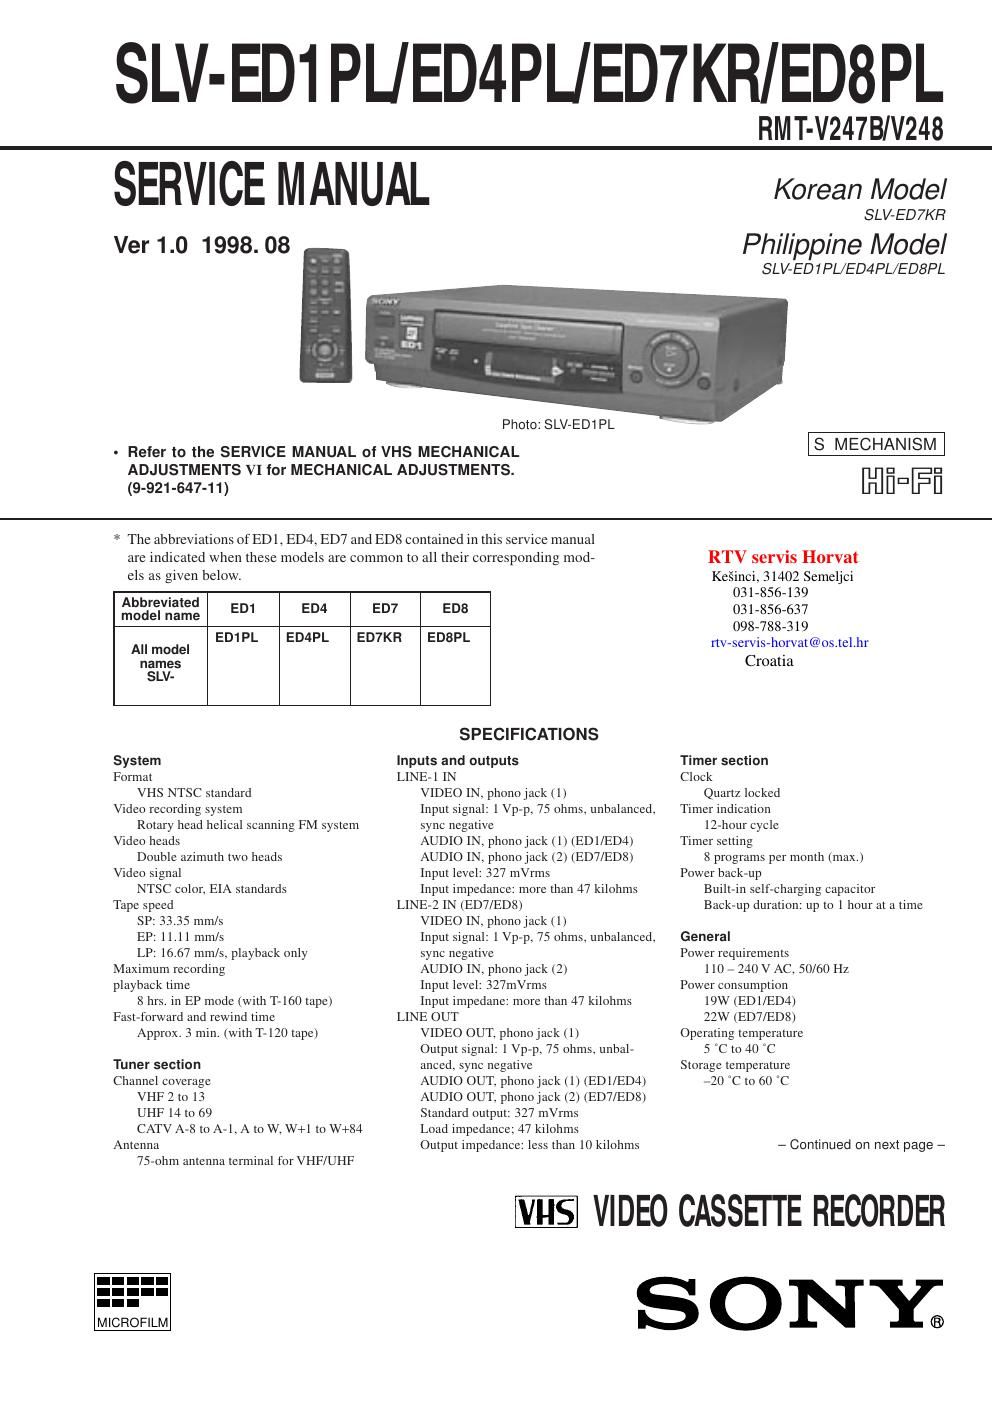
Sony slv ed 8 pl service manual
This is the 133 pages manual for sony slv ed 8 pl service manual.
Read or download the pdf for free. If you want to contribute, please upload pdfs to audioservicemanuals.wetransfer.com.
Extracted text from sony slv ed 8 pl service manual (Ocr-read)
Page 1
Ð 2 Ð SAFETY CHECK-OUT 1. Check the area of your repair for unsoldered or poorly-sol- dered connections. Check the entire board surface for solder splashes and bridges. 2. Check the interboard wiring to ensure that no wires are ÒpinchedÓ or contact high-wattage resistors. 3. Look for unauthorized replacement parts, particularly transis- tors, that were installed during a previous repair. Point them out to the customer and recommend their replacement.After correcting the original service problem, perform the following safety checks before releasing the set to the customer: 4. Look for parts which, though functioning, show obvious signs of deterioration. Point them out to the customer and recom- mend their replacement. 5. Check the B+ voltage to see it is at the values specified. SAFETY-RELATED COMPONENT WARNING!! COMPONENTS IDENTIFIED BY MARK ! OR DOTTED LINE WITH MARK ! ON THE SCHEMATIC DIAGRAMS AND IN THE PARTS LIST ARE CRITICAL TO SAFE OPERATION. REPLACE THESE COMPONENTS WITH SONY PARTS WHOSE PART NUMBERS APPEAR AS SHOWN IN THIS MANUAL OR IN SUPPLEMENTS PUB- LISHED BY SONY. ¥ Feature Difference SLV- ED1PL ED4PL ED7KR ED8PL FEATURE HEAD/CH 2/2 4/4 4/6 4/6 RCA REAR LINE IN/OUT¨/¨¨/¨¨(3P)/¨(3P)¨(3P)/¨(3P) RCA FRONT LINE INGG¨(3P)¨(3P) CLICK SHUTTLEGGG¨ REMOTE COMMANDER RMT- V248 V248 V247B V247B Dimensions Approx. 355 ´ 96 ´ 285 mm (w/h/d): (ED1) Approx. 430 ´ 100 ´ 286 mm (w/h/d): (ED4/ED7/ED8) including projecting parts and controls Mass Approx. 3.7 kg: (ED1) Approx. 4.2 kg: (ED4/ED7/ED8) Supplied accessories Remote commander (1) R6 (size AA) batteries (2) 75-ohm coaxial cable with F-type connectors (1) Plug adaptor (1) (ED1/ED4/ED8) Design and specifications are subject to change without notice.
Page 2
Ð 3 Ð TABLE OF CONTENTS Section Title Page Section Title Page Feature Difference ................................................................... 2 SERVICE NOTE ...................................................................... 4 1. GENERAL Getting Started .............................................................. 1-1 Basic Operations ........................................................... 1-4 Additional Operations .................................................... 1-7 Additional Information ................................................... 1-9 2. DISASSEMBLY 2-1. Upper Case Removal.................................................... 2-1 2-2. NK-11 Board Removal .................................................. 2-1 2-3. Rear Panel Removal..................................................... 2-1 2-4. Front Panel Section Removal....................................... 2-1 2-5. Power Block Removal................................................... 2-2 2-6. Mechanism Deck Removal........................................... 2-2 2-7. MA-323 Board Removal................................................ 2-2 2-8. Internal Views................................................................ 2-3 2-9. Circuit Boards Location................................................. 2-4 3. BLOCK DIAGRAMS 3-1. Overall Block Diagram.................................................. 3-1 3-2. Video1 Block Diagram ................................................... 3-4 3-3. Video2 Block Diagram ................................................... 3-5 3-4. Servo/System Control Block Diagram .......................... 3-7 3-5. Audio Block Diagram ..................................................... 3-9 3-6. Tuner Block Diagram ..................................................... 3-11 3-7. Mode Control Block Diagram ........................................ 3-13 3-8. Power Block Diagram .................................................... 3-15 4. PRINTED WIRING BOARDS AND SCHEMATIC DIAGRAMS 4-1. Frame Schematic Diagram ............................................ 4-3 4-2. Printed Wiring Boards and Schematic Diagrams ......... 4-5 MA-323 (Head Amp) Schematic Diagram .................... 4-5 MA-323 Printed Wiring Board ....................................... 4-9 MA-323 (Video, Audio) Schematic Diagram ................. 4-11 MA-323 (System Control) Schematic Diagram ............ 4-15 MA-323 (Servo Control) Schematic Diagram ............... 4-17 MA-323 (Hi-Fi Audio) Schematic Diagram .................... 4-19 MA-323 (IO) Schematic Diagram .................................. 4-21 MA-323 (Tuner) Schematic Diagram ............................ 4-23 MA-323 (Mode Control) Schematic Diagram ................ 4-25 MA-323 (FL Driver) Schematic Diagram ....................... 4-27 MA-323 (Power Supply) Schematic Diagram ............... 4-29 DS-80 Printed wiring Board and Schematic Diagram ....................................................... 4-31 NK-11 Printed wiring Board and Schematic Diagram ....................................................... 4-33 DM-76, MF-312 Printed Wiring Board and Schematic Diagram ............. 4-35 HS-921SF/921SF1 Printed Wiring Board ..................... 4-37 HS-921SF/921SF1 Schematic Diagram ....................... 4-39 SR-708 Printed Wiring Board ........................................ 4-41 SR-708 Schematic Diagram ......................................... 4-43 5. INTERFACE, IC PIN FUNCTION DESCRIPTION 5-1. System Control-Video Block Interface (MA-323 board IC161) .................................................. 5-1 5-2. System Control-Servo Peripheral Circuit Interface (MA-323 board IC161) .................................................. 5-1 5-3. System Control-Mechanism Block Interface (MA-323 board IC161) .................................................. 5-2 5-4. System Control-Audio Block Interface (MA-323 board IC161) .................................................. 5-3 5-5. Servo/System/Tuner/Timer Control Microprocessor Pin Function (MA-323 board IC161) ............................. 5-4 5-6. Korean Stereo Processor Pin Function (NK-11 board IC1) ......................................................... 5-5 6. ERROR CODES ....................................................... 6-1 7. ADJUSTMENTS 7-1. Mechanical Adjustments............................................... 7-1 7-2. Electrical Adjustments................................................... 7-1 2-1. Pre-Adjustment Preparations........................................ 7-1 2-1-1. Instruments to be Used ............................................ 7-1 2-1-2. Connection ............................................................... 7-1 2-1-3. Set-up of Adjustment ................................................ 7-1 2-1-4. Alignment Tape ......................................................... 7-1 2-1-5. Specified I/O Level and Impedance ......................... 7-1 2-1-6. Adjusting Sequence ................................................. 7-2 2-2. Power Supply Adjustment............................................. 7-2 2-2-1. Power Supply Check ................................................ 7-2 2-2-2. +6V Adjustment ........................................................ 7-2 2-3. Servo System Adjustment ............................................. 7-2 2-3-1. Switching Position Adjustment ................................. 7-2 2-4. Audio System Adjustments........................................... 7-3 2-4-1. Hi-Fi Audio System Adjustment ............................... 7-3 1. AF Switching Position Adjustment ........................... 7-3 2. Frequency Response Check .................................... 7-3 3. Overall Level Characteristic and Distortion Factor Check ........................................... 7-4 4. Overall S/N Check .................................................... 7-4 2-4-2. Normal Audio System Adjustment ........................... 7-4 1. ACE Head Adjustment ............................................. 7-4 2. E-E Output Level Check .......................................... 7-4 3. Frequency Responce Check .................................... 7-4 4. Overall Level Characteristic and Distortion Factor Check ............................................................ 7-5 5. Overall S/N Check .................................................... 7-5 2-5. Tuner System Adjustment ............................................. 7-5 2-5-1. Separation Adjustment ............................................. 7-5 2-6. Parts Arrangement Diagram for Adjustments ............... 7-6 8. REPAIR PARTS LIST 8-1. Exploded Views............................................................. 8-1 8-1-1. Front Panel and Cabinet Assemblies (ED1) ........... 8-1 8-1-2. Chassis Assembly (ED1) ......................................... 8-2 8-1-3. Front panel and Cabinet Assemblies (ED4/ED7/ED8) ........................................................ 8-3 8-1-4. Chassis Assembly (ED4/ED7/EZ8) ......................... 8-4 8-1-5. Mechanism Chassis Assembly (1) ........................... 8-5 8-1-6. Mechanism Chassis Assembly (2) ........................... 8-6 8-1-7. Mechanism Chassis Assembly (3) ........................... 8-7 8-2. Electrical Parts List ....................................................... 8-8