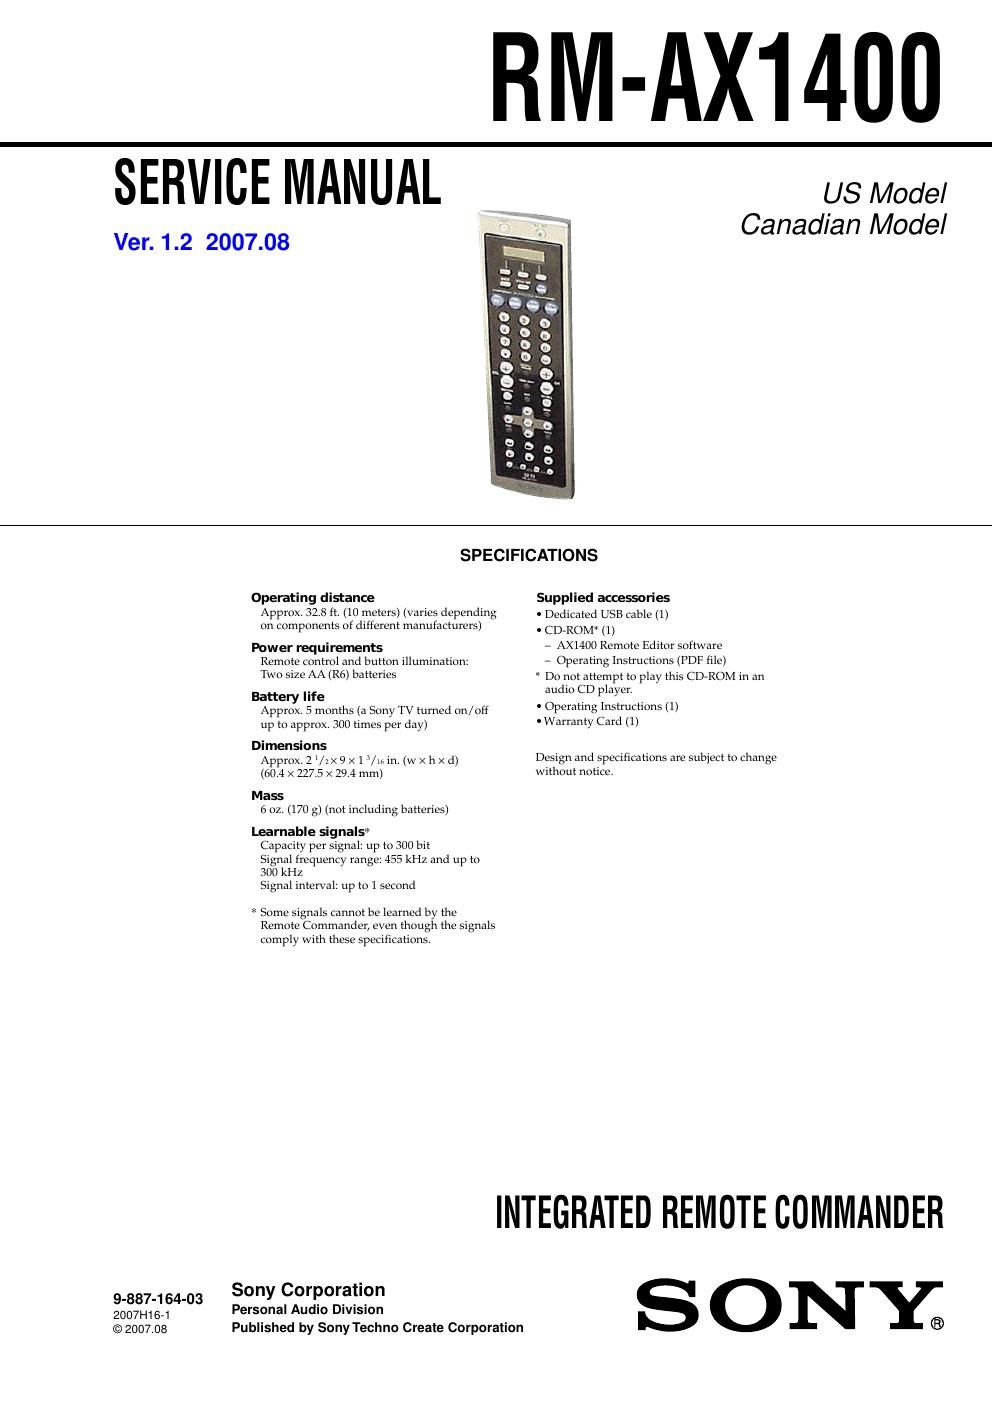
Sony rm ax 1400 service manual
This is the 28 pages manual for sony rm ax 1400 service manual.
Read or download the pdf for free. If you want to contribute, please upload pdfs to audioservicemanuals.wetransfer.com.
Extracted text from sony rm ax 1400 service manual (Ocr-read)
Page 1
2 RM-AX1400 TABLE OF CONTENTS 1. GENERAL ................................................................... 3 2. DISASSEMBLY 2-1. Upper Case Assembly ..................................................... 4 2-2. Panel Light Guide Sub Assembly, Switch Flexible Unit ........................................................ 5 2-3. MAIN Board .................................................................... 6 3. TEST MODE ............................................................... 7 4. DIAGRAMS 4-1. Block Diagram – MAIN Section – .................................. 9 4-2. Printed Wiring Board – MAIN Board – .......................... 10 4-3. Schematic Diagram – MAIN Board (1/2) – .................... 11 4-4. Schematic Diagram – MAIN Board (2/2) – ................... 12 5. EXPLODED VIEWS ................................................. 16 6. ELECTRICAL PARTS LIST .................................. 17 Flexible Circuit Board Repairing - Keep the temperature of the soldering iron around 270 °C during repairing. - Do not touch the soldering iron on the same conductor of the circuit board (within 3 times). - Be careful not to apply force on the conductor when soldering or unsoldering. Notes on chip component replacement - Never reuse a disconnected chip component. - Notice that the minus side of a tantalum capacitor may be damaged by heat. UNLEADED SOLDER Boards requiring use of unleaded solder are printed with the lead- free mark (LF) indicating the solder contains no lead. (Caution: Some printed circuit boards may not come printed with the lead free mark due to their particular size) : LEAD FREE MARK Unleaded solder has the following characteristics. - Unleaded solder melts at a temperature about 40 °C higher than ordinary solder. Ordinary soldering irons can be used but the iron tip has to be applied to the solder joint for a slightly longer time. Soldering irons using a temperature regulator should be set to about 350 °C. Caution: The printed pattern (copper foil) may peel away if the heated tip is applied for too long, so be careful! - Strong viscosity Unleaded solder is more viscou-s (sticky, less prone to flow) than ordinary solder so use caution not to let solder bridges occur such as on IC pins, etc. - Usable with ordinary solder It is best to use only unleaded solder but unleaded solder may also be added to ordinary solder.
Page 2
3 RM-AX1400 SECTION 1 GENERAL This section is extracted from instruction manual. Location and function of controls 1 qj qh qk ql w; wa ws wd wf 2 3 4 5 6 7 8 9 q; qa qs qd qf qg The CHANNEL +, number 5 and N buttons have a tactile dot. 1 LIGHT button (pages 18) Used to brighten the button illumination in the dark. Press the button once to turn on/off the button illumination. 2 Organic EL display Displays the functions, setting menu and transmission/battery marks. 3 MULTI-FUNCTION buttons (pages 15) Used to select the desired function on the screen. 4 BACK button Used to return to the previous component or XPRESS function. 5 SYNC-UP button (pages 18) Used to synchronize the Remote Commander with the status of a component. 6 XPRESS buttons (pages 15) Used to perform the function. 7 Number/ENT buttons Used to change the channel. For example, to change to channel 5, press 0 and 5 (or press 5 and ENT). 8 Dot button 9 DIGITAL/ANALOG button q; VOL +/– buttons* (pages 17) Adjusts the volume. qa MUTING button* (pages 17) Silences the sound. Press the button to silence, and again to return to the previous volume level. qs GUIDE button qd OK and cursor buttons qf EXIT button qg Player control buttons Used to fast-rewind/play/fast- forward/record/stop/pause a component. qh ALL OFF button (pages 19) qj MORE button (pages 15) Used to display the functions on the screen by pressing repeatedly. qk CH +/– buttons Selects the channel. ql TWIN VIEW button w; RECALL button wa INFO button ws MENU button wd TOOLS button wf ABCD buttons Available for programming desired settings. Used to program various functions by using AX1400 Remote Editor. *Note on the VOL +/– and MUTING buttons When you select a visual component, the TVs volume will be controlled; when you select an audio component, the amplifier s volume will be controlled.