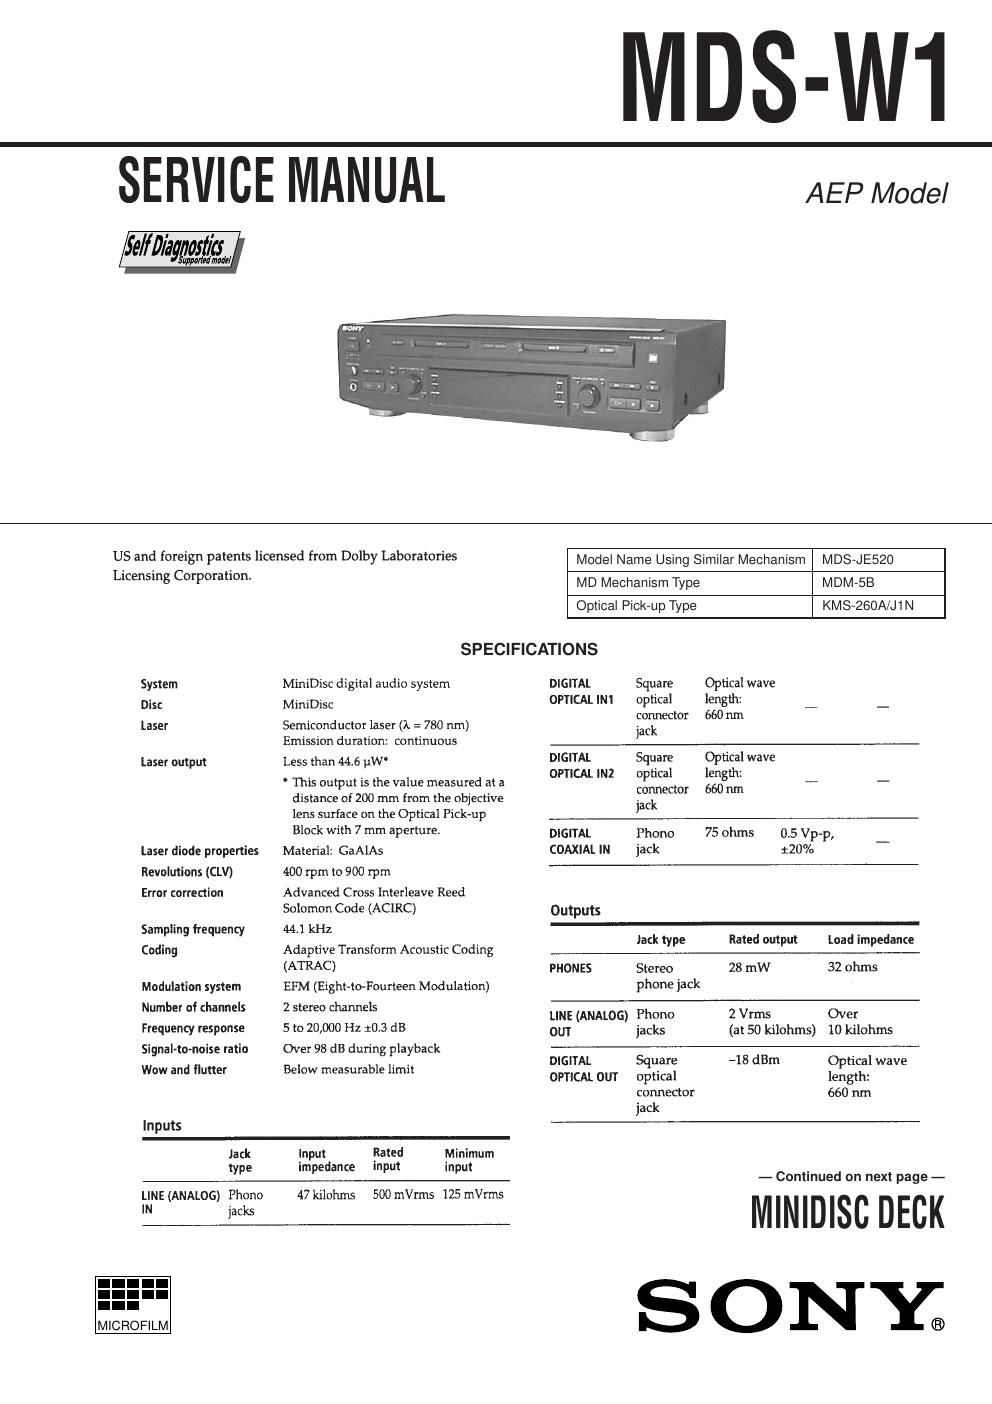
Sony mds w 1 service manual
This is the 104 pages manual for sony mds w 1 service manual.
Read or download the pdf for free. If you want to contribute, please upload pdfs to audioservicemanuals.wetransfer.com.
Extracted text from sony mds w 1 service manual (Ocr-read)
Page 1
Ð 2 Ð SELF-DIAGNOSIS FUNCTION The self-diagnosis function consists of error codes for customers which are displayed automatically when errors occur, and error codes which show the error history in the test mode during servicing. For details on how to view error codes for the customer, refer to the following box in the instruction manual. For details on how to check error codes during servicing, refer to the following ÒProcedure for using the Self- Diagnosis Function (Error History Display Mode)Ó. Procedure for using the Self-Diagnosis Function (Error History Display Mode). Note:Perform the self-diagnosis function in the Òerror history display modeÓ in the test mode. The following describes the least required procedure. Be careful not to enter other modes by mistake. If you set other modes accidentally, press the MENU/NO button to exit the mode. As this unit uses two mechanism Deck A and Deck B, it carries out self-diagnosis for each deck. For buttons or knobs not specified as (Deck A) or (Deck B) in the procedure, use that of the corresponding deck. 1. With the power ON, press the 0 (Deck B) button while pressing the OUTPUT and CLEAR (Deck A) buttons together. 2. Rotate the AMS knob and when Ò(Service)Ó is displayed, press the YES button. 3. Rotate the AMS knob and display ÒERR DP MODEÓ. 4. Pressing the YES button sets the error history mode and displays Òtotal recÓ. 5. Select the contents to be displayed or executed using the AMS knob. 6. Pressing the AMS knob will display or execute the contents selected. 7. Pressing the AMS knob another time returns to step 4. 8. Pressing the MENU/NO button displays ÒERROR DP MODEÓ and exits the error history mode. 9. To exit the test mode, press the MD SYNC button. The unit sets into the STANDBY state, and the test mode ends.
Page 2
Ð 3 Ð ITEMS OF ERROR HISTORY MODE ITEMS AND CONTENTS Selecting the Test Mode Display total rec total play retry err total err err history er refresh tm refreshDetails of Histor y No error Disc error. PTOC cannot be read (DISC ejected) Disc error. UTOC error (DISC not ejected) Loading error Address cannot be read (Servo has deviated)Displays the recording time. Displayed as Òr¹¹¹¹¹¹hÓ. The displayed time is the total time the laser is set to the high power state. This is about 1/4 of the actual recording time. The time is displayed in decimal digits from 0h to 65535h. Displays the play time. Displayed as Òp¹¹¹¹¹¹hÓ. The time displayed is the total actual play time. Pauses are not counted. The time is displayed in decimal digits from 0h to 65535h. Displays the total number of retries during recording and number of retry errors during play. Displayed as Òr¹¹ p¹¹Ó. ÒrÓ indicates the retries during recording while ÒpÓ indicates the retry errors during play. The number of retries and retry errors are displayed in hexadecimal digits from 00 to FF. Displays the total number of errors. Displayed as Òtotal ¹¹Ó. The number of errors is displayed in hexadecimal digits from 00 to FF. Displays the 10 latest errors. Displayed as Ò0¹ E@@Ó. ¹ indicates the history number. The smaller the number, the more recent is the error. (00 is the latest). @@ indicates the error code. Refer to the following table for the details. The error history can be switched by rotating the AMS knob. Mode which erases the Òretry errÓ, Òtotal errÓ, and Òerr historyÓ histories. When returning the unit to the customer after completing repairs, perform this to erase the past error history, After pressing the AMS button and Òer refresh?Ó is displayed, press the YES button to erase the history. ÒComplete!Ó will be displayed momentarily. Be sure to check the following when this mode has been executed. ¥ The data has been erased. ¥ The mechanism operates normally when recording and play are performed. Mode which erases the Òtotal recÓ and Òtotal playÓ histories. These histories serve as approximate indications of when to replace the optical pickup. If the optical pickup has been replaced, perform this operation and erase the history. After pressing the AMS button and Òtm refresh?Ó is displayed, press the YES button to erase the history. ÒComplete!Ó will be displayed momentarily. Be sure to check the following when this mode has been executed. ¥ The data has been erased. ¥ The mechanism operates normally when recording and play are performed. Table of Error Codes Error Code E00 E01 E02 E03 E04E05 E06 E07 E08 E09 E0AFOK has deviated Cannot focus (Servo has deviated) Recording retry Recording retry error Playback retry error (Access error) Play retry error (C2 error) Details of Error Error Code Details of Error