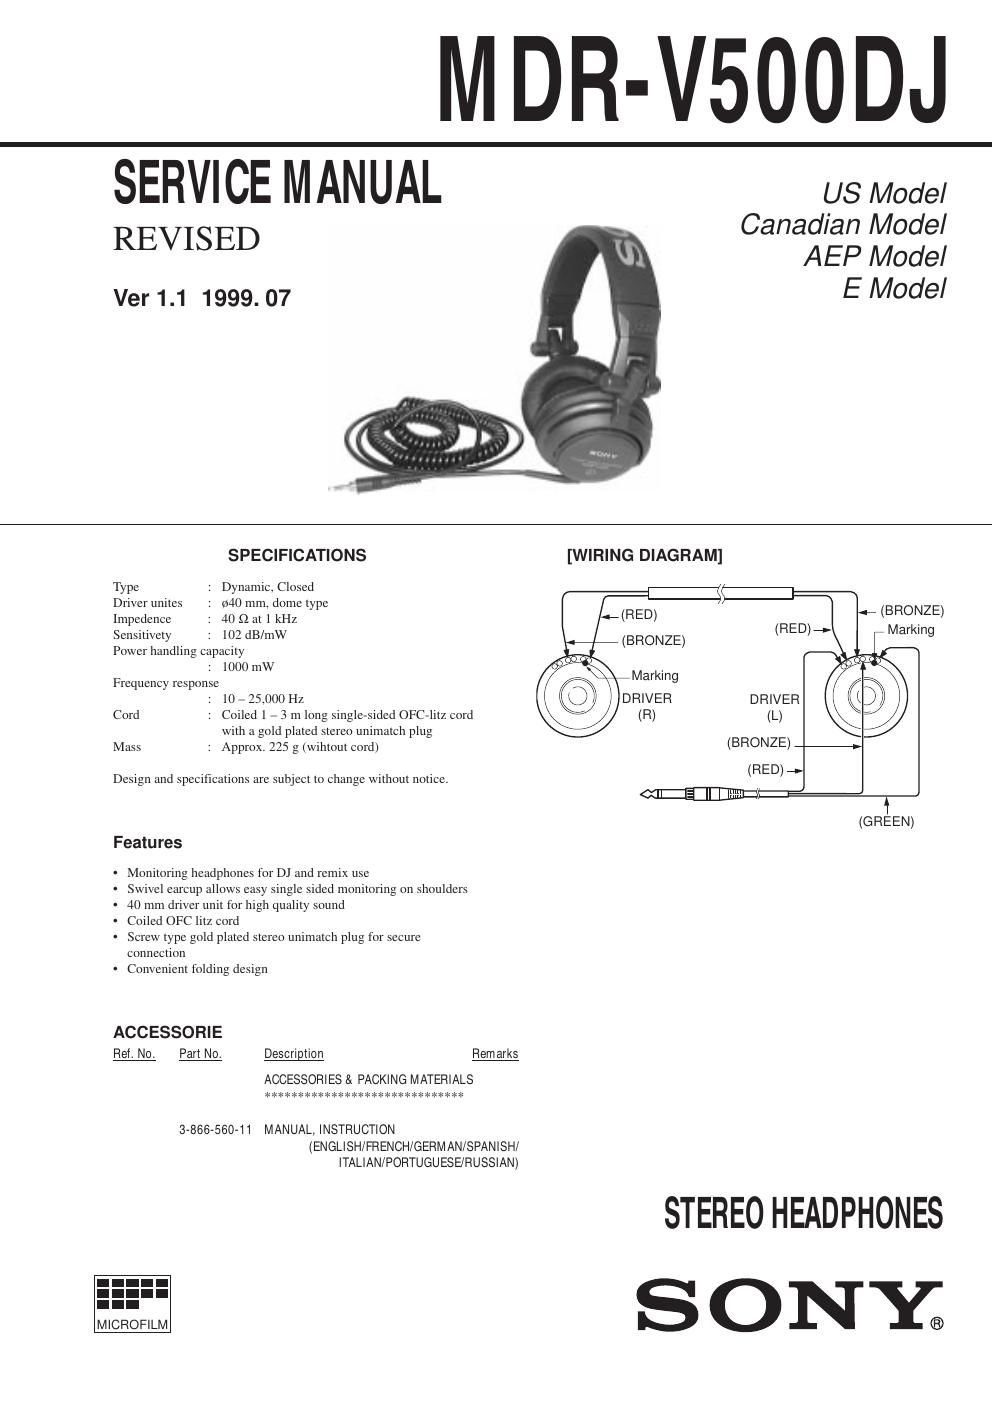
Sony mdr v 500 dj service manual
This is the 6 pages manual for sony mdr v 500 dj service manual.
Read or download the pdf for free. If you want to contribute, please upload pdfs to audioservicemanuals.wetransfer.com.
Extracted text from sony mdr v 500 dj service manual (Ocr-read)
Page 1
Ñ 2 Ñ SECTION 1 DISASSEMBLY Note :Disassemble the unit in the order as shown below. Note :Follow the disassembly procedure in the numerical order given. Set Driver (L side) Driver (R side) Cord (with plug) Hunger (R) Hunger (L) 1-1. DRIVER (L SIDE) 1-2. CORD (WITH PLUG) 1 Ear pad 2 Three screws (+P2.6 ´ 6) 3 Front assembly plate 4 Rotate it in the direction of the arrow. 6 Driver (headphone) (040F016) 5 Remove the five solderings Red Cord (with plug) Marking side Driver (L side) Green Precaution during installation Harness Natural 1 Remove the wiring bracket. 3 Two claws 2 Cord (with plug)A15mm 15mm 1 Bushing 3 Housing (L) 2 Housing ring (L) 4 Precaution during installation Hook the loop of the cordaround the rib of the portion A.Fasten the cord at the specified dimension as shown, to cut the excessive length.
Page 2
Ñ 3 Ñ 1-3. HUNGER (L) A 9 Slider cap lid (L) C 1 Two screws (+P2 ´ 6) 1 Two screws (+P2 ´ 6) 2 Two screws (+P2 ´ 6) 3 Slider cap (L) 4 2 Cushion stopper (upper) 3 Cushion stopper (lower) (L) 5 2 Ginbal (L) 1 Ginbal shaft 8 3 Hunger (L) 7 Harness 4 Claw 5 Slider 6 Slider holder (L side) 0 – 2 mm B Precaution during installation Precaution during installation Precaution during installation Adjust the distance between the slider holder and harness to the specified distance as shown. Route the harness into the groove and the rib of the portion A as shown. Place the hunger in the direction as shown and route the harness coming from the slider cap lid through the hole of the portion B on the Ginbal. Route the harness into the groove inside the portion C.