Sony mdr sa 5000 service manual

This is the 10 pages manual for sony mdr sa 5000 service manual.
Read or download the pdf for free. If you want to contribute, please upload pdfs to audioservicemanuals.wetransfer.com.

Page: 1 / 10
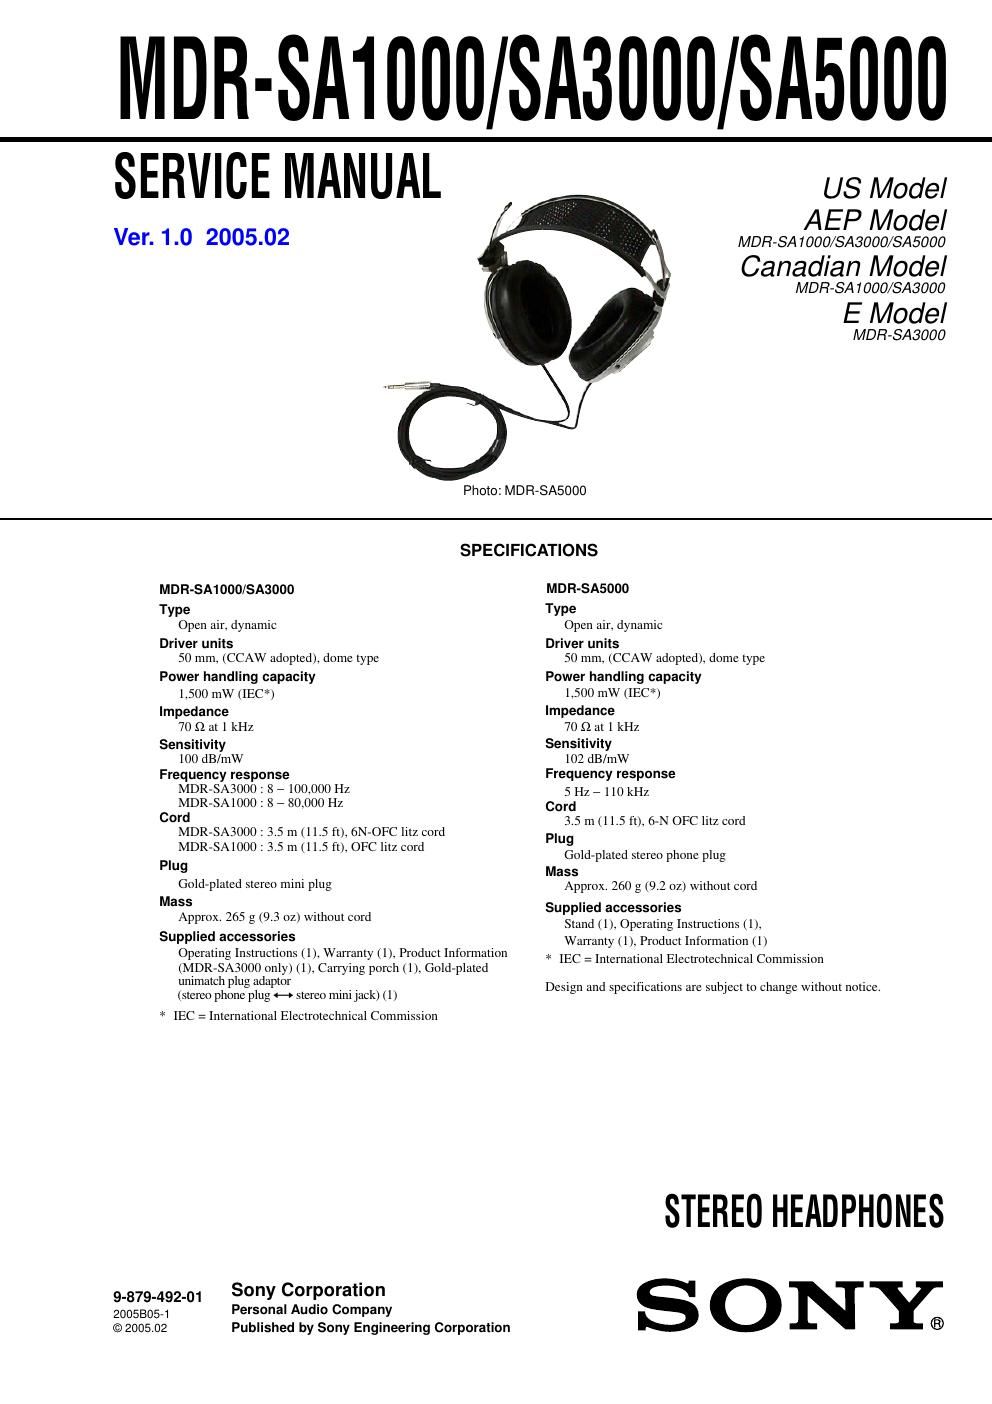
sony mdr sa 5000 service manual

Extracted text from sony mdr sa 5000 service manual (Ocr-read)


Page 1

2 MDR-SA1000/SA3000/SA5000 Note: Follow the disassembly procedure in the numerical order given. DRIVER (Lch/Rch) (For both left and right headphones, disassemble through the same procedure) SECTION 1 DISASSEMBLY 1 ear pad 2 four screws 3 Remove five solders of the head band cord and cord (with plug). 3 Remove two solders of the cord (with plug). 3 Remove two solders of the cord (with plug). 4 Rotate the driver (Lch/Rch) in the arrow direction to remove. 5 front plate assy cord (with plug) cord (with plug) cord (with plug) head band cord 3 Remove two solders of the head band cord. – DRIVER (Lch) – (SA1000/SA3000)– DRIVER (Rch) – (SA1000/SA3000) – DRIVER (Lch) – (SA5000)– DRIVER (Rch) – (SA5000) head band cord Connect a lead wire of the cord (with plug) (green) to the terminal with a marking. (The location of a marking may differ from the illustration.) Connect a lead wire of the head band cord (red) to the terminal with a marking. (The location of a marking may differ from the illustration.) Connect a lead wire of the head band cord (red) to the terminal with a marking. (The location of a marking may differ from the illustration.) Connect a lead wire of the head band cord (green) to the terminal with a marking. (The location of a marking may differ from the illustration.) Natural color lead wire connecting locations Natural color lead wire connecting locations Red color lead wire connecting locations Black color lead wire connecting locationsBlack color lead wire connecting locations

Page 2

3 MDR-SA1000/SA3000/SA5000 SECTION 2 EXPLODED VIEWS 2-1. HEADBAND SECTION (MDR-SA1000/SA3000) -Items marked * are not stocked since they are seldom required for routine service. Some delay should be anticipated when ordering these items. -The mechanical parts with no reference number in the exploded views are not supplied. -Accessories are given in the last of the parts list. NOTE: --XX and -X mean standardized parts, so they may have some difference from the original one. -Color Indication of Appearance Parts Example: KNOB, BALANCE (WHITE) . . . (RED) ↑↑ Parts Color Cabinet's Color 1 3 67910 311 81314 15 1214 3 10 16 17 4 18 28 19 21 21 3 20 12 5 4 2 housing (L) section housing (R) section Les composants identifiés par une marque 0 sont critiquens pour la sécurité. Ne les remplacer que par une pièce portant le numéro spécifié. The components identified by mark 0 or dotted line with mark 0 are critical for safety. Replace only with part number specified. Ref. No. Part No. Description Remark Ref. No. Part No. Description Remark 1 2-546-870-01 HANGER (R) (SA3000) 1 2-546-870-11 HANGER (R) (SA1000) 2 2-586-769-01 SEAL, HANGER 3 2-548-701-01 BUSHING (CORD) 4 3-254-070-11 SCREW 5 2-546-866-01 LID (R), HOLDER (SA3000) 5 2-546-866-11 LID (R), HOLDER (SA1000) 6 2-546-864-01 HOLDER (R) (SA3000) 6 2-546-864-11 HOLDER (R) (SA1000) 7 X-2050-496-1 SLIDER (R) ASSY 8 2-548-700-01 RING, RETAINING 9 2-546-860-01 CLICK CASE (R) (SA3000) 9 2-546-860-11 CLICK CASE (R) (SA1000) 10 2-546-883-01 SPRING (CLICK) 11 X-2025-345-1 HEADBAND ASSY 12 2-549-692-01 RETAINER, BAND13 2-546-862-01 LID (R), CLICK CASE (SA3000) 13 2-546-862-11 LID (R), CLICK CASE (SA1000) 14 3-253-143-01 SCREW (B2.6), (+) P TAPPING 15 2-546-861-01 LID (L), CLICK CASE (SA3000) 15 2-546-861-11 LID (L), CLICK CASE (SA1000) 16 2-546-859-01 CLICK CASE (L) (SA3000) 16 2-546-859-11 CLICK CASE (L) (SA1000) 17 X-2050-495-1 SLIDER (L) ASSY 18 2-546-865-01 LID (L), HOLDER (SA3000) 18 2-546-865-11 LID (L), HOLDER (SA1000) 19 2-546-863-01 HOLDER (L) (SA3000) 19 2-546-863-11 HOLDER (L) (SA1000) 20 2-546-869-01 HANGER (L) (SA3000) 20 2-546-869-11 HANGER (L) (SA1000) 21 3-032-552-01 EMBLEM (NO 2.5), SONY