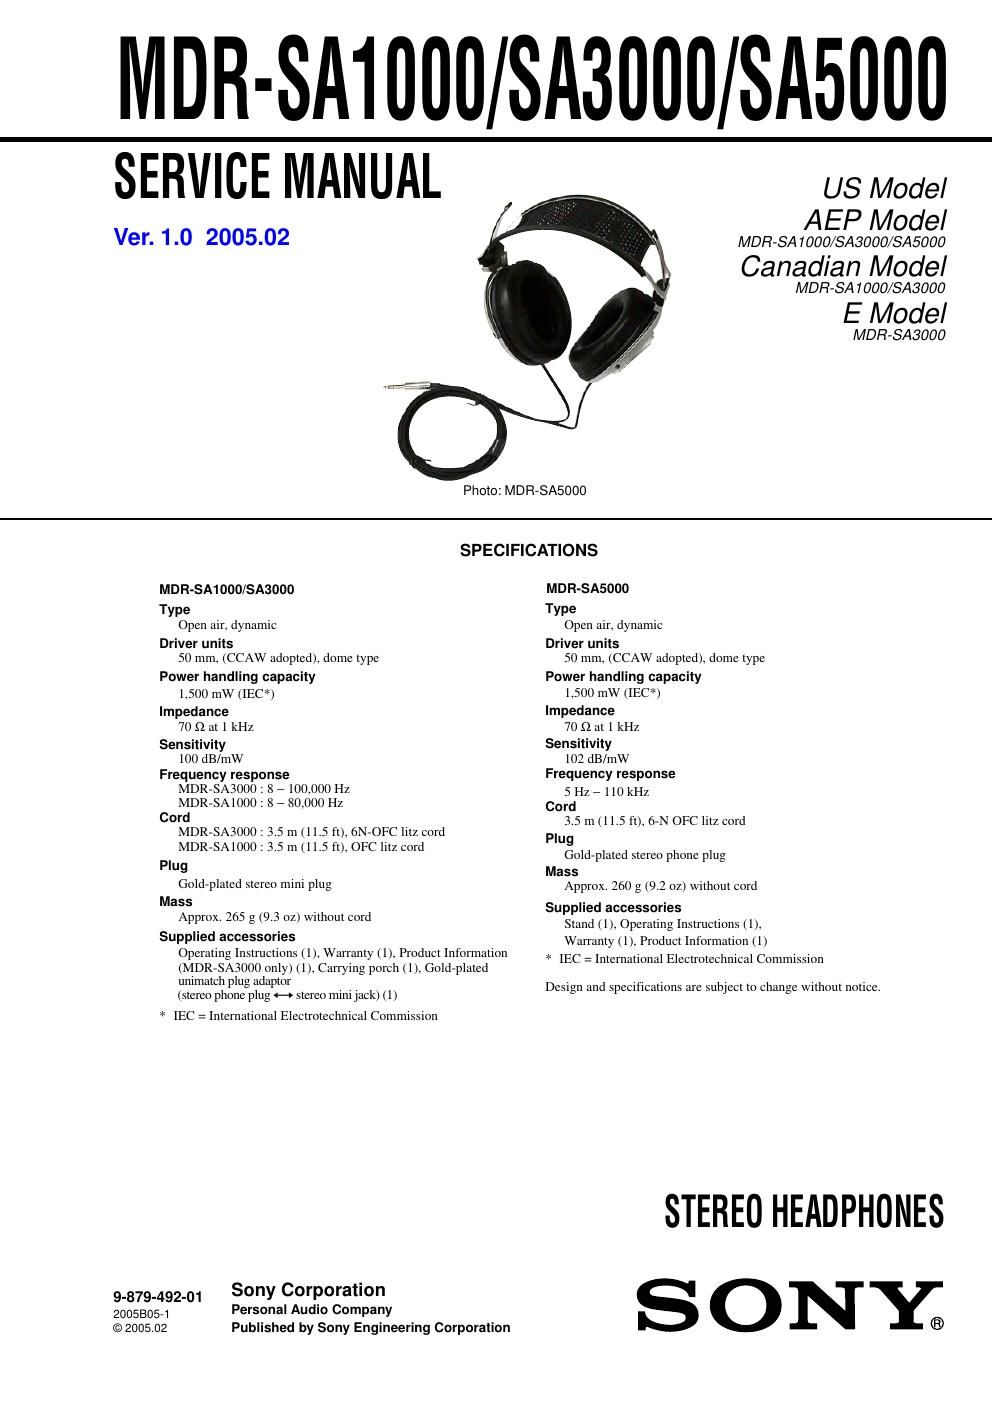
Sony mdr sa 3000 service manual
This is the 10 pages manual for sony mdr sa 3000 service manual.
Read or download the pdf for free. If you want to contribute, please upload pdfs to audioservicemanuals.wetransfer.com.
Extracted text from sony mdr sa 3000 service manual (Ocr-read)
Page 1
2 MDR-SA1000/SA3000/SA5000 Note: Follow the disassembly procedure in the numerical order given. DRIVER (Lch/Rch) (For both left and right headphones, disassemble through the same procedure) SECTION 1 DISASSEMBLY 1 ear pad 2 four screws 3 Remove five solders of the head band cord and cord (with plug). 3 Remove two solders of the cord (with plug). 3 Remove two solders of the cord (with plug). 4 Rotate the driver (Lch/Rch) in the arrow direction to remove. 5 front plate assy cord (with plug) cord (with plug) cord (with plug) head band cord 3 Remove two solders of the head band cord. – DRIVER (Lch) – (SA1000/SA3000)– DRIVER (Rch) – (SA1000/SA3000) – DRIVER (Lch) – (SA5000)– DRIVER (Rch) – (SA5000) head band cord Connect a lead wire of the cord (with plug) (green) to the terminal with a marking. (The location of a marking may differ from the illustration.) Connect a lead wire of the head band cord (red) to the terminal with a marking. (The location of a marking may differ from the illustration.) Connect a lead wire of the head band cord (red) to the terminal with a marking. (The location of a marking may differ from the illustration.) Connect a lead wire of the head band cord (green) to the terminal with a marking. (The location of a marking may differ from the illustration.) Natural color lead wire connecting locations Natural color lead wire connecting locations Red color lead wire connecting locations Black color lead wire connecting locationsBlack color lead wire connecting locations