Sony mdr rf 920 r service manual

This is the 22 pages manual for sony mdr rf 920 r service manual.
Read or download the pdf for free. If you want to contribute, please upload pdfs to audioservicemanuals.wetransfer.com.

Page: 1 / 22
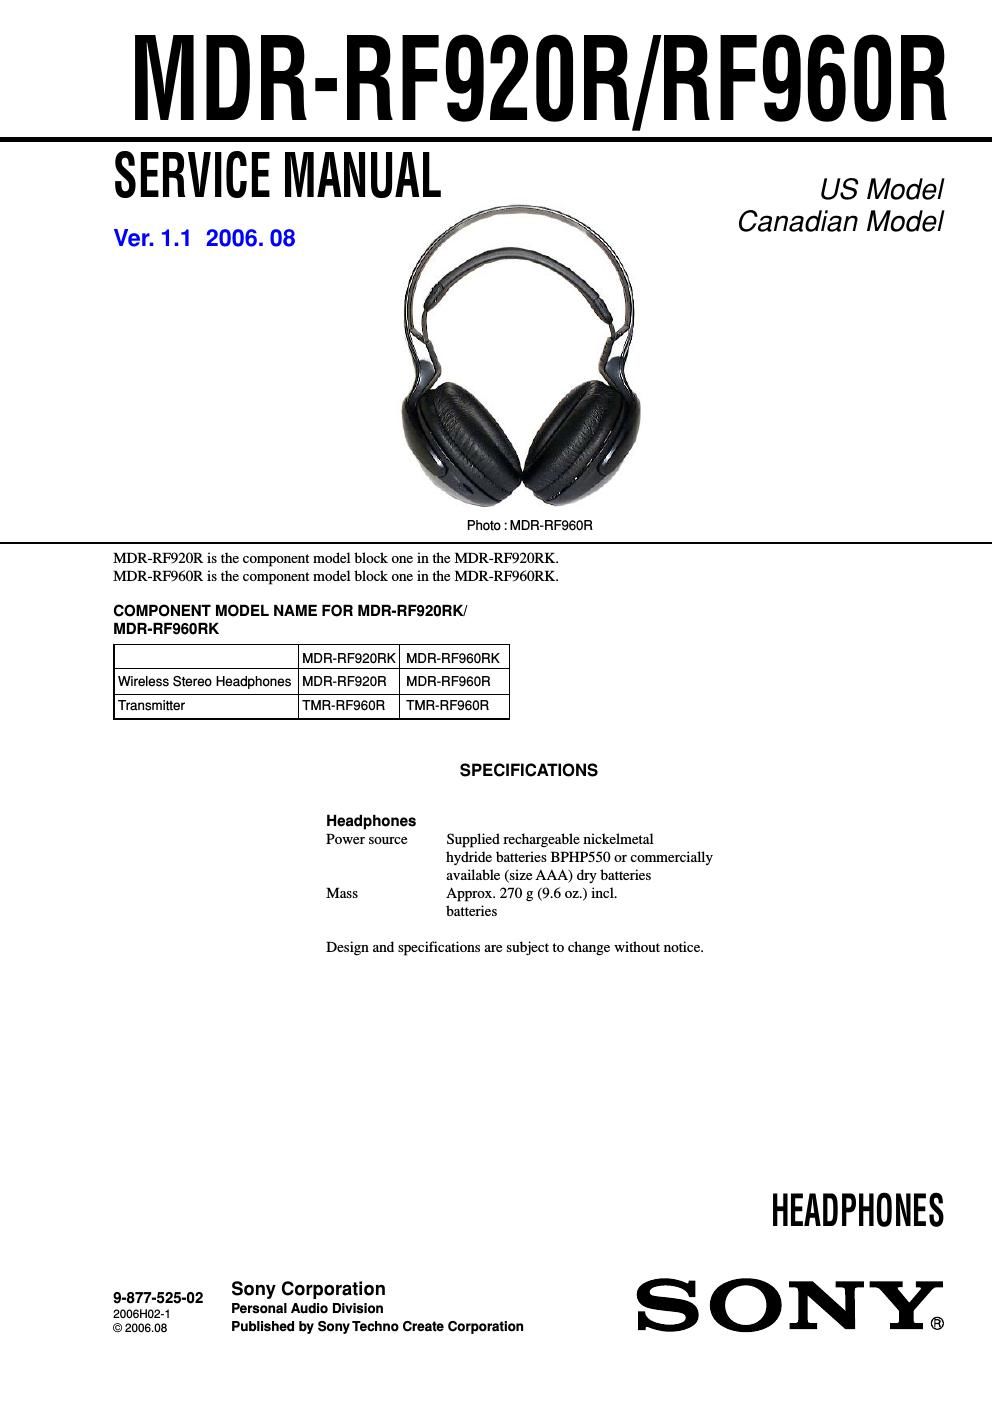
sony mdr rf 920 r service manual

Extracted text from sony mdr rf 920 r service manual (Ocr-read)


Page 1

2 MDR-RF920R/RF960R TABLE OF CONTENTS Specifications ........................................................................\ .... 1 1. GENERAL ................................................................... 2 2. DISASSEMBLY 2-1. Disassembly Flow ................................................... 3 2-2. Front Plate (R) Assy ................................................ 3 2-3. Front Plate (L) Assy ................................................ 4 2-4. SW Board ................................................................ 5 2-5. How to Hang The Tension Spring ........................... 5 3. ELECTRICAL ADJUSTMENTS .......................... 7 3-1. Free Run Frequency Check and Adjustment ........... 7 3-2. Receive Frequency Check and Adjustment ............ 7 3-3. Carrier Modulation Check ...................................... 7 3-4. Separation Check .................................................... 7 3-5. Free Run Frequency Check and Adjustment ........... 8 3-6. Receive Frequency Check and Adjustment ............ 8 3-7. Carrier Modulation Check ...................................... 8 3-8. Separation Check .................................................... 8 4. DIAGRAMS 4-1. Block Diagrams ............................................................... 11 4-2. Schematic Diagram – RX-Base Section (RF920R)– ...... 12 4-3. Schematic Diagram – RX-Base Section (RF960R)– ...... 13 4-4. Printed Wiring Boards– RX-Base Section– .................... 14 4-5. Schematic Diagram – RX-FE Section– ........................... 15 4-6. Printed Wiring Boards– RX-FE Section– ....................... 16 5. EXPLODED VIEWS ................................................. 17 6. ELECTRICAL PARTS LIST .................................. 18 SECTION 1 GENERAL 5 Turn up the volume to a moderate level with the VOL control. A MDR-RF960R Press the TUNE button briefly for automatic tuning of the headphones. If you do not receive a clear audio signal, press it again. B MDR-RF920R Tune the headphones into the frequency of the transmitter with the TUNE control until you can hear the audio signal loud and clear. Follow steps 3 and 5 above until thereceiving performance becomes better. off when the y are taken off – Auto power on/off function Do not pull up the self-adjusting band when not in use, as this will consume the battery power. VOL control VOL control TUNE TUNE TUNE button TUNE control The headphones automatically turn Flexible Circuit Board Repairing - Keep the temperature of the soldering iron around 270 °C during repairing. - Do not touch the soldering iron on the same conductor of the circuit board (within 3 times). - Be careful not to apply force on the conductor when soldering This section is extracted from instruction manual.

Page 2

3 MDR-RF920R/RF960R SECTION 2 DISASSEMBLY Note: Follow the disassembly procedure in the numerical order given. 2-2. FRONT PLATE (R) ASSY - This set can be disassembled in the order shown below. 2-1. DISASSEMBLY FLOW Set2-2. Front Plate (R) assy (Page 3) 2-3. Front Plate (L) assy (Page 4)2-4. SW baord (Page 5) 1 ear pad (R) 2 three screws (+B2.6) 3 front plate (R) sub assy 7 RX-BASE board 8 craw q; housing cap (R) 9 craws 4 Remove solder (2 places) 6 Remove solder (4 places) NAT driver (R-CH) RED to RX-BASE boardto driver (L-CH) housing (R) sub assyto RX BATTERY board 5 RX-BASE board NAT NAT GRN RED