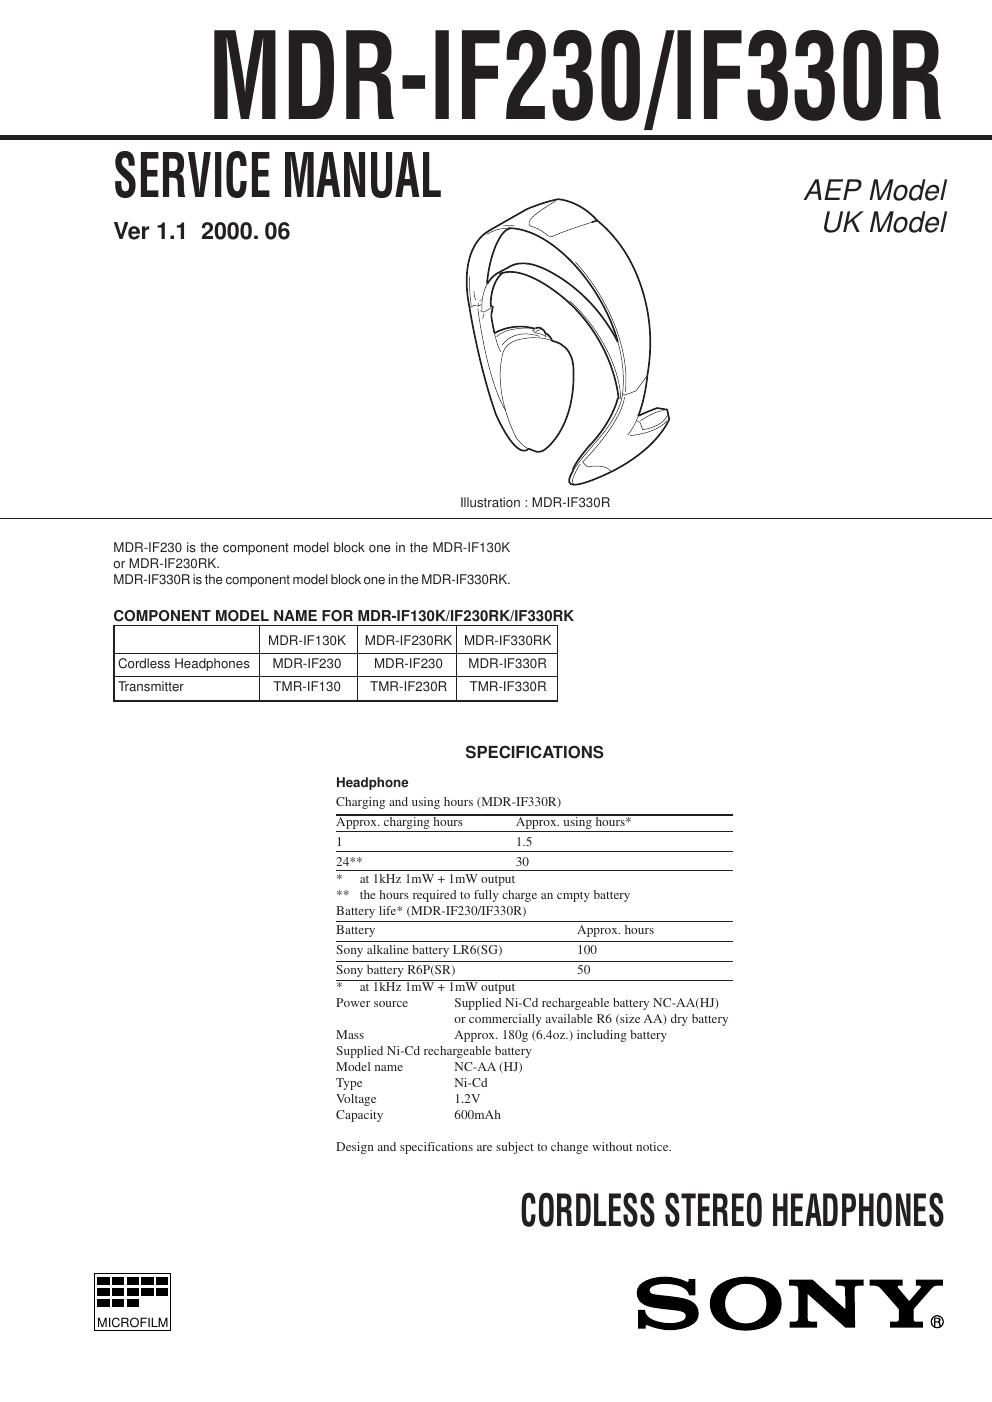
Sony mdr if 330 r service manual
This is the 8 pages manual for sony mdr if 330 r service manual.
Read or download the pdf for free. If you want to contribute, please upload pdfs to audioservicemanuals.wetransfer.com.
Extracted text from sony mdr if 330 r service manual (Ocr-read)
Page 1
Ð 2 Ð SECTION 1 DISASSEMBLY Note : Follow the disassembly procedure in the numerical order given. 1-1. RX BOARD REMOVAL 1-2. PD BOARD REMOVAL 5 Screw +P (2x6) 4 Screws +P (2x6) 2 Screw (M 1.7x4 ) 4 Screw +P (2x6) Cover (R), hanger RX board Hanger (R) SP2 Pat, ear 7 6 3 1 4 Screw +P (2x6) 4 Screws +P (2x6) 2 Screw (M 1.7x4) 5 Screw +P (2x6) Cover (L), hanger PD boardHanger (L)Lid, battery case SP1 Pat, ear 7 38 6 1 r The equipment can be remo ved using the f ollo wing pr ocedure . Set Cover (R), hanger RX board Cover (L), hanger PD board
Page 2
Ð 4 Ð Ð 3 Ð TUNING Adjustment Preparation : 1. Feed a signal to jig (transmitter) and connect a power supply to DC IN jack (J4). 2. Apply DC 1.2V between TP (VCC) and TP (GND) on the RX board. 3. Set the RV1 (VOL) on the RX board to the minimum position. SECTION 2 ELECTRICAL ADJUSTMENT Note : 1. The transmitter section adjustments should be completed before performing the headphones section adjustment. 2. On adjusting the headphones section, use the transmitter as a jig. Headphones Transmitter TMR-IF130 MDR-IF230 or TMR-IF230R MDR-IF330R TMR-IF330R 3. The headphones section adjustment must be made with PD board connected to the RX board with the specified wire. 4. The MUTE ON POINT adjustment must be made while taking care of the photodiodes (D1, D2, D101, D102) not to be ex- posed directly to external lights (such as incandescent lamp and sun light). Transmitter AUDIO IN B jack (J1) 1kHz 245mV (–10dB) AF OSC ATTJig 600 W C35 C55 C 3L 1 TP51 TP31 L53 L32 TP3 TP2TP (VCC)TP (GND) TP (SW) regulated DC power suppluy 1.2V DC distortion meter TP51 (R-CH) TP31 (L-CH) RV1 (VOL)TP (VCC) TP (GND) L32 : Tuning Adjustment (L-CH ) L53 : Tuning Adjustment (R-CH) [RX BOARD] (Conductor side) Procedure : 1. Connect the distortion meter to TP31 (L-ch) and TP51 (R-ch). 2. Turn on the power. 3. Adjust with L32 (L-ch) and L53 (R-ch) to minimize the reading on the distortion meter. Connection and Adjustment Location :MUTE ON POINT Adjustment Connection and Adjustments Location : Procedure : 1. Short the circuit between TP2 and TP3. 2. Note down the level meter read at this time. 3. Release the short-circuit between TP2 and TP3. 4. Adjust RV2 so that the level meter read is 5dB to 10dB below the value noted down at step 2. C35 C55 C 3L 1 TP51 TP31 TP3 TP2TP (VCC) TP (SIG)TP (GND) TP (SW) RV2 regulated DC power suppluy 1.2V DC level meter TP51 (R-CH) TP51 (R-CH) TP3 RV2 : Mute ON point Adjustment TP2 TP (SIG) 10k W 0.1 mFTP (VCC) TP (GND) [RX BOARD] (Conductor side) FM RF signal generator Carrier frequency : 2.8MHz Modulation : 1kHz Deviation : 16kHz Output level : 34dB mV