Sony icf cd 2000 service manual

This is the 44 pages manual for sony icf cd 2000 service manual.
Read or download the pdf for free. If you want to contribute, please upload pdfs to audioservicemanuals.wetransfer.com.

Page: 1 / 44
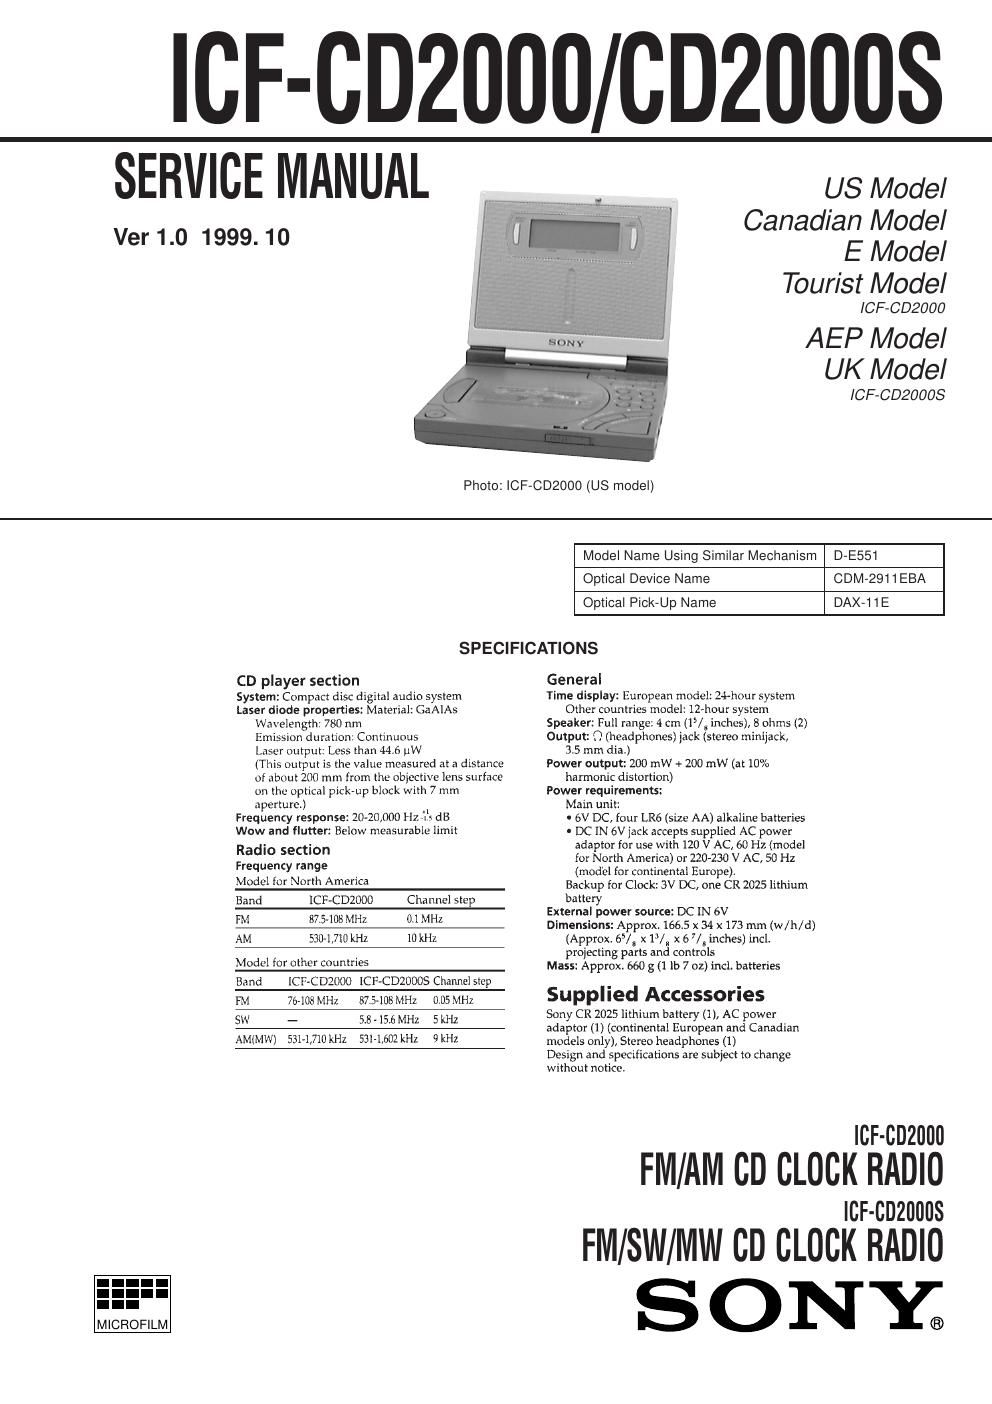
sony icf cd 2000 service manual

Extracted text from sony icf cd 2000 service manual (Ocr-read)


Page 1

Ð 2 Ð TABLE OF CONTENTS 1. SERVICING NOTES ................................................ 3 2. GENERAL ................................................................... 5 3. DISASSEMBLY ......................................................... 8 4. SERVICE MODE ...................................................... 11 5. TEST MODE .............................................................. 12 6. ELECTRICAL ADJUSTMENTS ......................... 15 7. DIAGRAMS 7-1. IC Pin Function Description ........................................... 21 7-2. Block Diagram Ð CD Section Ð ..................................... 23 7-3. Block Diagram Ð Main Section Ð ................................... 27 7-4. Printed Wiring Boards Ð MAIN/JACK Boards Ð .......... 31 7-5. Schematic Diagram Ð MAIN/JACK Boards Ð .............. 35 7-6. Printed Wiring Boards Ð LCD/KEY Boards Ð .............. 40 7-7. Schematic Diagram Ð LCD/KEY Boards Ð ................... 45 8. EXPLODED VIEWS ................................................ 53 9. ELECTRICAL PARTS LIST ............................... 57Flexible Circuit Board Repairing ¥ Keep the temperature of the soldering iron around 270 ûC dur- ing repairing. ¥ Do not touch the soldering iron on the same conductor of the circuit board (within 3 times). ¥ Be careful not to apply force on the conductor when soldering or unsoldering. Notes on chip component replacement ¥ Never reuse a disconnected chip component. ¥ Notice that the minus side of a tantalum capacitor may be dam- aged by heat. ATTENTION AU COMPOSANT AYANT RAPPORT Ë LA SƒCURITƒ! LES COMPOSANTS IDENTIFIƒS PAR UNE MARQUE 0 SUR LES DIAGRAMMES SCHƒMATIQUES ET LA LISTE DES PIéCES SONT CRITIQUES POUR LA SƒCURITƒ DE FONCTIONNEMENT. NE REMPLACER CES COM- POSANTS QUE PAR DES PIéCES SONY DONT LES NUMƒROS SONT DONNƒS DANS CE MANUEL OU DANS LES SUPPLƒMENTS PUBLIƒS PAR SONY. SAFETY-RELATED COMPONENT WARNING!! COMPONENTS IDENTIFIED BY MARK 0 OR DOTTED LINE WITH MARK 0 ON THE SCHEMATIC DIAGRAMS AND IN THE PARTS LIST ARE CRITICAL TO SAFE OPERATION. REPLACE THESE COMPONENTS WITH SONY PARTS WHOSE PART NUMBERS APPEAR AS SHOWN IN THIS MANUAL OR IN SUPPLEMENTS PUB- LISHED BY SONY. CAUTION Use of controls or adjustments or performance of procedures other than those specified herein may result in hazardous ra- diation exposure. This appliance is classified as a CLASS 1 LASER product. The CLASS 1 LASER PRODUCT MARKING is located on the rear exterior. Laser component in this product is capable of emitting radiation exceeding the limit for Class 1. HOW TO CHANGED THE CERAMIC FILTERS This model is used two ceramic filters of CF1 and CF3. You must use same type of color marked ceramic filters in order to meet same specifications. Therefore, the ceramic filter must be changed two pieces together since itÕs supply two pieces in one package as a spare parts.

Page 2

Ð 3 Ð SECTION 1 SERVICING NOTES NOTES ON HANDLING THE OPTICAL PICK-UP BLOCK OR BASE UNIT The laser diode in the optical pick-up block may suffer electro- static breakdown because of the potential difference generated by the charged electrostatic load, etc. on clothing and the human body. During repair, pay attention to electrostatic breakdown and also use the procedure in the printed matter which is included in the repair parts. The flexible board is easily damaged and should be handled with care. Before Replacing the Optical Pick-Up Block Please be sure to check thoroughly the parameters as par the ÒOp- tical Pick-Up Block Checking ProceduresÓ (Part No.: 9-960-027- 11) issued separately before replacing the optical pick-up block. Note and specifications required to check are given below. ¥ FOK output: IC501 ts pin ¥ S curve P-to-P value: 1.2 Vp-p IC501 wa pin When checking S curve P-to-P value, remove the lead wire to disc motor. ¥ RF signal P-to-P value: 0.8 to 1.3 Vp-p ¥ Traverse signal P-to-P value: 0.7 to 1.8 Vp-p ¥ The repairing grating holder is impossible.Precautions for Checking Emission of Laser Diode Laser light of the equipment is focused by the object lens in the optical pick-up so that the light focuses on the reflection surface of the disc. Therefore, be sure to keep your eyes more then 30 cm apart from the object lens when you check the emission of laser diode. Laser Diode Checking Methods During normal operation of the equipment, emission of the laser diode is prohibited unless the upper panel is closed while turning ON the S423. (push switch type) However, in the service mode, the laser diode always emits light even if S423 is not turned on. The following two checking methods for the laser diode are oper- able. ¥ Method-1 (In the service mode or normal operation): Emission of the laser diode is visually checked. 1. Open the upper lid. 2. Push the S423 as shown in Fig. 1. (Unnecessary in the service mode) 3. Press the [CD ] key. 4. Check the object lens for confirming normal emission of the laser diode. If not emitting, there is a trouble in the automatic power control circuit or the optical pick-up. During normal operation, the laser diode is turned ON about 2.5 seconds for focus searching. Fig. 1 Method to push the S423 u