Sony hcd vx 555 service manual

This is the 86 pages manual for sony hcd vx 555 service manual.
Read or download the pdf for free. If you want to contribute, please upload pdfs to audioservicemanuals.wetransfer.com.

Page: 1 / 86
sony hcd vx 555 service manual

Extracted text from sony hcd vx 555 service manual (Ocr-read)


Page 1

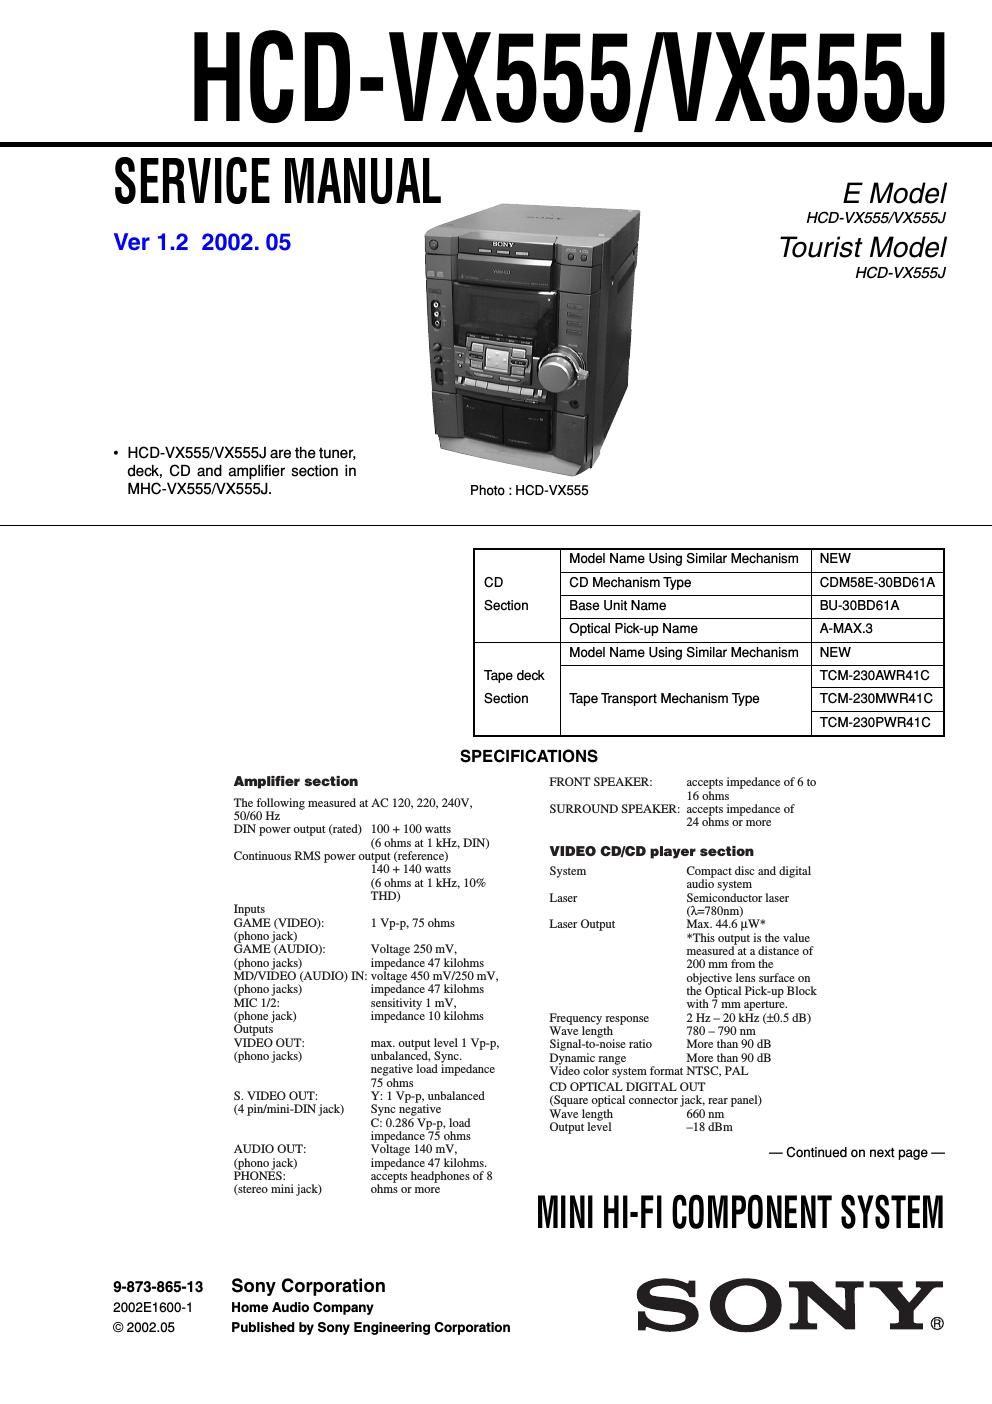
2 HCD-VX555/VX555J This appliance is classified as a CLASS 1 LASER product. The CLASS 1 LASER PRODUCT MARKING is located on the rear exterior. Laser component in this product is capable of emitting radiation exceeding the limit for Class 1. CAUTION Use of controls or adjustments or performance of procedures other than those specified herein may result in hazardous radiation exposure. Notes on chip component replacement -Never reuse a disconnected chip component. -Notice that the minus side of a tantalum capacitor may be damaged by heat. Flexible Circuit Board Repairing -Keep the temperature of soldering iron around 270˚C during repairing. -Do not touch the soldering iron on the same conductor of the circuit board (within 3 times). -Be careful not to apply force on the conductor when soldering or unsoldering. NOTES ON HANDLING THE OPTICAL PICK-UP BLOCK OR BASE UNIT The laser diode in the optical pick-up block may suffer electrostatic break-down because of the potential difference generated by the charged electrostatic load, etc. on clothing and the human body. During repair, pay attention to electrostatic break-down and also use the procedure in the printed matter which is included in the repair parts. The flexible board is easily damaged and should be handled with care. NOTES ON LASER DIODE EMISSION CHECK The laser beam on this model is concentrated so as to be focused on the disc reflective surface by the objective lens in the optical pick- up block. Therefore, when checking the laser diode emission, observe from more than 30 cm away from the objective lens. SAFETY-RELATED COMPONENT WARNING!! COMPONENTS IDENTIFIED BY MARK 0 OR DOTTED LINE WITH MARK 0 ON THE SCHEMATIC DIAGRAMS AND IN THE PARTS LIST ARE CRITICAL TO SAFE OPERATION. REPLACE THESE COMPONENTS WITH SONY PARTS WHOSE PART NUMBERS APPEAR AS SHOWN IN THIS MANUAL OR IN SUPPLEMENTS PUBLISHED BY SONY. Tape player section Recording system 4-track 2-channel stereo Frequency response 40 – 13,000 Hz (±3 dB), using Sony TYPE I cassette Wow and flutter±0.15% W.Peak (IEC) 0.1% W.RMS (NAB) ±0.2% W.Peak (DIN) Tuner section FM stereo, FM/AM superheterodyne tuner FM tuner section Tuning range 87.5 – 108.0 MHz Antenna FM lead antenna Antenna terminals 75 ohm unbalanced Intermediate frequency 10.7 MHz AM tuner section Tuning range Middle Eastern models: 531 – 1,602 kHz (with the interval set at 9 kHz) Other models: 531 – 1,602 kHz (with the interval set at 9 kHz) 530 – 1,710 kHz (with the interval set at 10 kHz) Antenna AM loop antenna Antenna terminals External antenna terminal Intermediate frequency 450 kHz General Power requirements Thailand models: 220 V AC, 50/60 Hz Other models: 120 V, 220 V or 230 – 240 V AC, 50/60 Hz Adjustable with voltage selector Power consumption 270 watts Dimensions (w/h/d) Approx. 280 x 360 x 425 mm Mass : Approx. 9.5 kg Supplied accessories: AM loop antenna (1) Remote commander (1) Batteries (2) Video cable (1) FM lead antenna (1) Front speaker pads (8) Design and specifications are subject to change without notice.

Page 2

3 HCD-VX555/VX555J TABLE OF CONTENTS 1. GENERAL ··········································································4 2. DISASSEMBLY ································································6 3. TEST MODE ····································································12 4. MECHANICAL ADJUSTMENTS ·····························15 5. ELECTRICAL ADJUSTMENTS ·······························15 6. DIAGRAMS······························································· 21 6-1. Circuit Board Location·················································22 6-2. Block Diagrams····························································24 6-3. Printed Wiring Board Main Section··························27 6-4. Schematic Diagram Main Section (1/4)····················28 6-5. Schematic Diagram Main Section (2/4)····················29 6-6. Schematic Diagram Main Section (3/4)····················30 6-7. Schematic Diagram Main Section (4/4)····················31 6-8. Printed Wiring Board BD Section·····························32 6-9. Schematic Diagram BD Section································33 6-10. Printed Wiring Board AMP Section·························34 6-11. Schematic Diagram AMP Section···························35 6-12. Printed Wiring Board Panel Section························36 6-13. Schematic Diagram Panel Section···························37 6-14. Printed Wiring Board Panel SW Section·················38 6-15. Schematic Diagram Panel SW Section····················39 6-16. Printed Wiring Board Leaf SW Section···················40 6-17. Schematic Diagram Leaf SW Section·····················41 6-18. Printed Wiring Board Driver Section·······················42 6-19. Schematic Diagram Driver Section·························43 6-20. Printed Wiring Board Video Section························44 6-21. Schematic Diagram Video Section (1/3)··················45 6-22. Schematic Diagram Video Section (2/3)··················46 6-23. Schematic Diagram Video Section (3/3)··················47 6-24. Printed Wiring Board Trans Section························48 6-25. Schematic Diagram Trans Section···························49 6-26. Printed Wiring Board Switch Section······················50 6-27. Schematic Diagram Switch Section·························50 6-28. IC Pin Function Description·······································51 6-29. IC Block Diagrams·····················································58 7. EXPLODED VIEWS 7-1. Cabinet Section·····························································60 7-2. Front Panel Section·······················································61 7-3. MAIN Board Section····················································62 7-4. Tape Mechanism Section-1(TCM-230MWR41C)·······63 7-5. Tape Mechanism Section-2(TCM-230AWR41C)········64 7-6. Tape Mechanism Section-3 (TCM-230PWR41C)(1/2)············································65 7-7. Tape Mechanism Section-4 (TCM-230PWR41C)(2/2)············································66 7-8. CD Mechanism Deck Section (CDM58E-30BD61A)··67 7-9. Base Unit Section (BU-30BD61A)······························68 8. ELECTRICAL PARTS LIST ·······································69