Sony d ne 510 service manual

This is the 32 pages manual for sony d ne 510 service manual.
Read or download the pdf for free. If you want to contribute, please upload pdfs to audioservicemanuals.wetransfer.com.

Page: 1 / 32
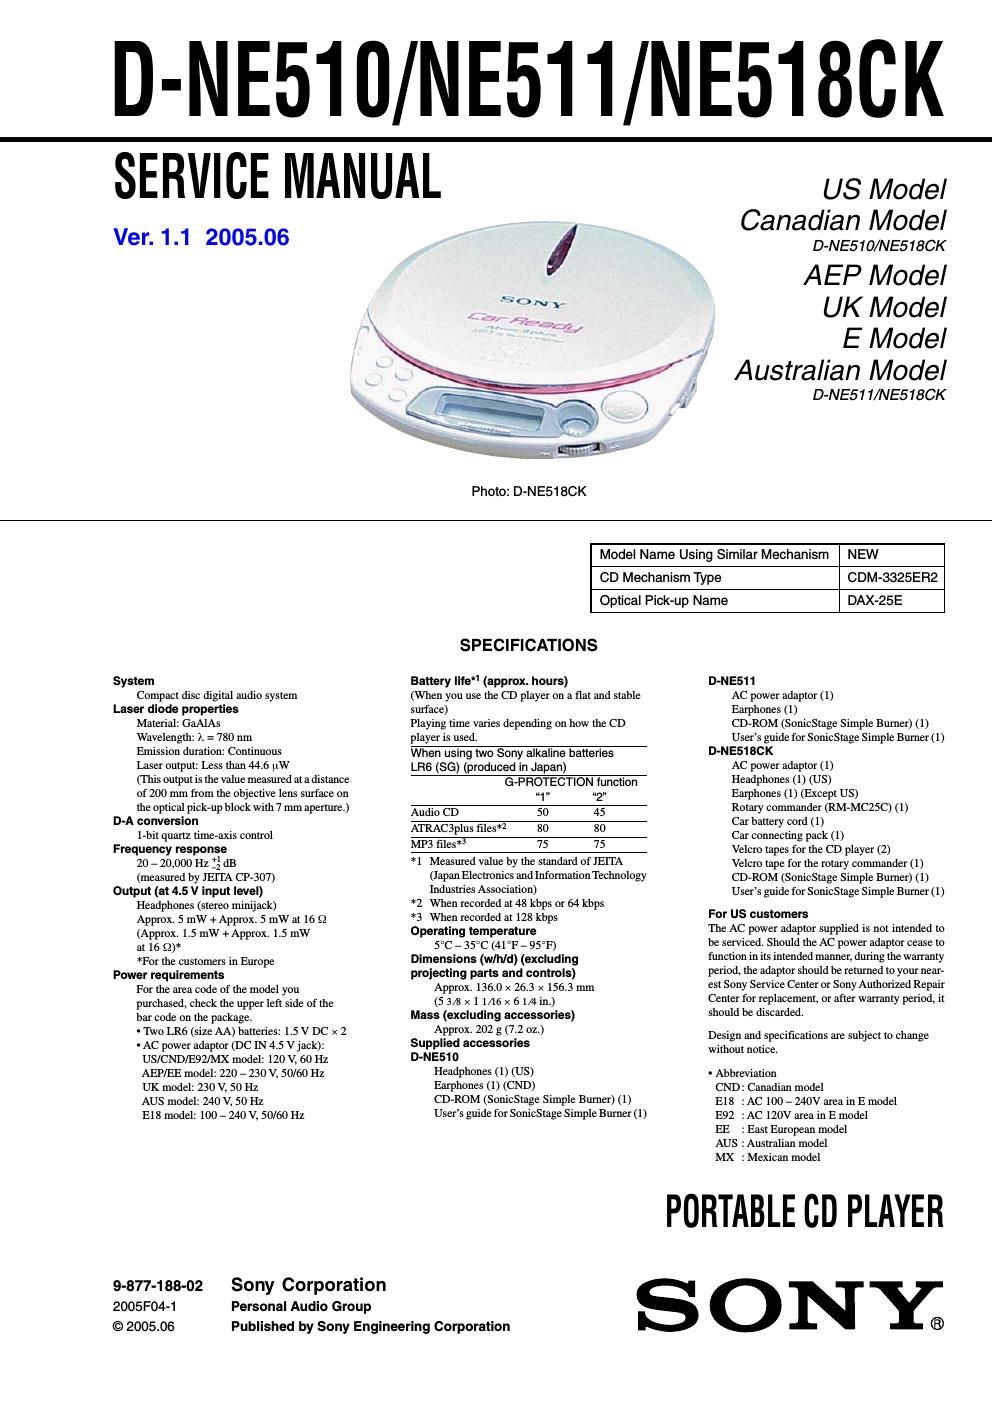
sony d ne 510 service manual

Extracted text from sony d ne 510 service manual (Ocr-read)


Page 1

2 Flexible Circuit Board Repairing -Keep the temperature of the soldering iron around 270°C during repairing. -Do not touch the soldering iron on the same conductor of the circuit board (within 3 times). -Be careful not to apply force on the conductor when soldering or unsoldering. Notes on Chip Component Replacement -Never reuse a disconnected chip component. -Notice that the minus side of a tantalum capacitor may be damaged by heat. TABLE OF CONTENTS 1. SERVICE NOTE ................................................................. 3 2. GENERAL Locating the controls ............................................................... 4 3. DISASSEMBLY 3-1. Lid (Upper) Assy ................................................................. 5 3-2. Cabinet (Front) Assy ........................................................... 6 3-3. Main Board ......................................................................... 6 4. ELECTRICAL ADJUSTMENTS 4-1. Focus Bias Check ................................................................ 7 5. DIAGRAMS 5-1. IC Pin Descriptions ............................................................. 8 5-2. Block Diagram –CD Section– ........................................... 15 5-3. Block Diagram –Audio Section– ...................................... 16 5-4. Block Diagram –Power Supply Section– .......................... 17 5-5. Printed Wiring Board –Main Section– .............................. 18 5-6. Schematic Diagram –Main Section (1/2)–......................... 20 5-7. Schematic Diagram –Main Section (2/2)–......................... 21 5-8. IC Block Diagrams ............................................................ 22 6. EXPLODED VIEWS 6-1. Cabinet (Front) Section ..................................................... 23 6-2. Main Board Section .......................................................... 24 6-3. CD Mechanism Deck Section (CDM-3325ER2) .............. 25 7. ELECTRICAL PARTS LIST ......................................... 26 D-NE510/NE511/NE518CK SAFETY-RELATED COMPONENT WARNING!! COMPONENTS IDENTIFIED BY MARK 0 OR DOTTED LINE WITH MARK 0 ON THE SCHEMATIC DIAGRAMS AND IN THE PARTS LIST ARE CRITICAL TO SAFE OPERATION. REPLACE THESE COMPONENTS WITH SONY PARTS WHOSE PART NUMBERS APPEAR AS SHOWN IN THIS MANUAL OR IN SUPPLEMENTS PUBLISHED BY SONY. Music sources playable on this CD player You can play the following 3 music sources on this CD player: -Audio CDs -ATRAC3plus/ATRAC3 format files -MP3 files Usable disc formats You can use ISO 9660 Level 1/2, Joliet extension format discs only. ATRAC3plus and ATRAC3 ATRAC3plus, which stands for Adaptive Transform Acoustic Coding3plus is audio compression technology, developed from the ATRAC3 format. Though the ATRAC3plus format can compress music content to about 1/20 of its original size, you can still enjoy high quality sound. The available transfer bit rates are 64 kbps and 48 kbps. ATRAC3, which stands for Adaptive Transform Acoustic Coding3 is audio compression technology that satisfies the demand for high sound quality and high compression rates. The ATRAC3 format can compress music content to about 1/10 of their original size, which contributes to reduction of the media volume. The available transfer bit rates are 132 kbps, 105 kbps and 66 kbps. The usable number of groups and files -Maximum number of groups: 255 -Maximum number of files: 999 For details, refer to the supplied booklet SonicStage Simple Burner. MP3 files MP3, which stands for MPEG-1 Audio Layer3, a standard for audio files compression supported by the Motion Picture Experts Group, an ISO (International Organization for Standardization) working group, enables compression of audio files to about 1/10 of the data size of a standard compact disc. Since the MP3 encoding algorithm is public, there are various encoders/decoders that are compliant with this standard, including freeware that is available for no charge. Thus, the MP3 standard is widely used in the computer field. ATTENTION AU COMPOSANT AYANT RAPPORT À LA SÉCURITÉ!! LES COMPOSANTS IDENTIFIÉS PAR UNE MARQUE 0 SUR LES DIAGRAMMES SCHÉMATIQUES ET LA LISTE DES PIÈCES SONT CRITIQUES POUR LA SÉCURITÉ DE FONCTIONNEMENT. NE REMPLACER CES COMPOSANTS QUE PAR DES PIÈCES SONY DONT LES NUMÉROS SONT DONNÉS DANS CE MANUEL OU DANS LES SUPPLÉMENTS PUBLIÉS PAR SONY.

Page 2

3 D-NE510/NE511/NE518CK C308R301 C307 R302 FN406 C309 FB405 FB404 R650 FB409 R606 CN601 TAP805 TP910 TP911 FB402 FB410 R427 SL806 C424 R436 R477 C427 C303C302 C442 151 TAP805 – MAIN BOARD – (SIDE A) S820 – MAIN BOARD – (SIDE B) L301R467 R438 R484 R101 R201 R102 C103 R111 R303 R202 C203 R211 R871 R948 R945 R946 R867 TJ402C853R612 R947 C808C306 C107 C207 TP941 TP942 TP940TP939 TJ503 TP826 TP930 TP929 TJ406(VCPU) TP820 TJ501 TJ502TP934 TP933 TP932 13 2412 1 IC301 R943 R806 R498 R495 FB403 R487S804 S820 (OPEN/CLOSE) C447TP422 C436 C305 C434 SECTION 1 SERVICE NOTE NOTES ON HANDLING THE OPTICAL PICK-UP BLOCK OR BASE UNIT The laser diode in the optical pick-up block may suffer electro- static breakdown because of the potential difference generated by the charged electrostatic load, etc. on clothing and the human body. During repair, pay attention to electrostatic breakdown and also use the procedure in the printed matter which is included in the repair parts. The flexible board is easily damaged and should be handled with care. Precautions for Checking Emission of Laser Diode Laser light of the equipment is focused by the object lens in the optical pick-up so that the light focuses on the reflection surface of the disc. Therefore, be sure to keep your eyes more then 30 cm apart from the object lens when you check the emission of laser diode. Before Replacing the Optical Pick-Up Block Please be sure to check throughly the parameters as par the Opti- cal Pick-Up Block Checking Procedures (Part No.: 9-960-027- 11) issued separately before replacing the optical pick-up block. Note and specifications required to check are given below. -FOK output : IC601 yg pin (or TP618 (FOK)) When checking FOK, remove the lead wire to disc motor. -RF signal P-to-P value : 0.45 ± 0.1 Vp-p -The repairing grating holder is impossible. Laser Diode Checking Methods During normal operation of the equipment, emission of the laser diode is prohibited unless the upper lid is closed while turning ON the S820. (push switch type) The following two checking methods for the laser diode are operable. -Method: Emission of the laser diode is visually checked. 1. Open the upper lid. 2. With a disc not set, turn on the S820 with a screwdriver having a thin tip as shown in Fig.1. or TAP805 is shorted as shown in Fig.2. Note:Do not push the detection lever strongly, or it may be bent or damaged. 3. Press the N X button. 4. Observing the objective lens, check that the laser diode emits light. When the laser diode does not emit light, automatic power control circuit or optical pick-up is faulty. In this operation, the objective lens will move up and down 5 times along with inward motion for the focus search. Fig. 2 Fig. 1 detection lever detection lever main board S820