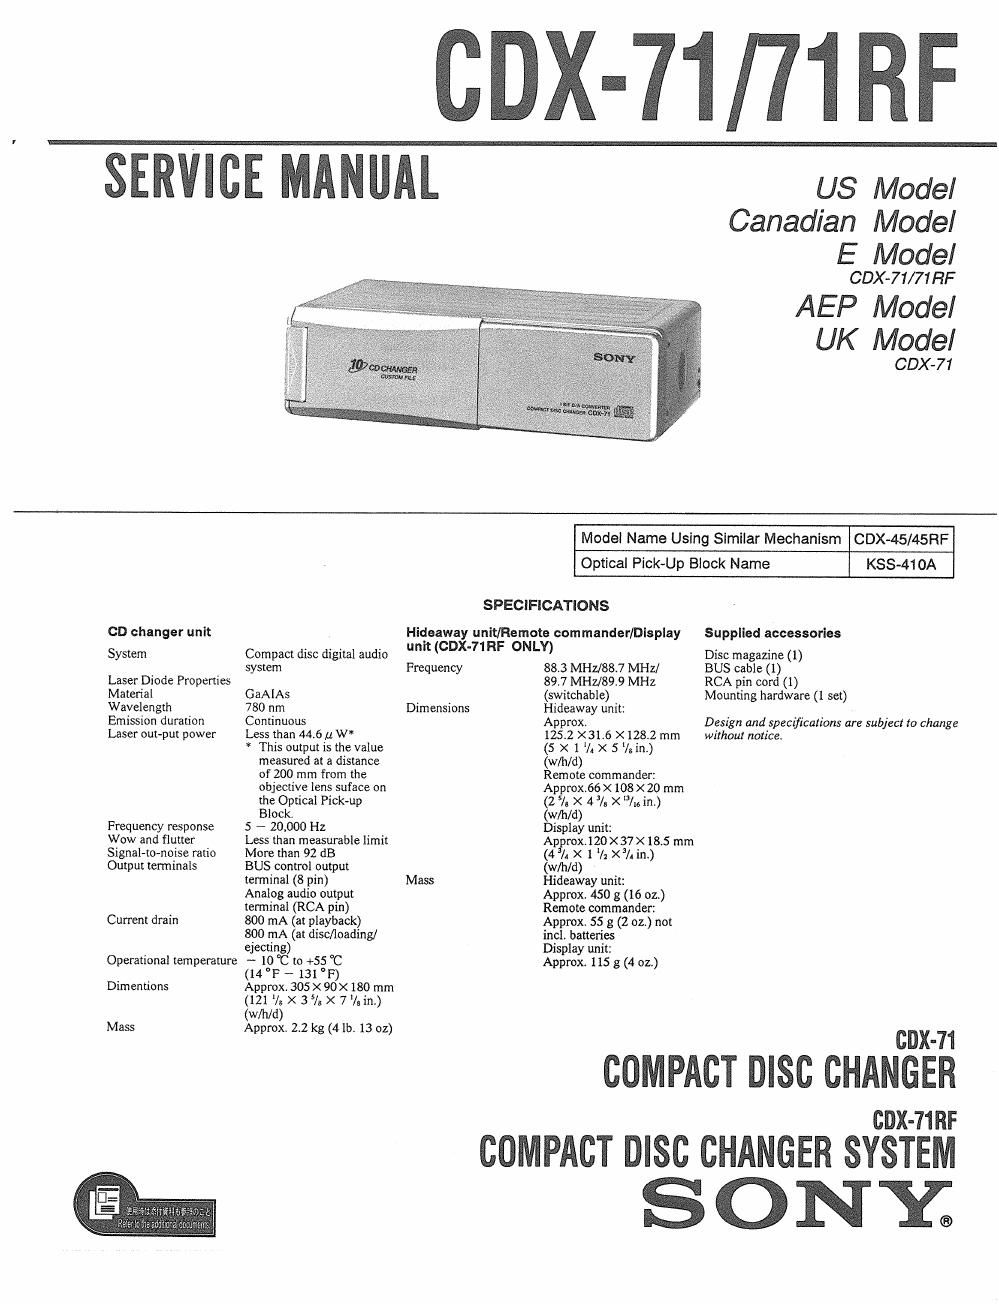
Sony cdx 71 rf service manual
This is the 69 pages manual for sony cdx 71 rf service manual.
Read or download the pdf for free. If you want to contribute, please upload pdfs to audioservicemanuals.wetransfer.com.
Extracted text from sony cdx 71 rf service manual (Ocr-read)
Page 1
-71/71RF
SERVICE MANUAL us Model
Canadian Model
E Model
CDX-71/71FIF
AEP Model
UK Model
CDX-71
Model Name Using Similar Mechanism CDX-45/45RF
Optical Pick-Up Block Name KSS-41OA
SPECIFICATIONS
CD changer unit Hideaway unit/Remote commander/Display Supplied accessories
System Compact disc digital audio mt (CDX 71 RF ONLY) Disc magazine (1)
system Frequency 88.3 MHIJ88.7 MHIJ BUS cable (1)
Laser Diode Properties 89.7 MHz/89.9 MHz RCA pin cord (1)
Material GaAlAs (switchable) Mounting hardware (1 set)
Wavelength 780 nm Dimensions Hideaway unit:
Emission duration ContinuOUS Approx. Design and specifications are subject to change
Laser our-put power ess than 44.6 ,u W 125.2 X3l.6 X 128.2 mm withnul notice.
* This output is the value (5 X I V. X 5 /sin.)
measured at a distance (wlh/d)
of 200 mm from the Remote commander:
objective lens suface on Approx.66 >< max 20 mm
the Optical Pick-up (2 5l. X 4% X I in.)
Block. (w/idd)
Frequency response 5 - 20,000 Hz Display unit:
Wow and flutter Less than measurable limit Approx.120><37>< 18.5 mm
Signal-to-noise ratio More than 92 dB (4 A X 1 /z XJ/A in.)
Output terminals BUS control output (w/h/d)
terminal (8 pin) Mass Hideaway unit:
Analog audio output Approx. 450 g (16 oz.)
terminal (RCA pin) Remote commander:
Current drain 800 mA (at playback) Approx. 55 g (2 02.) not
800 mA (at disc/loading/ incl. batteries
ejecting) Display unit:
Operational temperature - 10 °C to +55 °C Approx. 115 g (4 02.)
(14 °F - 131°F)
Dimentions Approx. 305 X 90X 180 mm
(121 V; X 3 5/5 X 7 Vain)
M (w/h/d) )
ass Approx. 2.2 kg (4 lb. 13 oz CDX 71
COMPACT DISC CHANGER
cox-71m
COMPACT Disc CHANGER SYSTEM
S O N E
Page 2
NOTES ON HANDLING THE OPTICAL PICK-UP
BLOCK 0R BASE UNIT
The laser diode in the optical pick-up block may suffer
electrostatic breakdown because of the potential difference
generated by the charged electrostatic load, etc. on clothing
and the human body.
During repair, pay attention to electrostatic breakdown and
also use the procedure in the printed matter which is
included in the repair parts.
The flexible board is easily damaged and should be handled
with care.
Laser Diode Properties
0 Material: GaAlAs
o Wavelength: 780 nm
0 Emission Duration: continuous
0 Laser Output Power. less than 44.6 uW
* This output is the value measured at a distance of
200 mm from the objective lens surfase on the
Optical Pick-up Block.
CAUTION
Use of controls or adjustments or performance
of procedures other than those specified herein
may result in hazardous radistion exposure.
SAFETY-RELATED COMPONENT WARNINGII
COMPONENTS IDEN'flFIED BY MARK A 0R DOI'I'ED
LINE WITH MARK A ON THE SCHEMATIC DIAGRAMS
AND IN THE PARTS LIST ARE CRITICAL T0 SAFE
OPERATION. REPLACE THESE COMPONENTS WITH
SONY PARTS WHOSE PART NUMBERS APPEAR AS
SHOWN IN THIS MANUAL OR IN SUPPLEMENTS PUB~
LISHED BY SONY.
A1'I'EN'I10N Au OOMPOSANT AYANT RAPPORT
A LA sécunrrél
LES COMPOSANTS IDENI1FIES PAR UNE MAnoue A
sun Les DIAGRAMMES scHéMATIoues er LA usre
DES PIECES sour camoues POUR LA sécunrre
DE Foucnonnemem. NE REMPLACER ces com-
POSANTS oue PAR DES PIECES sonv DONT Les
NUMEROS SONT DONNES DANS ce MANUEL ou
DANS LES SUPPLEMENTS Pueués PAH souv.
TABLE OF CONTENTS
Section Title Page
Specifications .................................. 1
Notes on Handling the Optical Pick-up Block
or Base Unit 2
Servicing Note ~~~~~~~~~~~~ 2
1 . GENERAL
Features 3
Installation 3
Connections ............................ 5
Location of Controls ~~~~~~~~~~~~~~~~~~~~~ 7
2. DISASSEMBLY ------------------------ 8
MECHANICAL ADJUSTMENTS
3-1. Elevator Height Adjustment ~~~~~~~~~~~~~~~~ 11
4. ELECTRICAL ADJUSTMENTS
41. Focus Offset Adjustment ------------------- 12
4-2. Tracking Offset Adjustment - 12
4-3. DC Balance Adjustment ~~~~~~~~~~~~~~~~~~ 13
5. DIAGRAMS
5-1. Compact Disc Changer Section
Block Diagram ........................... 14
5-2. Hideaway Section Block Diagram ~~~~~~~~ 17
5-3, Compact Disc Changer Section
Printed Wiring Boards ~~~~~~~~~~~~~~~~~~~~~ 22
5-4. Compact Disc Changer Section
Schematic Diagram ....................... 25
5-5. Hideaway Section Printed Wiring Board ------ 30
5A6. Hideaway Section Schematic Diagram ------- 33
5-7. Display Unit Section Printed Wiring Board - - - 35
5-8, Display Unit Section Schematic Diagram ----- 36
5-9. 1C Pin Function Description -------------- 39
5_ EXPLODED VIEWS .................... 44
7. ELECTRICAL PARTS LIST ~~~~~~~~~~~ 52
SUPPLEMENT-1
SERVICING NOTE
Flexlble Circult Board Repalrlng
0 Keep the temperature of the soldering iron around
270°C during repairing.
0 Do not touch the soldering iron on the same conductor
of the circuit board (within 3 times).
0 Be careful not to apply force on the conductor when
soldering or unsoldenng,
Notes on chlp component replacement
0 Never reuse a disconnected chip component,
0 Notice that the minus side of a tantalum capacitor may
be damaged by heat.
_2_..