Sonic frontiers transdac owners manual

This is the 5 pages manual for sonic frontiers transdac owners manual.
Read or download the pdf for free. If you want to contribute, please upload pdfs to audioservicemanuals.wetransfer.com.

Page: 1 / 5
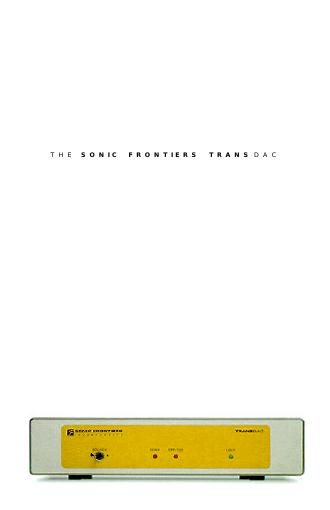
sonic frontiers transdac owners manual

Extracted text from sonic frontiers transdac owners manual (Ocr-read)


Page 1

A. Digital Source Select Switch- This two position toggle selects the desired digital input path, (Toslink plastic fibre opti- cal or RCA - coax connector). B. Coax Source Indicator- The LED will light to indicate when the Digital Source Selector Switch (A) has selected the Coax digit input path. C. Optical-Toslink Source Indicator LED - This LED will light to indicate when the Digital Source Selector Switch (A) has selected the Optical Toslink digital input path. D. Lock LED - This LED will light to indicate when the TransDAC is synchronized to the incoming digital data stream. E. IEC Socket - The detachable power cord connects here. When the TransDAC is plugged in to a power source, the unit is on. See Figure I F. Optical-Toslink Input- This is the input socket for an S/PDIF Toslink - fiber optical connection to the digital source. G. Coaxial Input- This is the input socket for a coaxial - S/PDIF - RCA connection to the digital source. The coaxiaI - S/PDIF - RCA cables impedance should be 75 ohms. H. Left and Right Channel RCA Single-Ended Audio Outputs - These line level outputs are connected to preampli- fier, integrated amplifier or receiver inputs. The TransDAC is factory set for the correct operating AC voltage for the area in which it is sold. If a different operating volt- age is required, please contact an authorized Sonic Frontiers dealer, distributor or the factory directly.CONTROL FUNCTIONS AND CONNECTIONSAD CBEHGF

Page 2

OPERATION OF THE TRANSDAC Place the TransDAC on a solid shelf or table away from major heat sources and magnetic fields. Plug the detachable AC power cord into the IEC socket (E). See Figure 1. Using your favorite digital interconnect, connect a digital source which features a Coaxial or Optical Toslink digital output to the Coaxial (G) or Optical-Toslink (F) digital inputs of the TransDAC. Both inputs may be connected to two separate sources at one time. See Figure 2. Select the desired source using Digital Source Selector Switch (A) Using your favorite analog interconnect, connect the left and Right RCA Audio Outputs (H) to a corresponding left and right line-level input on your preamplifier, integrated amplifier or receiver. See Figure 2. Plug the AC power cord of the TransDAC into an AC outlet. Once the TransDAC is plugged in, the unit is receiving power and is ON. It is safe to leave the TransDAC plugged in, unplug it for extended periods of non use. Turn on digital source(s) and amplifier(s) and start listening to your favorite pieces of music.Figure 1- Align socket pins to corresponding holes and push together firmly.Figure 2- Connections made to the TransDAC from digital sources and to a line level amplifier.Connections to the Optical - Toslink and Coaxial Digital Outputs of the Digital Source(s) to the digital Optical - Toslink (F) and Coaxial (G) digital inputs of the TransDAC. Connection from the RCA Audio Outputs (H) of the TransDAC to line level inputs of a preamplifier, integrated amplifier or receiver; left channel to left channel, right channel to right channel. Back Panel of TransDAC.