Sherbourn technologies c 12 owners manual

This is the 4 pages manual for sherbourn technologies c 12 owners manual.
Read or download the pdf for free. If you want to contribute, please upload pdfs to audioservicemanuals.wetransfer.com.

Page: 1 / 4
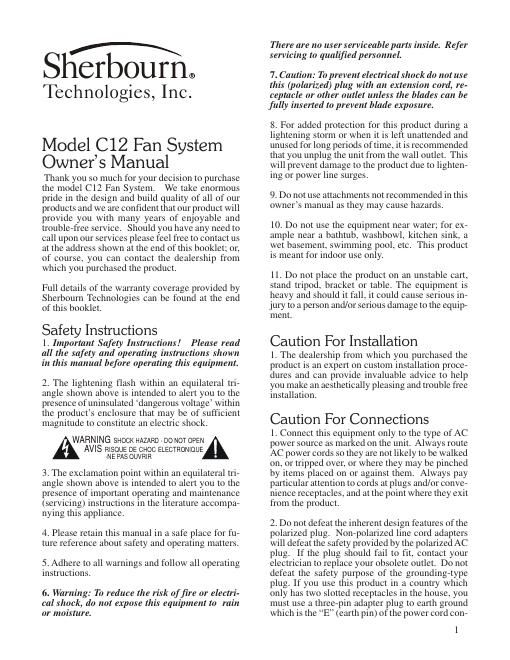
sherbourn technologies c 12 owners manual

Extracted text from sherbourn technologies c 12 owners manual (Ocr-read)


Page 1

2 nected to this product. 3. Do not overload wall outlets, extension or inte- gral convenience receptacles, as this could result in a risk of fire or shock. Operating Voltage The C12 Fan System is factory-set for 110V, 120V or 230V AC operation at either 50 or 60 Hz, ac- cording to the country for which the unit was manu- factured (230V in European Union countries, in compliance with CE regulations). The operating voltage cannot be changed by the user and any at- tempt to do so will void the warranty. Care of the Product Clean the product by dusting with a dry cloth. Do not permit objects of any kind to be pushed and/or fall into the product through the enclosure open- ings. General Description The CR12 is a multi-directional fan system that uses three 4.75-inch (120 mm) whisper quiet fans, the speeds of which are governed by thermal sens- ing circuitry. The C12 is designed to be used in three different formats -intake/blow/exhaust air. The required mode can be configured locally ac- cording to the cooling requirements of your sys- tem. The C12 has many other features and functions that are all described in the following pages. Front Panel Description The (removable) rack mountable front panel houses a switch for controlling the on/off and auto func- tions. A blue LED indicates when the units fans are actually working. Behind the grille front is a removable air-filter pad. It is important to note that the only time the switch needs to be in the on position is during an ini- tial test when the fans will be operating at their maximum speed. Once the C12 has completed its test, it is recommended that the switch be placed in its auto position. In this mode neither the fans nor the LED will operate until the selected ambient temperature is reached. Rear Panel Description The following description identifies each of the main controls/connections and follows the rear panel from left to right. Temperature Sensor This input enables you to connect the (supplied) pigtail sensing cord. The magnetized head should be placed on the hot spot of your installation whereupon it will measure the ambient tempera- ture, which in turn will govern the speed of the three fans. Please note that there is also an in-built sensing device located on the underside of the chassis that is by-passed if the pigtail sensor is used. If the pig- tail sensor is not used, then the in-built sensor will automatically activate once the selected minimum temperature has been reached. Trigger In/Out 12VDC Mode With the mode switch in the 12V position, and the in input being used, the C12 will move into its auto mode whenever a 6V to 15V input signal is supplied and the prescribed initial temperature has been reached. Should you want to use one or more C12s within the same location you can synchronize the units by using the sync switch. For this situation you should use the out jack from one unit (which then becomes the master) and go into the in jack for the second unit (which then becomes the slave). The two units will now be in sync and will start to work in unison once the prescribed initial tem- perature of the master unit has been reached. Note that in this type of multi-unit installation all of the internal temperature sensors of the slave units are defeated. Fan Auto-On Temperature This switch enables you to pre-select one of two temperature settings for activating the C12. The low setting is 95 degrees Fahrenheit (35 degree Cel- sius) and the high setting is 104 degrees Fahren- heit (40 degrees Celsius). This important feature ensures that the fans only work above the selected ambient temperature. If you want to want to exhaust the hot air to the outside you will need to remove the two plugs and attach flexible tubing (supplied by Sherbourn as Model H 12). Please see page 3 for a fuller de- scription of this feature. How To Configure The C12 For Different Air-Direction Flow The C12 is a versatile system that enables you to configure the direction of the airflow in many dif- ferent ways according to the specific needs of your installation. Be sure to disconnect the power sup- ply before removing the top cover.

Page 2

3 2 SCREW PLASTIC COVER OVER TO P COVER VENTS 3 SQUEEZE FOAM CYLINDERS AND INSERT IN BOTH REAR HOLES TO BLOCK AIR 1 LOOSEN SCREWS ON BOTH SIDES AND LOWER INSIDE FAN ASSEMBLY TO BOTTOM POSITION AND RETIGHTEN Fr o nt Exhaust 1 LOOSEN SCREWS ON BOTH SIDES AND RAISE INSIDE FAN ASSEMBLY TO TOP POSITION AND RETIGHTEN SCREW PLASTIC COVER OVER BOTTOM COVER VENTS 2 SQUEEZE FOAM CYLINDERS AND INSERT IN BOTH REAR HOLES TO BLOCK AIR 3 Top Exhaust (Front Entry) REMOVE TOP COVER AND PLACE FOAM BLOCK BEHIND FRONT PANEL TO BLOCK AIR FLOW 2 SQUEEZE FOAM CYLINDERS AND INSERT IN BOTH REAR HOLES TO BLOCK AIR 3 1 LOOSEN SCREWS ON BOTH SIDES AND RAISE INSIDE FA N A SS EMBLY T O TOP P OS ITION AND RETI GHTEN Top Exhaust (Bottom Entry) LOOSEN SCREWS ON BOTH SIDES AND LOWER INSIDE FAN ASSEMBLY TO BOTTOM POSITION AND RETIGHTEN 1 REMOVE TOP COVER AND PLACE FOAM BLOCK BEHIND FRONT PANEL TO BLOCK AIR FLOW 2 REPLACE TOP COVER AND SCREW PLASTIC COVER OVER AIR VENTS 3 SCREW AIR TUBING IN REAR PANEL HOLE FOR TWO TURNS TO SECURE. USE TWO TUBES FOR MAXIMUM VENTING OR BLOCK AIR IN SECOND HOLE WITH FOAM CYLINDER AS SHOWN ABOVE. 4 Rear Exhaust