Sharp cd ba 200 owners manual

This is the 18 pages manual for sharp cd ba 200 owners manual.
Read or download the pdf for free. If you want to contribute, please upload pdfs to audioservicemanuals.wetransfer.com.

Page: 1 / 18
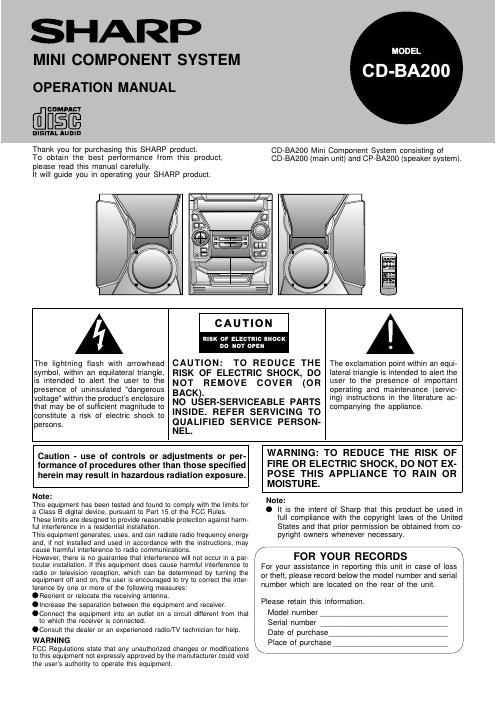
sharp cd ba 200 owners manual

Extracted text from sharp cd ba 200 owners manual (Ocr-read)


Page 2

PRECAUTIONS ■ General ●Do not use oil, solvents, gasoline, paint thinners or insec- ticides on the unit. ●Do not expose the unit to moisture, to temperatures higher than 140F (60C) or to extreme low temperatures. ●Keep the unit away from direct sunlight, strong magnetic fields, excessive dust, humidity and electronic/electrical equipment (home computers, facsimiles, etc.) which generates electrical noise. ●Hold the AC power plug by the head when removing it from the AC outlet, as pulling the cord can damage internal wires. ●When cleaning the heads, pinch rollers, etc, remove the AC power plug from the AC outlet as the unit contains high voltages. Do not remove the outer cover, as this may result in electric shock. Refer internal service to your local SHARP service facility. ●Use the unit on a firm, level surface free from vibration, and do not place anything on the top of the unit. ●If the unit does not work properly while in use, disconnect the AC power cord from the AC outlet. Plug the AC power cord back in, and then press the ON/STAND-BY button to turn the power on. ●If an electrical storm is taking place near you, it is sug- gested that you disconnect the AC power cord from the AC outlet for safety. Warning: The voltage used must be the same as that specified on this unit. Using this product with a higher voltage other than which is specified is dangerous and may result in a fire or other type of accident causing damage. SHARP will not be held responsible for any damage resulting from use of this unit with a voltage other than that which is specified. ■ Volume control The sound level at a given volume setting depends on a combination of speaker efficiency, location and various other factors. It is advisable to avoid exposure to high volume levels, which occur while turning the unit on with the volume control setting up high, or while continually listening at high volumes. ■ Condensation Sudden temperature changes, storage or operation in an ex- tremely humid environment may cause condensation inside the cabinet (CD pickup, tape heads, etc.) or on the transmit- ter LED on the remote control. Condensation can cause the unit to malfunction. If this happens, leave the power on with no disc (or cassette) in the unit until normal playback is possible (about 1 hour). Wipe off any condensation on the transmitter LED with a soft cloth before operating the unit. ■ Care of compact discs Compact discs are fairly resistant to damage, however mistracking can occur due to an accumulation of dirt on the disc surface. Follow the guidelines below for maximum enjoyment from your CD collection and player. ●Do not write on either side of the disc, particularly the non-label side. Signals are read from the non-label side. Do not mark this surface. ●Keep your discs away from direct sunlight, heat, and ex- cessive moisture. ●Always hold the CDs by the edges. Fingerprints, dirt, or water on the CDs can cause noise or mistracking. If a CD is dirty or does not play properly, clean it with a soft, dry cloth, wiping straight out from the center, along the radius. NO YES Correct ■ Cassette tape ●For playback, use normal or low-noise tape for the best sound. (Metal or CrO 2 tape is not recommended.) For recording, use only normal tape. ●Do not use C-120 tapes, tapes with large diameter reels, or poor-quality tapes, as they may cause malfunctions. ●Before loading a tape into the cassette compartment, tighten the slack with a pen or pencil. ●Cassettes have removable tabs which prevent accidental recording or erasing from taking place. Removing the tab will protect the corresponding side from being erased. Cover the tab holes with adhesive tape to erase or record again. ●TAPE 1: Playback only. TAPE 2: Playback or record. Side A (1) Tab for side B (2) Tab for side A (1) 2