Sansui VR DVD 4001 Owners Manual

This is the 59 pages manual for Sansui VR DVD 4001 Owners Manual.
Read or download the pdf for free. If you want to contribute, please upload pdfs to audioservicemanuals.wetransfer.com.

Page: 1 / 59
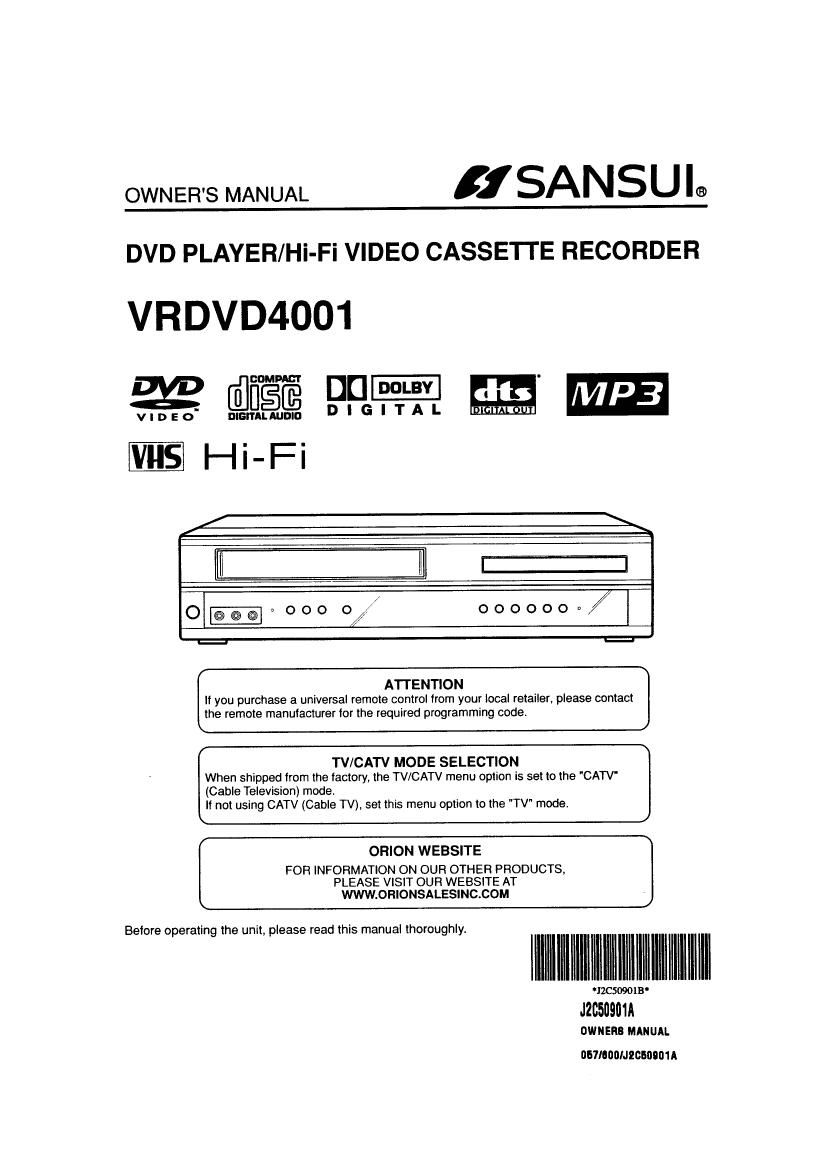
Sansui VR DVD 4001 Owners Manual

Extracted text from Sansui VR DVD 4001 Owners Manual (Ocr-read)


Page 1

OWNER'S MANUAL 1 SANS U lo

DVD PLAYER/Hi-Fi VIDEO CASSETTE RECORDER

VRDVD4001

we? [359% PR '3? -'
vns Hi-=i

I:

o-eooo 0/ 000000»

ATTENTION
It you purchase a universal remote control from your local retailer, please contact
the remote manulacturer tor the required programming code.

TV/CATV MODE SELECTION
When shipped lrom the factory. the TV/CATV menu option is set to the "CATV"
(Cable Television) mode.

It not using CATV (Cable TV), set this menu option to the "TV" mode.

ORION WEBSITE
FOR INFORMATION ON OUR OTHER PRODUCTS,

PLEASE VISIT OUR WEBSITE AT

WWW.ORIONSALESINC.COM
213509011?

J2050901A

DWNERB MANUAL
DGTIGIIIIIJEOIDIMA

Before operating the unit, please read this manual thoroughly.

Page 2

The lightning flash with arrowhead

symbol, within an equilateral triangle is
CAUTION intendedto alert the useriothe presence
RISK OF ELECTRIC SHOCK oi uninsulated dangerous voltage within
DO NOT OPEN the products enclosure that may be of
sufficient magnitude to constitute a risk

at electric shock to persons.

CAUTION: TO REDUCE THE RISK OF ELECTRIC

Wexolarnation point within errequllateral
SHOCK' DO NOT REMOVE COVER (OR triangle Is Intended to alert the user to

BACK). NO USER-SERVICEABLE the presence oi Important operating and
PARTS INSIDE. REFER SERVICING TO maintenance (servicing) Instructions in
QUALIFIED SERVICE PERSONNEL 9 Iiteramre moment/Inglis We

WARNING: TO REDUCE THE RISK OF FIRE OR ELECTRIC SHOCK, DO NOT EXPOSE THIS
APPLIANCE TO RAIN OR MOISTURE

WARNING: This equipment has been tested and iound to comply with the limits for a Class 8 digital device,
pursuant to Part 15 ot the FCC Rules. These limits are designed to provide reasonable protection
against harmful interlerence in a residential installation. This equipment generates, uses and can
radiate radio frequency energy and. if not installed and used in accordance with the instructions.
may cause harmiul interference to radio communications.

However, there is no guarantee that interference will not occur in a particular Installation. if this
equipment does cause harmful interference to radio or television reception, which can be
determined by turning the equipment off and on, the user is encouraged to try to correct the
interterence by one or more of the following measures:

- Reorient or relocate the receiving antenna.

- Increase the separation between the equipment and receiver.

- Connect the equipment into an outlet on a circuit different irom that to which the receiver is
connected.

- Consult the dealer or an experienced radio/TV technician for help.

CAUTION: Changes or modifications not expressly approved by the partly responsible for compliance with
the FCC Rules could void the users authority to operate this equipment.

CAU110N:
THIS DIGITAL VIDEO PLAYER EMPLOYS A LASER SYSTEM.

TO ENSURE PROPER USE OF THIS PRODUCT, PLEASE READ THIS USER'S GUIDE CAREFULLY AND
RETAIN FOR FUTURE REFERENCE. SHOULD THE UNIT REQUIRE MAINTENANCE. CONTACT AN
AUTHORIZED SERVICE LOCATION-SEE SERVICE PROCEDURE.

USE OF CONTROLS. ADJUSTMENTS OR THE PERFORMANCE OF PROCEDURES OTHER THAN THOSE
SPECIFIED HEREIN MAY RESULT IN HAZARDOUS RADIATION EXPOSURE.

TO PREVENT DIRECT EXPOSURE TO LASER BEAM, DO NOT TRY TO OPEN THE ENCLOSURE. VISIBLE
LASER RADIATION MAY BE PRESENT WHEN THE ENCLOSURE IS OPENED. DO NOT STARE INTO
BEAM.

Location of the required Marking
The rating sheet and the safety caution are on the rear of the unit.

CERTIFICATION: COMPLIES WITH FDA RADIATION PERFORMANCE -
STANDARDS, 21 CFR SUBCHAPTER J.

2

Page 28

One-touch Timer Recording (0TH)

1119 One-touch Timer Recording
feature provides a simple and
convenient way to make a timed
recording.

NOTE:

ll you wish to watch the DVD playback
during the 0TH, press DVDNCR to
change to DVD mode and perform the
DVD playback (see page 35).

28

Preparation:

- Turn ON the TV and set to the video input mode.

- Press VCR/DVD to select the VCR model (1 he VCFl indicator
will light.)

Example: One-touch Timer Recording for 30 minutes.

1 Load a cassette tape with the erase
prevention tab intact.
The VCR will automatically turn on.

2 Press SPEED to select the desired tape
speed SP or SLP.
The tape counter and SP or SLP will
appear on the screen for about 4
Imam: 9

seconds.

3 Set the TV/CATV option to the appropriate position (See page
20).

TV . VHF/UHF channels
CATV - CABLE TV channels

4 Press Number keys or CH Alv to
select the channel to be recorded. 9 °

5 Press REC/07R. Press the button again to stop recording alter
30 minutes. Each additional press of REC/CTR will increase
recording time as shown in the chart below, up to a maximum of
6 hours. The 0TH and recording time will appear on the screen
for about 4 seconds And, REC will keep blinking in the display.

Press Recordingtime Press Recordlngtime

mu
once NORMAL Has 6 times 3:00 '
twice 0:30 7 times 4:00

3 times 1:00 8 times 5:00 3:2,:-

4iimes 1:30 Sllmos 6:00

5 times 2:00 iotirnes NORMAL REC

To cancel 0TH

Press STOP or turn oil the powert
" I " will appear on screen for about 4
seconds.

Page 41

Marking desired scenes

The unit stores the points that you
want to watch again up to 3 points.
You can resume playback trom
each scene.

NOTES:

- Some discs may not work With the
marking operations

- The marking is canceled when you
open the disc tray or turn the power 011.

- Some subtitles recorded around the
marker may fail to appear,

Preparatlon:

- Tum ON the TV and set to the video input mode.

- Press VCR/DVD to select the DVD mode. (The DVD indicator
will light)

Marking the Scenes

1 Press MARKER during
playback.

2 Select the blank Marker using
LIV.
ThenpressENTERatihedesired
scene.

- Repeat this procedure to set
the other 2 scenes.

3 Press MARKER to remove this display.

Returning to the Scenes

1 Press MARKER during playback
or stop mode.

2 Press A/V to selectthe Marker
1-3t

Press ENTER.
Playback starts from the marked scene.

To Cancel the Mark
1 Press MARKER.

2 Press A/V to select the Marker 1-at

Press CANCEL.
To remove this display, press MARKER.

41

Page 49

Setting the aspect ratio of TV screen

You can select the aspect ratio for
your TV.

NOTE:
If lhe DVD disc is not formatted in the pan
& scan style, it displays 4:3 style.

2 Press V or ENTER. then press

3 Press > or ENTER.

Preparation:
- Turn ON the TV and set to the Video Input mode.
- Press VCR/DVD to select the DVD mode. (The DVD indicator

will light.)

Pressmrinmemnmode- m
Press 4 or p to select Pic-

ture .

A or V to select 'Tv Screen.

Press A or Y to select your
desired screen type. then press
ENTER.

{DAVWHOIM

You have the lollcwing screen sizes to choose irom:

4:3 a Letter box

Select this mode when connecting to a conventional TV. When
playing back a wide screen-DVD disc. it displays the wide picture
with black bands at the top and bottom of screen.

4:3 El Pan Scan
It displays the wide picture on the whole screen with left and
right edges automatically cut all,

16:9 1:] Wide
Select this mode when connecting to a wide-screen TV.
A wide screen picture is displayed lull size.

4 To make SETUP screen disappear. press SETUP.

49