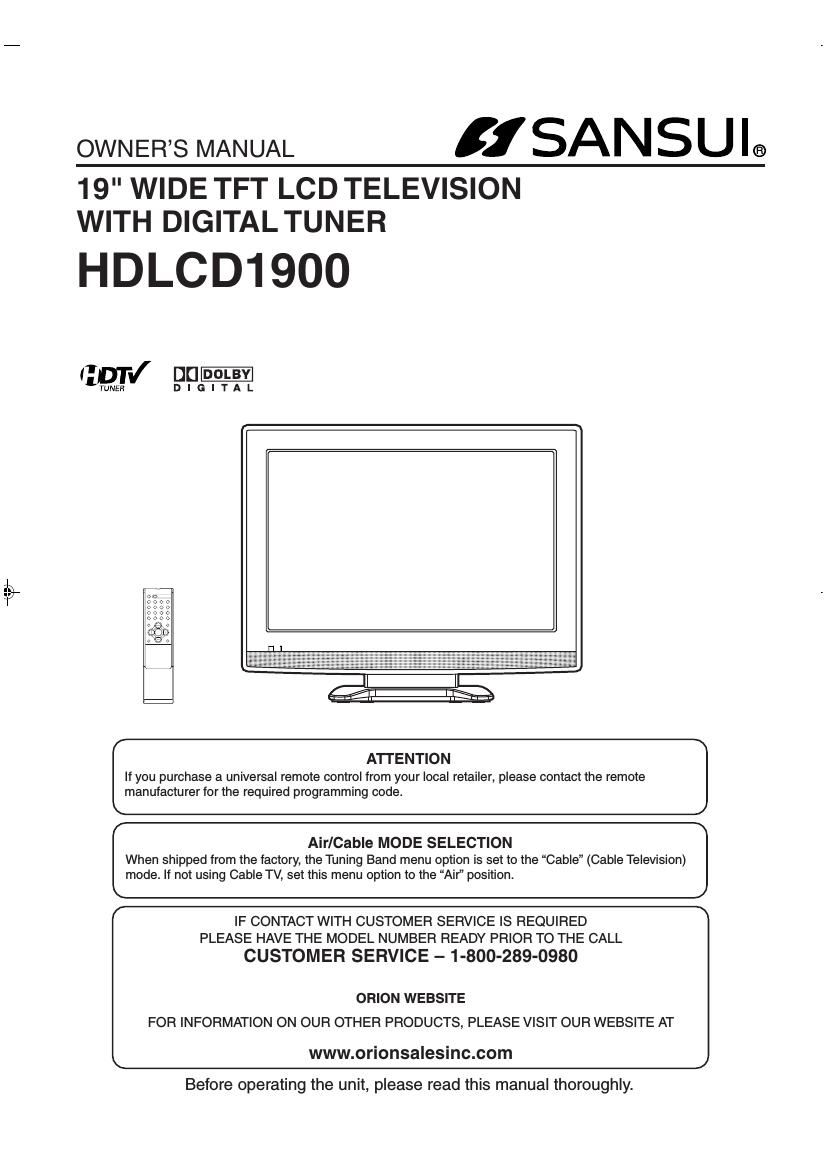
Sansui HD LCD 1900 Owners Manual
This is the 44 pages manual for Sansui HD LCD 1900 Owners Manual.
Read or download the pdf for free. If you want to contribute, please upload pdfs to audioservicemanuals.wetransfer.com.
Extracted text from Sansui HD LCD 1900 Owners Manual (Ocr-read)
Page 1
2 Location of the required Marking The rating sheet and the safety caution are on the rear of the unit. The lightning flash with arrowhead symbol, within an equilateral triangle is intended to alert the user to the presence of uninsulated dangerous voltage within the product's enclosure that may be of sufficient magnitude to constitute a risk of electric shock. The exclamation point within an equilateral triangle is intended to alert the user to the presence of important operating and maintenance (servic- ing) instructions in the literature accompanying the appliance. CAUTION: TO REDUCE THE RISK OF ELECTRIC SHOCK, DO NOT REMOVE COVER (OR BACK). NO USER-SERVICEABLE PARTS INSIDE. REFER SERVICING TO QUALIFIED SERVICE PERSONNEL. WARNING:This equipment has been tested and found to comply with the limits for a Class B digital device, pursuant to Part 15 of the FCC Rules. These limits are designed to provide reasonable protec- tion against harmful interference in a residential installation. This equipment generates, uses and can radiate radio frequency energy and, if not installed and used in accordance with the instructions, may cause harmful interference to radio communications. However, there is no guarantee that interference will not occur in a particular installation. If this equipment does cause harmful interference to radio or television reception, which can be determined by turning the equipment off and on, the user is encouraged to try to correct the interference by one or more of the following measures: - Reorient or relocate the receiving antenna. - Increase the separation between the equipment and receiver. - Connect the equipment into an outlet on a circuit different from that to which the receiver is connected. - Consult the dealer or an experienced radio/TV technician for help. CAUTION:Changes or modifications not expressly approved by the party responsible for compliance with the FCC Rules could void the user's authority to operate this equipment. WARNING: TO PREVENT FIRE OR SHOCK HAZARD, DO NOT EXPOSE THIS APPLIANCE TO RAIN OR MOISTURE. CAUTION: TO PREVENT ELECTRIC SHOCK DO NOT USE THIS POLARIZED PLUG WITH AN EXTENSION CORD, RECEPTACLE OR OTHER OUTLET UNLESS THE BLADES CAN BE FULLY INSERTED TO PREVENT BLADE EXPOSURE. The lamp(s) within this product contain mercury. Disposal should be in compliance with local, state or federal laws.
Page 2
3 IMPORTANT SAFETY INSTRUCTIONS 1) Read these instructions. 2) Keep these instructions. 3) Heed all warnings. 4) Follow all instructions. 5) Do not use this apparatus near water. 6) Clean only with a clean dry cloth. 7) Do not block any ventilation openings. Install in accordance with the manufacturer's instructions. 8) Do not install near any heat sources such as radiators, heat registers, stoves, or other apparatus (including amplifiers) that produce heat. 9) Do not defeat the safety purpose of the polarized or grounding-type plug. A polarized plug has two blades with one wider than the other. A grounding type plug has two blades and a third grounding prong. The wide blade and the third prong are provided for your safety. If the provided plug does not fit into your outlet, consult an electrician to replace the obsolete receptacle. 10) Protect the power cord from being walked on or pinched particularly at plug, and the point where it exits from the apparatus. 11) Only use attachments/accessories specified by the manufacturer. 12) Use only with the cart, stand, tripod, bracket, or table specified by the manufacturer, or sold with the apparatus. When a cart is used, use caution when moving the cart/apparatus combination to avoid injury from tip-over. 13) Unplug this apparatus during lightning storms or when unused for long periods of time. 14) Refer all servicing to qualified service personnel. Servicing is required when the apparatus has been damaged in any way, such as power-supply cord or plug damage, liquid has been spilled or objects have fallen into the apparatus, the apparatus has been exposed to rain or moisture, does not operate normally, or has been dropped. 15) Apparatus should not be exposed to dripping or splashing, and objects filled with liquids, such a vases, should not be placed on the apparatus. 16) An outside antenna system should not be located in the vicinity of overhead power lines or other electric light or power circuits, or where it can fall into such power lines or circuits. When installing an outside antenna system, extreme care should be taken to keep from touching such power lines or circuits, as contact with them might be fatal. 17) Do not overload wall outlets and extension cords, as this can result in a risk of fire or electric shock. 18) Do not push objects through any openings in this unit, as they may touch dangerous voltage points or short out parts that could result in fire or electric shock. Never spill or spray any type of liquid into the unit. S3126A PORTABLE CART WARNING (symbol provided by RETAC)
Page 16
17 1 Press MENU. The menu screen will appear. 2 Press ▲ or ▼ to select Setup menu, then press . 3 Press ▲ or ▼ to select Menu Language. 4 Press or ENTER to select the desired language: English (ENGLISH), French (FRANÇAIS) or Spanish (ESPAÑOL). 5 Press MENU to return to the normal screen. Setting the language You can choose from three different languages (English, French and Spanish) for the on-screen displays. Select the language you prefer first, then proceed with the other menu options. NOTE: - If no buttons are pressed for more than about 30 seconds, the MENU screen will return to normal opera- tion automatically. - On this TV, there are setting menu for each external input. You can change the settings to fit your needs. (Some settings are commoditized. I.e., Audio settings, Parental control, NTSC CC, ATSC CC and Digital Closed Caption.)
Page 18
19 1 Press MENU. The menu screen will appear. 2 Press ▲ or ▼ to select Setup menu, then press . Press ▲ or ▼ to select Auto Ch Search. 3 Press or ENTER. The TV will begin memorizing all the channels available in your area. - It may take from 15 minutes to 30 minutes to complete memorizing digital cable channels. Depending on the reception condition, a BAR display may not advance for several minutes, please be patient. Automatic channel search Add on channel search This feature searches only blank, unregistered channels. Memorizing channels 1 Press MENU. The menu screen will appear. 2 Press ▲ or ▼ to select Setup menu, then press . Press ▲ or ▼ to select Add On Ch Search. 3 Press or ENTER. The TV will begin searching only blank, unregistered channels. - It may take from 15 minutes to 30 minutes to complete memorizing digital cable channels. Depending on the reception condition, a BAR display may not advance for several minutes, please be patient. NOTE: - Memorizing channels is best accomplished during evening PRIMETIME hours, as more stations are broadcasting digital signals. Memorizing channels can only be accomplished while a station is broadcasting a digital signal to set that channel into memory. - If you are unsure of the digital channels available in your area, you may visit www .antenna web .org to receive a list based on your address or zip code. Should you require further assistance you may call our toll-free customer service line at 1-800-289-0980. - New digital channels may be added to your area periodically, it is recommended to perform the Add On Ch Search procedure regularly. NTSC Channel 55 Scanning Analog Channels Found 12 Digital Channels Found 0 Progress (%) 39 Autoprogram Air Menu To Move To SelectTo Exit EnterMenu NTSC Channel 44 Scanning Analog Channels Found 1 Digital Channels Found 0 Progress (%) 16Add On Autoprogram Menu To Move To SelectTo Exit EnterMenu
Page 36
37 Selecting the audio language When two or more audio languages are included in a digital signal, you can select one of the audio language. 1 Press MENU. Then press ▲ or ▼ to select Audio menu, then press . 2 Press ▲ or ▼ to select Audio Language. Then press or ENTER to select your desired language. 3 Press MENU to return to the normal screen. Selecting the audio language/ Selecting the digital output Selecting the digital output You can choose the format of the digital audio output signal. 1 Press MENU. Then press ▲ or ▼ to select Audio menu, then press . 2 Press ▲ or ▼ to select Digital Audio Output, then press or ENTER to select PCM or RAW. 3 Press MENU to return to the normal screen.