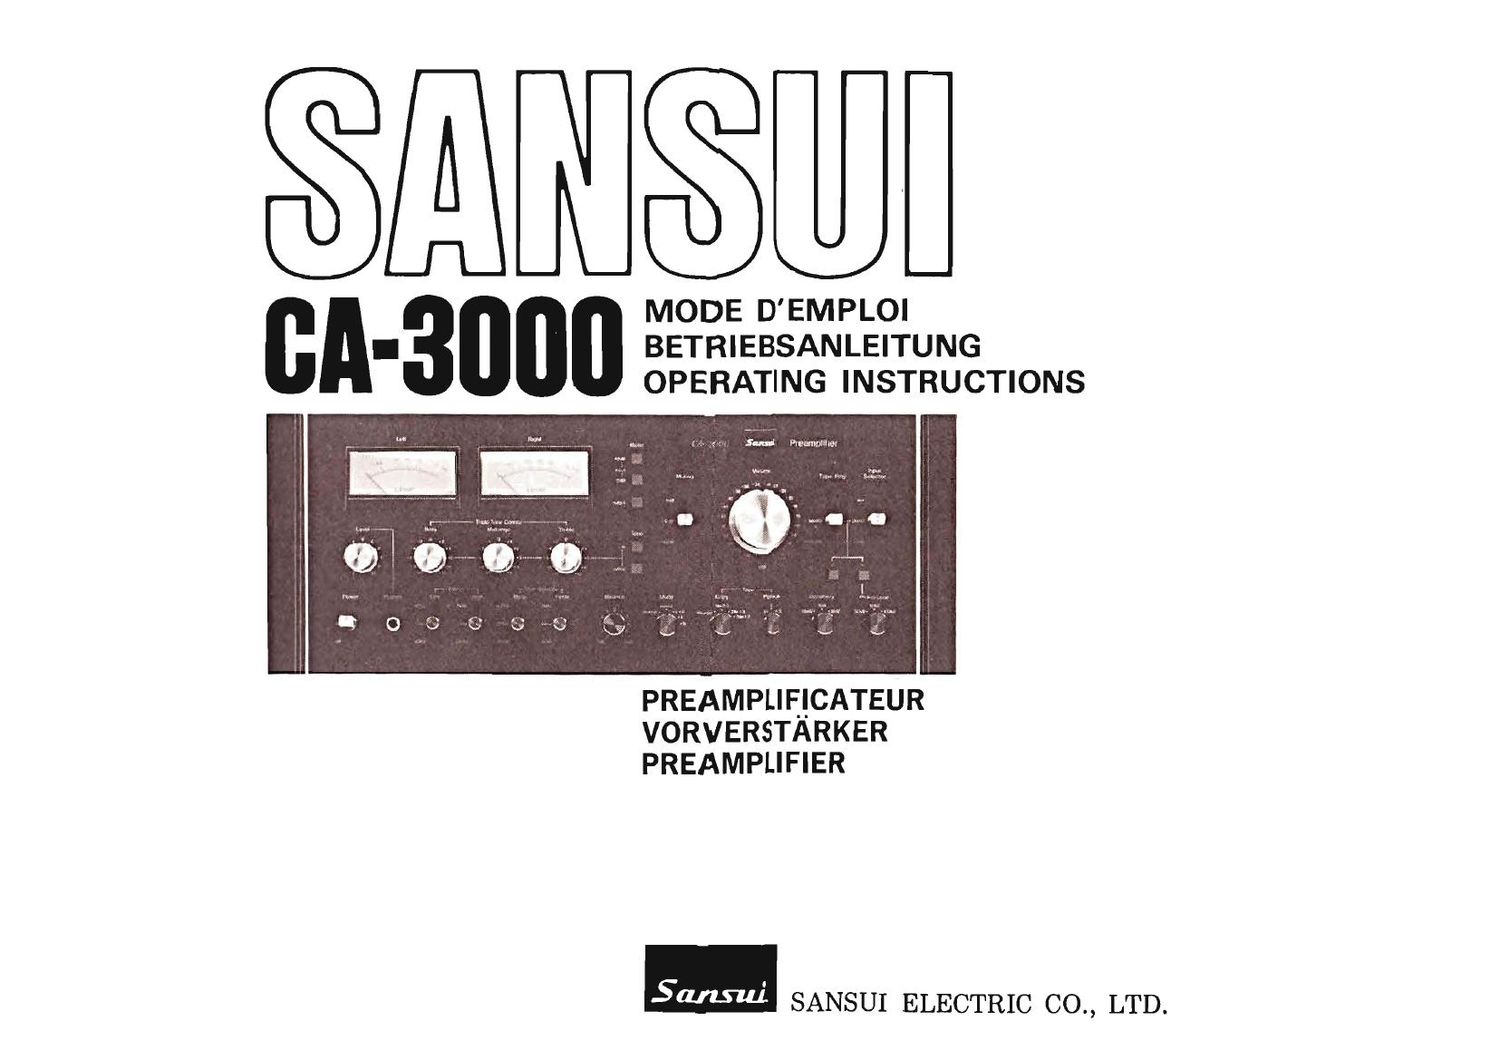
Sansui CA 3000 Owners Manual
This is the 52 pages manual for Sansui CA 3000 Owners Manual.
Read or download the pdf for free. If you want to contribute, please upload pdfs to audioservicemanuals.wetransfer.com.
Extracted text from Sansui CA 3000 Owners Manual (Ocr-read)
Page 1
A I$U
MODE D'EMPLOI
I BETRIEBSANLEITUNG
OPERATING INSTRUCTIONS
PREAMPLIE!CATEUR
VORVERSTARKER
PREAMPLIFIER
SANSUI ELECTRIC CO., LTD.
Page 2
Tous nos compliments pour avoir choisi Ie préamplificateur CA-3000.
Avant de commencer a utiliser le CA-BOOO, nous vous conseillons de lire
attentivement une fois ce Iivret d'instructions. Vous serez alors en
mesure de Ie connecter et de Ie régler correctement et de profiter de ses
performances extraordinaires pendant des années.
Table des matiéres
PRECAUTIONS IMPORTANTES 2-5
Détails importants a bien connaitre avant Iutilisation. Méme si vous
étes déja un audiophile averti, ne pas manquer de lire ce paragraphe.
CARACTERISTIOUES FONCTIONNELLES ........... 6,7
Apercu des possibilités principales de Iappareil.
INDICATIONS DU PANNEAU ................... 8-11
Designations de tous les commutateurs et bornes sur les panneaux
avant et arriére de Iappareil.
CONNEXIONS ............................ 12-21
Détails sur les connexions a réaliser et precautions a prendre. Autres
conseils utiles. .
PROCEDES DE REG LAGE DE BASE ............... 22-33
Détails sur les commutateurs et boutons a utiliser au mode de
reproduction.
CONTROLE DU SON A VOTRE GOUT .............. 34-37
Renseignements sur lutilisation des commutateurs et boutons
servant a régler Ie son reproduit suivant les préférences.
METHODES DE REPRODUCTION DE SOURCE ........ 38-43
Détails sur les procédés de reproduction, enregistrement et doublage
des sources de programme telles que les disques, les émissions et
bandes. Des conseils sont également donnés dans Ie cas ou l'on
percoit une reproduction de mauvaise qualité.
OUELOUES CONSEILS UTILES ...... ; ............ 44,45
Ouelques conseils sont donnés pour assurer un fonctionnement SUI
let optimal pendant des années.
SPECIFICATIONS .......................... 46-49
Renseignements importants sur Iappareil pour ceux qui possédent
des connaissances en électronique.
Wir danken Ihnen fLir Ihre Wahl des CA-SOOO Stereovorverstérkers.
Bitte lesen Sie vor dem ersten Betrieb des Gerates diese Bedienungs-
anweisung einmal sorgfaltig durch. Sie konnen dann das Gerat richtig
anschlieBen und bedienen und seine hervorragende Leistung jahrelang
genielSen.
Inhaltsverzeichnis
WICHTIGE VORSICHTSMASSNAHMEN .............. 2-5
Wichtige VorsichtsmaBnahmen, die vor dem Bolrieh voll verstanden
werden sollten. Selbst wenn Sie ein erlahrener Audioexperte sind,
sollten Sie diesen Abschnitt lesen.
FUNKTIONSEIGENSCHAFTEN .................. 6, 7
Angabe der hauptsachlichen Eigenschaften Ihres Geri-ites.
SCHALTTAFELINFORMATION ................... 8-11
Namen der Schalter und Klemmen an Vorder- und Rtickseite des
Gerates.
ANSCHLUSS .............................. 12-21
Detaillierte Angaben und niitzliche Hinweise far Ansohliisse.
GRUNDLEGENDE BEDlENUNGSVERFAHREN ........ 22-33
Verwendung der Schalter und Regler for Wiedergabe.
KLANGREGELUNG NACH IHREIVI GESCHMACK ....... 34-37
Verwendung der Schalter und Regler ftir die Einstellung der
Klangwiedergabe nach Ihrem Geschmack.
PROGRAMMOUELLENWIEDERGABE .............. 38-43
Verfahren ft'ir Wiedergabe, Aufnahme und Uberspielen von Programm-
quellen wie Schallplatten, Rundfunksendungen und Tonbandern.
Ratschlage filr den Fall (JalS verschlechterte Wiedergabe bemerkt
wird.
EINIGENUTZLICHEHINWEISE .................. 44,45
Hinweise fiir jahrelangen sicheren und optimalen Betrieb.
TECHNISCHE EINZELHEITEN .................. 46-49
Wertvolle Gerétedaten fiir Elektronikkenner.
Page 25
BASIC OPERATING PROCEDURES
0 Excessive volume, when suddenly applied to the unit, may cause
speaker breakdown or become a nuisance to other people. Therefore,
to avoid this, prior to operating the units POWER switch or INPUT
SELECTOR switch, be sure to turn the VOLUME control to the
minimum position or check the level (volume) controls of connected
components.
01 POWER Switch
Raise the lever switch to ON to turn the unit on, flip it down to OFF to
turn it off.
2. Operating the power amplifier
Operate the power amplifier when you are hearing sound from the
connected speakers. When your power amplifier has an output level
control, it is recommended that you turn it conterclockwise to have the
minimum volume (level) once and then carry out final volume
adjustment described below.
Listening through headphones
02 PHONES Jack
03 PHONES LEVEL Control
The PHONES jack and the PHONES LEVEL control are on the units
front panel. Use this jack when to enjoy listening privately late at night
or when you monitor recorded material on tape. When you do not use
the headphones, be sure to turn the PHONES LEVEL control to its
minimum (0) position.
0 Insertion of a headphone plug into the PHONES jack does not
disconnect the output circuit; turn off the power amplifier when
using headphones.
Phones
Page 26
24
3. Sélection de la source de programme 3. Wahl der Programmquelle
0 Pour écouter les disques et les émissions de radio, régler Ie bouton
de reproduction de bande (TAPE PLAY) a la position source
(SOURCE).
Ecoute des disques et des émissions de radio
04 Bouton sélecteur d'entrée (INPUT SELECTOR)
05 Boutons sélecteur de phono (PHONO-1 et PHONO-Z)
Utiliser ces boutons pour écouter un composant connecté aux bornes
du panneau arriére autres que les bornes de reproduction/enregistre-
ment de bande (TAPE REC/PLAY).
AUX: Pour écouter un composant connecté aux bornes AUX.
PHONO: Pour Iécoute des disques sur un tourne-disque connecté aux
bornes de PHONO du panneau arriére. Appuyer sur un
bouton sélecteur de phono, soit PHONO-1 ou PHONO-2
suivant Ie tourne-disque que lon va écouter.
TUNER: Pour écouter les émissions de radio avec un tuner connecté
aux bornes de TUNER du panneau arriére.
Enregistrement et reproduction de bande
06 Commutateur de reproduction de bande (TAPE PLAY)
07 Commutateur d'écoute de bande (TAPE PLAYBACK)
Seulement si |on reproduit une bande sur Iun des magnétophones
connectés ou au controle d'enregistrement, régier Ie commutateur de
reproduction de bande (TAPE PLAY) en bas sur la position écoute
(PLAYBACK); a tout autre moment, le commutateur doit étre a la
position SOURCE.
Ouand on aura réglé le commutateur de reproduction de bande (TAPE
PLAY) sur la position écoute (PLAYBACK) pour Iécoute ou Ie
contréle d'un enregistrement, tourner ensuite |e commutateur découte
de bande (TAPE PLAYBACK) SUR ""1 "2" ou 3" suivant Ie
magnétophone utilise qui est connecté aux bornes de reproduction/en-
registrement de bande (TAPE REC/PLAY) du panneau arriére, bande l
(TAPE 1),bande 2 (TAPE 2) cu bande 3 (TAPE 3).
o Stellen Sie zum Horen von Schallplatten und Radiosendungen dui
Tonbandwiedergabeschalter (TAPE PLAY) in die Stellun):
SOURCE.
Horen von Schallplatten und Radiosendungen
04 Eingangswahlschalter (INPUT SELECTOR)
05 Phonowahltasten (PHON0-1 und PHONO-Z)
Verwenden Sie diese Bedienungselemente zum Horen von Komponm'
ten, die an andere als die Klemmen TAPE REC/PLAY auf der Riickseit)
des Gerates angeschlossen sind.
AUX: Zum Horen einer an die Klemmen AUX angeschlossenni
Komponente.
VHONO: Zur Wiedergabe von Schallplatten iiber einen an die Phonu
klemmen (PHONO) auf der Riickseite des Gerates anga
schlossenen Plattenspieler. Driicken Sie entSprechend den
verwendeten Plattenspieler die Taste PHONO-i oder di(
Taste PHONO-Z.
TUNER: Zum Horen von Radiosendungen mit einem an die Tuner
klemmen (TUNER) auf der Rijckseite des Gerates anga
schlossenen Tuner.
Tonbandaufnahme und -wiedergabe
o6 Tonbandwiedergabeschalter (TAPE PLAY)
07 Tonbandwahlschalter (TAPE PLAYBACK)
Stellen Sie den Tonbandwiedergabeschalter (TAPE PLAY) nur nae)-
Unten in die Stel|ung PLAYBACK, wenn Sie ein Tonband fiber eins du)
angeschlossenen Tonbandgeréte wiedergeben wollen oder wenn Sie be:
einer Bandaufnahme mithoren wollen; ansonsten sollte dieser Schaltai
immer in der Stel|ung SOURCE sein.
Wenn Sie den Tonbandwiedergabeschalter (TAPE PLAY) nach unten in
die Stel|ung PLAYBACK gebracht haben, um ein Band zu horen odel
b9) einer Aufnahme mitzuhoren, so stellen Sie den Tonbandwahli
schalter (TAPE PLAYBACK) auf "",1 2" oder '3, entsprechend
dem Anschiufs an die Klemmen TAPE-1, TAPE-2 oder TAPE-3 dei
Klemmen TAPE REC/PLAY auf der RUckseite des Gerétes.
Page 39
Treble adjustment
20 TREBLE TONE SELECTOR
21 TREBLE TONE CONTROL
Use the TREBLE TONE SELECTOR and CONTROL to adjust the
treble or high-frequency response of instruments such as cymbals. The
TREBLE TONE SELECTOR selects the frequency above which
adjustment of the TREBLE TONE CONTROL affects; use one of the
three positions (2kHz, 4kHz or 8 kHz).
Eliminating noise
If noise the low or high frequency range is irritating, set the filters in
to eliminate it. if not, the filters should always be OUT.
Eliminating low-frequency noise
22 LOW FILTER Switch
This switch eliminates superlow-frequency noise such as hum, turntable
rumble and other noise that warped and off-centered records cause.
Two cut-off frequencies, 20Hz and 4OHz, are available.
Eliminating high-frequency noise
23 HlGH FILTER Switch
You can eliminate with this switch the hiss or noise in the high-
frequency range that is audible when scratchy records, FM stereo
broadcasts or magnetic tapes are played. Use either the 7kHz or the
l2kHz position. depending on which is the more effective.
37