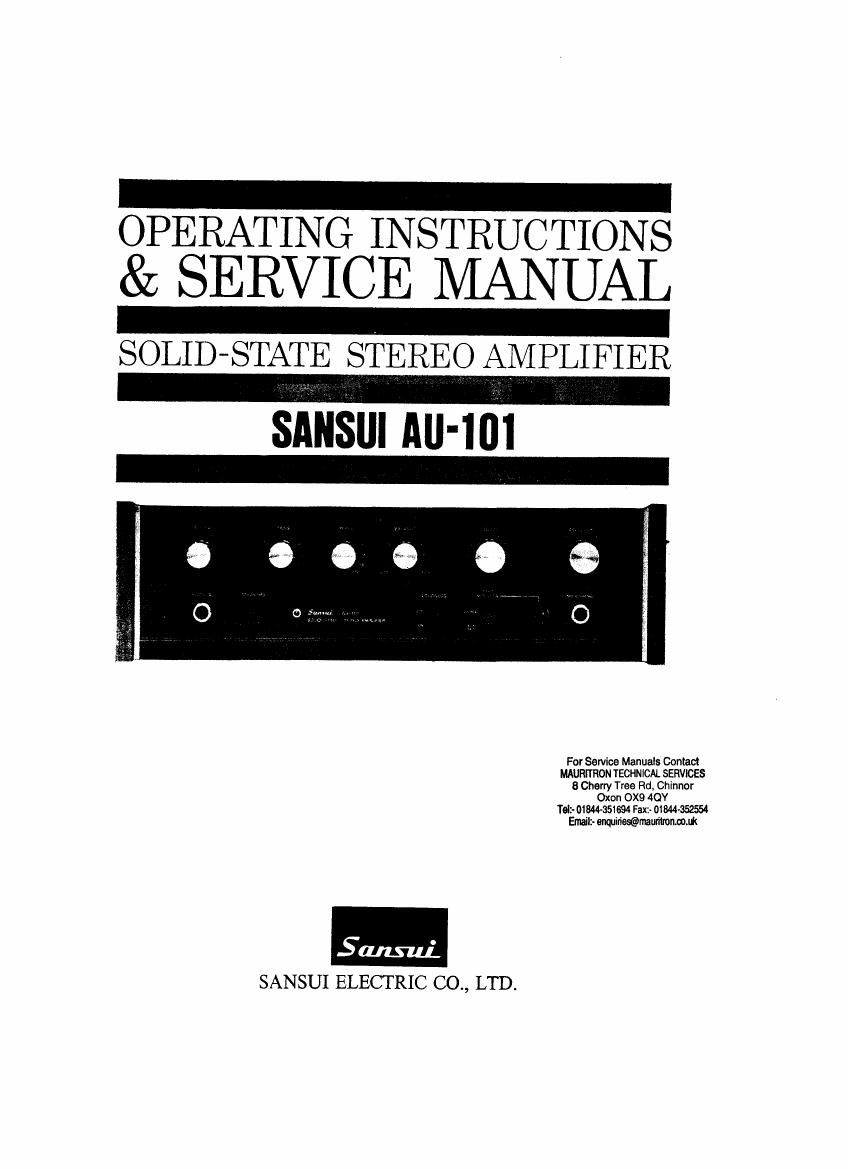
Sansui AU 101 Service Manual
This is the 10 pages manual for Sansui AU 101 Service Manual.
Read or download the pdf for free. If you want to contribute, please upload pdfs to audioservicemanuals.wetransfer.com.
Extracted text from Sansui AU 101 Service Manual (Ocr-read)
Page 1
OPERATING INSTRUCTIONS
& SERVICE MANUAL
SOLID-STATE STEREO AMPLIFIER
SANSUI All-101
For Service Manuals Contact
MAURFIRON TECHNICAL SERVICES
8 Cherry Tree Rd, Chinnor
SANSUI ELECTRIC C0,, LTD.
Page 2
OPERATIONS
For Service Manuals Contact
MAUFll'I'HON TECHNICAL SERVICES
8 Cherry Tree Rd, Chinnor
Oxon OX9 4OY
Tel:- 01844-351694 Faxz~ 01844-352554
Emlh- enqtivies@mauritmn.co.ik
Congratulations, you are now the owner of a new Sansui AU-101
control amplifier manufactured by Sansui, the worlds forem ostaudio-
only specialist.
The AU-lOl incorporates many of state-of-the-art features of the
more powerful Sansui AU-555A, including an all silicon solid state
design, professional arrangement of controls and a satin-black control
panel. Like all other AU series amplifiers, the AU101s tonal quality
has been perfected and proved not only by precision electronic meas-
uring instruments, but also by repeated listening tests in a wide variety
of environments.
These manual and operating sheet have been prepared to guide you in
operating and caring for your AU-lOl correctly. Please read them
carefully and retain for future reference.
RECORD PLAYER
Listening to a Record
1. Set the SELECTOR switch to PHONO.
2. Make appropriate settings of controls on the
record player.
3. Adjust the BALANCE control for equal sound
from both right and left speakers.
4. Use all other controls and switches according to
your personal taste and room acoustics.
TUNER
Listening to a Radio Program
1. Set the SELECTOR switch to AUX.
2. Use tuning controls to reach the desired station.
Make appropriate settings of controls on the tuner.
3. Adjust the amplifiers front panel controls and
switches according to your personal taste and room
acoustics.
MICROPHONE
Use high-impedance (10 kilo-ohms or more) dyna<
mic microphones for optimum performance.
Operation
1. Set the SELECTOR switch to MIC.
2. Use all other controls and switches according to
taste and listening conditions.
TAPE DECK
Recording on Tapes
1. Set the SELECTOR switch to the program to
be recorded.
2. Make appropriate settings of controls on the tape
deck.
Listening to Tapes
1. Set the TAPE MONITOR switch to PLAY-
BACK.
2. Make appropriate settings of controls on the tape
deck.
3. Use the amplifiers front panel controls and
switches according to your personal taste and listen-
ing conditions.
Tape Monitoring
Monitoring is possible only with a tape deck which
has its own playback preamplifier as well as separate
recording and playback heads. To monitor, proceed
in the same manner as indicated in the section
entitled Listening to Tapes.
NOTE:
1. Tape decks referred to in this section include
only those with built-in playback preamplifiers.
2. Tape recorded sound cannot be controlled by the
switches and controls on the front panel of the ampli-
fier. They control sound from the speakers only.