Rotel RX 7707 OM

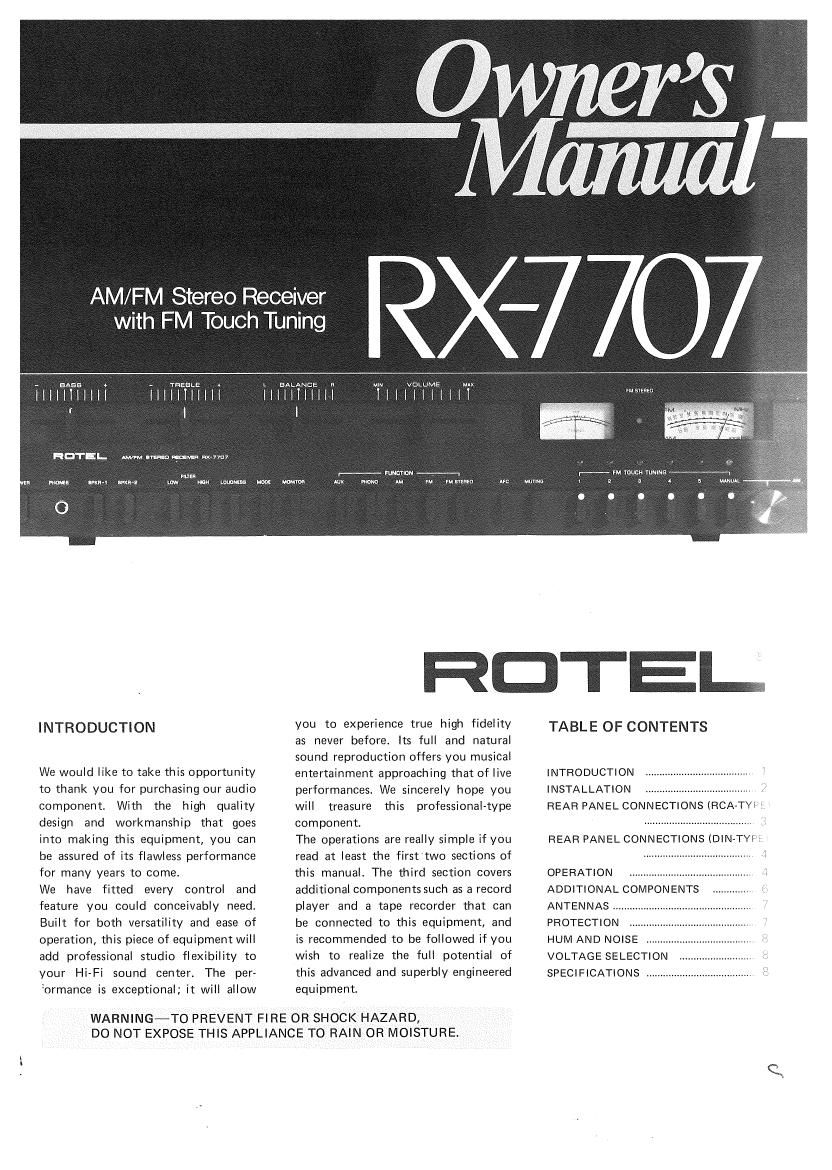
This is the 5 pages manual for Rotel RX 7707 OM.
Read or download the pdf for free. If you want to contribute, please upload pdfs to audioservicemanuals.wetransfer.com.

Page: 1 / 5
Rotel RX 7707 OM

Extracted text from Rotel RX 7707 OM (Ocr-read)


Page 1

AM/FM Stereo Receiver
with FM Touch Tuning

iIIIBIAIsiIIIi IllllelEIEllll
v I

HOTEL mm "mu m mam:

mm

a mm mm KR-I tow new

0

mum-n

INTRODUCTION

We would like to take this opportunity
to thank you for purchasing our audio
component. With the high quality
design and workmanship that goes
into making this equipment, you can
be assured of its flawless performance
for many years to come.

We have fitted every control and
feature you could conceivably need.
Built for both versatility and ease of
operation, this piece of equipment will
add professional studio flexibility to
your Hi-Fi sound center. The per-
Zormance is exceptional; it will allow

i | IEIAIINITI lI "ii I IVTLIUTEI l WI"
|

,--rwnrm--.
mm mm m mum m m mmmu

m srsnsu

,--- in week mm -1
a mu

HOTEL.

you to experience true high fidelity
as never before. Its full and natural
sound reproduction offers you musical
entertainment approaching that of live
performances. We sincerely hope you
will treasure this professional-type
component.

The operations are really simple if you
read at least the firsttwo sections of
this manual. The third section covers
additional components such as a record
player and a tape recorder that can
be connected to this equipment, and
is recommended to be followed it you
wish to realize the full potential of
this advanced and superbly engineered
equipments

WARNING-TO PREVENT FIRE OR SHOCK HAZARD,
DO NOT EXPOSE THIS APPLIANCE TO RAIN OR MOISTURE.

TABLE OF CONTENTS

INTRODUCTION
INSTALLATION ,
REAR PANEL CONNECTIONS (RCA-TYé

REAR PANEL CONNECTIONS (DIN-TYP

OPERATION
ADDITIONAL COMPONENTS
ANTENNAS .,
PROTECTION
HUM AND NOISE
VOLTAGE SELECTION
SPECIFICATIONS

Page 2

INSTALLATION

LOCATING THE UNIT

Although the unit normally does not
develope high heat, it should be placed
in such a way that its ventilation
system will not be impeded. Place the
unit on a hard surface - any con-
veniently located shelf or table where
not affected by heat. Leave at least 2
inches (5 cm) clearance on each side
and in the rear of the unit, and about
3 inches (8 cm) above the unit. Never
directly place an object on the ventila»
tion at the top of the unit, if there
is such a ventilation.

LOCATING SPEAKE RS

Caution: Check that each speakers
rated impedance is 8 ohms or higher,
(The value should be marked near its
connecting terminals or indicated in
its instruction book or, if not, consult
your dealer.) If any speaker is rated at
4 ohms, and if you have four speakers,
severe overload and distortion may be
incurred when all four speakers are
played simultaneously. In the event
you have speakers rated at 4 ohms,
make sure that only two speakers are
played at a time.

1. MAIN SPEAKERS ~ Two speakers
are required for stereo operation. Place
both speakers against a wall or on a
shelf so that they face your selected
listening position and are equal dis»
tance from you. For optimum stereo
effect, they should be 10 to 15 feet
(3 meters) apart and, if possible, at
about ear level height. You may deter-
mine best locations to suit your person-
al tastes and listening conditions.

2. REMOTE SPEAKERS - If you
wish to enjoy stereo sound in another
room in your home, you can connect
a pair of speakers to the SPEAKER 2
terminals located on the units rear
panel. Though you will need long
cables between the unit and the
speakers in another room, make sure
they are not longer than 50 to 60 feet
(15 to 20 meters) in length and that
they are of heavy duty type in order
to prevent loss of volume.

Follow the procedure described above
in the item 1 for placing the remote
speakers.

SPEAKER CONNECTION

Caution: Do not apply power to the
unit until the speakers are connected
properly as described below.

A. If your unit has push-insert type
speaker terminals.
As shown in Fig. 1, the speaker
terminals are quick-connect push-insert
type, and are arranged into two boards,
one for SPKR-l (main) and the other
for SPKR-2 (remote). Push back the
tab on each terminal, slip the bare wire
at the free end of the speaker lead
into the opened jaw of the terminal,
and release the tab to grip the bare
wire in the jaw. (Note: if necessary,
after stripping each end of speaker
leads to obtain a bare wire, twist the
bare strands together so it will be easy
to insert and also prevent shorting
among stray strands.) Make sure the
position (+) lead of each speaker is
connected to the (+) terminal and the
ground (-) lead to the (-) terminal,
and right to RIGHT and left to LEFT.
B. If your unit has DIN-type speaker
terminals.
When connecting the speakers to the
DIN-type terminals, make sure that the
speaker cables have DIN-type 2-prong
plug on their ends. Simply plug these
cables to the corresponding SPKR 1
terminals, right to RIGHT and left to
LEFT.
If you have another pair of speakers.
connect to the SPKR 2 terminals in
the same manner as the above.
See Fig. 7 and Fig. 2.

AM ANTENNA CONNECTION

A ferrite-core AM loopstick antenna
is affixed inside the unit for optimum
reception.

if you live in a difficult reception area
and the AM loopstick does not give
sufficient reception, an external anten-
na may be required. There is a terminal
on the rear panel for such antenna
connection, so refer to the ANTENNAS
section of this manual for installing
eXternal antenna.

FM ANTENNA CONNECTION

Due to the high sensitivity of the FM
tuner section of the unit, a T"-shape
dipole antenna (or sometimes even a
48-inch long single wire) is sufficient
for most locations. Connect this to
both FM antenna terminals marked
300 ohms and fasten the short arms
of the antenna horizontally to a now
metallic surface, for instance by tack-
ing to the shelf on which the unit is

mounted or to the wall where recep-
tion is optimum.

ln extremely difficult reception areas,
an outdoor antenna may prove neces-
sary. Refer to the ANTENNAS section
of this manual for installing outdoor
antenna.

COMPONENTS CONNECTIONS

This unit is designed to handle a record
player with magnetic cartridge, a stereo
tape recorder and an additional auxilia-
ry component such as stereo cassette
or 8-track cartridge deck.

We recommend that you familiarize
yourself with basic operations before
connecting any such units. Refer to
the ADDITIONAL COMPONENTS
section provided in this manual for
connections and operations of these
components.

PRE AMP OUT AND MAIN AMP
IN RECEPTACLES

There are pairs of terminals marked
PRE AMP OUT and MAIN AMP lN,
connected with a pair of jumper pins
on the rear chassis. Normally with the
pins in place, your receiver is the
combined equipment of integrated pre-
amplifier and main-amplifier sections.
However, by removing the jumper pins,
your unit in essence becomes two
independent components consisting of
one prevamplifier and one main-
amplifier.

These receptacles are intended for use
with any necessary equipment designed
to be installed between the pre-
amplifier and the main-amplifier or
for separate use of either section alone.
Such equipment as electronic audio
equalizer or reverberation unit can be
used; or, another pre-amplifier or
main-amplifier may be hooked up.
Simply disconnect the jumper pins and
follow the instructions supplied with
the accessory equipment. When no
auxiliary equipment is being used, the
jumper pins MUST be installed in
place in order to use your receiver.

AC OUTLET

The outlets marked SWITCHED on
the rear panel provide power and
switching control to whatever com-
ponent you may wish to connect to
the unit. For example, if you connect
the power cord of your record player
to the outlet, the record player will be
activated and deactivated by the power
switch on the unit.

Caution: Do not connect components
whose total power consumption ex-
ceeds 150W.

\

POWE R SUPPLY CONNECTION

For power the unit requires the normal
house electrical current (AC). Simply
plug the unit to a wall outlet.

If in any doubt about connecting to
the power source, consult a qualified
electrician.

CAUTION -~ Do not apply power to
the equipment without first making
sure that speakers are connected pro-
perly and that the unit's VOLUME
control is set to minimum. If you live
in U.K. and your unit comes with
3-core cord without a plug, be sure to
read the last page of this manual
before connecting to power.

um m mm
mu m

Fig.1 REAR PANEL CONNECTIONS (RCA TYPE)


FM ANTENNA, 75:1 _ L...
(FOR COAXIAL
TYPE)
PHE AMP
OUTPUT
MAIN AMP
INPUT
AC FUSE AC OUTLETS POWER CORD
OUTDOOR
AM ANTENNA
INDOOR T"7SHAPE SPEAKER 1
DIPOLE ANTENNA 30cm
CASSETTE R'GHT LEFT
RECORDER
(PLAYEACK ONLY)
SPKR-1
PHONO AUx MONITOR I
. I
©- , LEFT
RIGHT LEFT
@ RIGHT .
GND RECORD SFKRQ
PLAYER
(MAGNET'C TAPE RECORDER
CARTRIDGE)
OUTPUT
SPEAKER 2
INPUT
RIGHT LEFT