Rotel RX 2001 OM

This is the 15 pages manual for Rotel RX 2001 OM.
Read or download the pdf for free. If you want to contribute, please upload pdfs to audioservicemanuals.wetransfer.com.

Page: 1 / 15
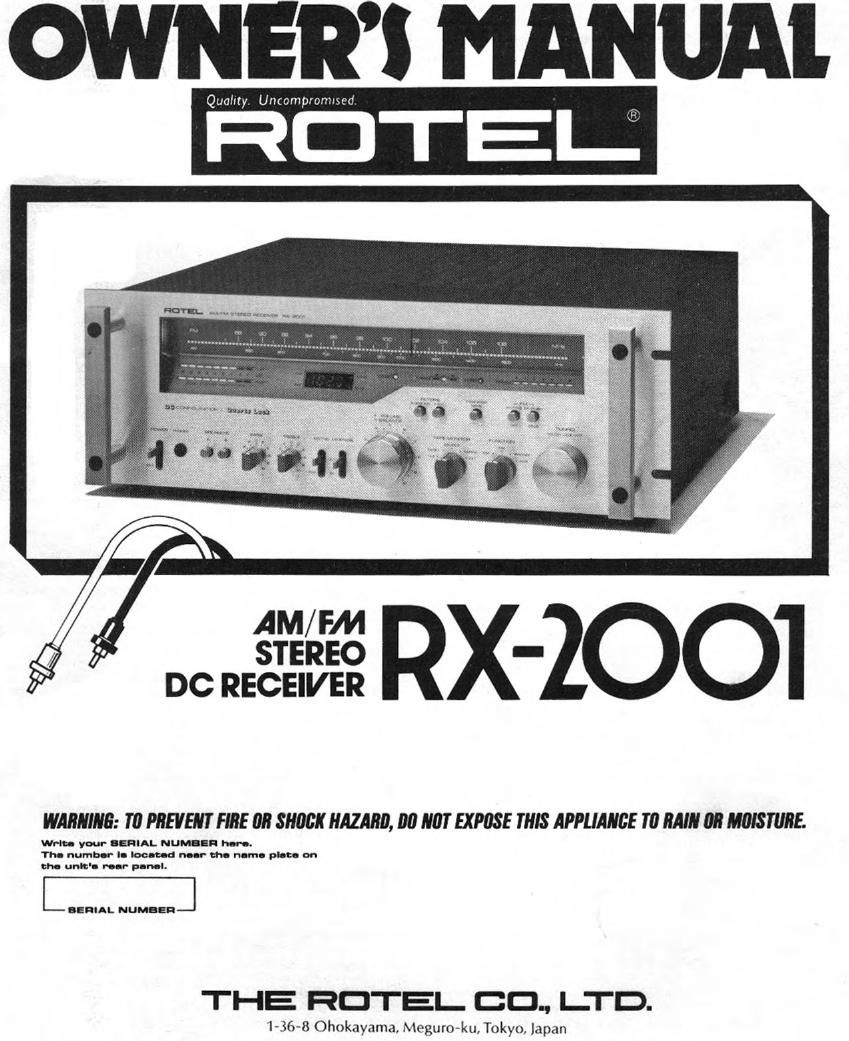
Rotel RX 2001 OM

Extracted text from Rotel RX 2001 OM (Ocr-read)


Page 1

OWNERS MANUAL
RDTEI;


AM/ FM

Dem RX-2001

STEREO

WARNING: T0 PREVENT FIRE an SHOCK HAZARD, 00 WT EXPUSE THIS APPUAIIEE 1'0 MIN an MUISTURE.

Wrin- your .EHIAL NUM-fl hm.
Tho nmnbor In lac-tad nonr eh. nan-I. plot. on

th- unk'o Mu- panel.

E DENIAL NUMBEfi]

THE RDTEI- CD LTD.

1-3643 Ohokayama, Meguro-ku, Tokyo, lapan

Page 2

EXCLUSIVE NOTE FOR U.K.
if your unit comes with a 3-
core cable without a plug, make
certain live, neutral and (where
appropriate) earth leads are cons
nected to the proper terminals.
Check that the terminals are
screwed down firmly and no
loose strands of wire are
present.

WARNING: THIS APPA-
RATUS MUST BE EARTHED
IMPORTANT: The wires in this
mains lead are coloured in
accordance with the following
code:

GREEN/YELLOW: EARTH
BLUE : NEUTRAL
BROWN : LIVE

As the colours of the wires in
the mains lead of this apparatus
may not correspond with the
coloured makings identifying
the terminals in your plug pro-
ceed as follows.

The wire which is coloured
GREEN/YELLOW must be con-
nected to the terminal in the
plug which is marked by the
letter E or by the safety earth
symbol 7},- , or coloured
GREEN/YELLOW.

The wire which is coloured
BLUE must be connected to the
terminal which is maked with
the letter N or coloured BLUE
or BLACK. The wire which is
coloured BROWN must be con-
nected to the terminal which is
marked with the letter L or
coloured BROWN or RED.

The apparatus must be protect-
ed by a 3 Amp fuse if a 13 Amp
(38 1363) plug is used. If
another type of plug is used a
5 Am fuse or lower must be
used, either in the plug or
adapter or at the distribution
board.

INTRODUCTION

We would like to take this oppor-
tunity to thank you for purchasing
the Hotel RX series receiver. This
component offers both high perfor-
mance and a wide range of func-
tions, and we at Hotel are confident
that you will be greatly pleased
with its superb sound qualities.

We urge you to read and follow
carefully the instructions in this
manual in order that you may
fully realize and enjoy the potenti-
als of this fine component.

BEFORE ENJOYMENT/
POWER SUPPLY

Follow the instructions below for
maximum safety:

1. Use a wall outlet for power
supply

Be sure to connect the AC line cord
directly to a household wall outlet,
and not to an auxiliary outlet on
another component. Be certain that
the outlet voltage matches the
electrical rating of the unit, found
on the rear panel none plate.

2. Connecting and removing AC
cord

Be sure to connect or disconnect
the AC line cord only after turning
off the power switch, to prevent
possible shock noise or damage to
the speakers.

l3. Furnished Convenience AC Out-
at

Do not connect other appliancelsl
to convenience AC outlet if its]
their total power consumption ex-
ceeds maximum rated watts labeled
next to the outlet.

4. Ventilotl the unit well

Never block any ventilation holes at
the top and bottom of the unit. Be
sure also to provide ample ventila-
tion space around the unit. Poor
ventilation may result in damage
due to excessive heat.

5. Do not open the chin-t

In order to avoid electric shock or
damme to the component, never
open the cabinet. If a foreign obiect
falls inside the unit by mistake,
turn the power off, disconnect the
wall plug, and consult a qualified
electrician or your dealer.

6. Turn the volume control i
Iy to minimum

When lowering the tonearm of your
turntwle onto a record, an excess
of current in the lower frequency
range may cause damage to the
speakers. To prevent this, always
minimize the volume setting initial-
Iy.

7. Moving the unit

When transporting, remove the AC
cord from the wall outlet and all
other connected cords on the rear

tinf-

panel to prevent wire breakage and
short circuits.

8. If the unit gets wet

If the unit should get wet, immedi-
ately disconnect the AC cord, and
consult your dealer or a qualified
electrician.

9. Cleaning and maintenance

Do not use chemicals such as
benzine or thinners on the front
panel. Always use a soft, dry cloth
to clean the unit.

10. Retain the owners manual
Retain te owner's manual near the
unit, and write down the serial
number (found on the rear panel]
on the cover.

INSTALLATION

Be sure to place the unit in a level
and flat place where it is free from
humidity, vibration, high temper-
ature and not exposed to direct
sunlight.

Be careful not to place the unit in a
highly enclosed place such as near
a wall or on a bookshelf. A poor
ventilation will cause undesirable
effects to the unit.

(This unit an be mounted on a
ElA/EIJ standard audio-rack. Be-
fore mounting on the rack, be sure
to read through the rackmountlng
instruction. Secure the unit firmly
to the rack.)