Rotel RX 1603 OM

This is the 20 pages manual for Rotel RX 1603 OM.
Read or download the pdf for free. If you want to contribute, please upload pdfs to audioservicemanuals.wetransfer.com.

Page: 1 / 20
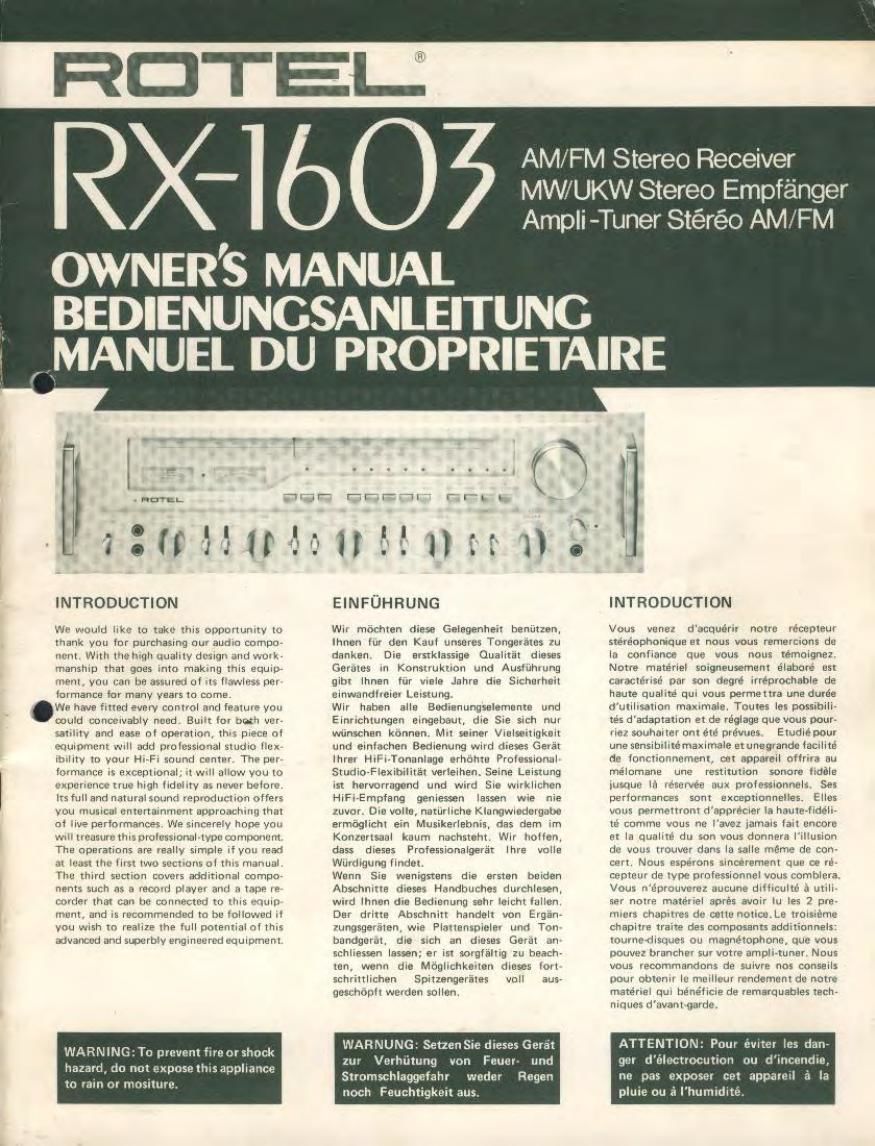
Rotel RX 1603 OM

Extracted text from Rotel RX 1603 OM (Ocr-read)


Page 2

I INSTALLATION

I INSTALLATION

BEFORE ENJOYMENT

For nfety nire keno in mind tho following
author:

I. Do not connect the unit to the AC power
line without Speakers connected beforehand.
2. Make sure also that the power switch is left
all and the master volume control is set at
minimum before plugging in the power cord
to a wall outlet.
3. Speakers
ellrrrpedence -Be sure to use speakers rated
3! 8 ohms or higher up to 16 ohms. In the
event your speakers are rated at 4 ohm: or
lower than desired 8 ohms. you may operate
with one pair of such type of speakers at a
time but never two pairs 0! speaker system
simultaneously. This measure is to prevent
any severe overload and distortionslrom nap-
oeninn due basically to too low impedance to
draw excessively high current. When you are
uncertain on your speakers ratingvaluvs. eon-
sull with the dealer or store you purchased.
b) Connoetion Belem connecting speaker
leads to the terminals on appliance, make sure
no loose stray strands olwtro are lelt murder
to prevent any short-iigoetweenspeaker leads
or terminals to main dtessis. This shorting
mallunct-on may be common museolhlown
luses or overload.
4. Furnished Convenience ac Outlet
II Do not insert or remove plug lrom any eon-
venienoe AC outlet supplied on the appliance
while the appliance is oonntrctod to power.
Also do not insert foreign object, other than a
proper plug, into the convenience AC outlet.
bl Do not connect other eppliancelsl to con-
venience AC outlat il itsltheir total power
consumption exceeds maximum rated watts
labeled next to the outlet.

Sound will not com out immediately after
the power switch is pushed on.

Ste the OPERATION notion on Pogo l l.

LOCATING THE UNIT

Although the unit normally does not deve-
lope high heat, it should be pieced in such e
way that its ventilation system will not be im-
peded. Place the unit on a hard surtace-any
conwnientiv located shell or table where not
atlected by heat or moisture. Leave at least
55m (2 inches] clearance on each side end In
the marol themit, end about 10cm (4 inches]
above the unit. Nevardiructlv place an object
on the top of the unit.

SPEAKERS PLACEMENT

1. MAIN SPEAKERSARelerrod to a pair oi
speakers connected to the SPEAKER A let-
minals on the un its rear panel. Place the main
speakers against a wall or on a shelf so that
they lace your selected listening posrtion and
ere equal distance from you. For optimum
stereo etlect. they should be 3 to 4 meters
"0 to 15 feet) apart and, possible, at about
ear level height. Vou may determine best lo-
cation: to suit your personal testes and listen-
ing conditions.

2. REMOTE SPEAKERS-ll you wrsh to
eniov stereo sound in another room, you

VOR DEM GEBRAUCH

Boner-ton Si. richerheinhnlber lolgondo
Warming-rt:

I. Die Lautwrecher muss-en when an das
Gerét angoschlossan sein, better as mit dem
Netzrlrom verbunden wird.

2. Achten Sic auch dareul, deg der Net:-
schalter eutgeschalm und der Lautrtirke-
regler aul Minimumsteilung steht, bevor das
Netzkabal in cine Wandsteckdose gotteckl
wird.

3. Louteprecher

oi imp-dent lsdninwidorrtnndi

Es ixt zu beachten, ties Lautsprecher mil
8 Ohm oder mehr bis zu 16 Ohm vorwendet
warden. Fall: Ihre Lautsprecher our 4 Ohm
odor weniger all; die gewiinschtan 8 Ohm
heben, darl nur ein Peer in Belrieh sin.
Dies Matsnohme lust-ht. um legllche Ober-
lastung, sowie Verzerrungen zu vermeiden
wegen sténdig zu nledriger lmpedanz.
wodurch iibermssrig hohe Stromsterke
auitr'rtt. Wenn Sie wagon der Leistung lhrer
Lentsprecher nicht srcher sind. lragen Ste
lhron Handler odor im Geschelt, wt: Sie
tie gelrault lichen.

hi Antonius

Bevor die Leutsprecheritabel mit den
Anrchltiseen dos Gerhes vorbunden warden,
ist dareut zu echten, deal keine der Drahlv
lesern seitiich abstellcn. urn Kurzschliissa
zwischon Lautsprecherleitunoen odor An-
schliissen zum Metallge'ausa zu vermeiden.
Dine: Kurzichlussvorsegen ist cler amohn-
licho Grund liir durchgobrannte Sicherungen
odor Ublrlertung.

4. Elm-hater Netumchluu

Ii Wenn do; Gorit eingeschaltet ist, derl
Item Stacker in die eingebauten Netz»
enschlitsse eingestecltt oder herausgezogen
warden. Auch sonstigc Fremdobiekte, autser
richtige Stacker, diirfen nicht eingerteckt
warden.

b) Vorbinden Sie keine Geria'te mit den
eingebeuten Anschliiuen, deren Strom-
verbrauch die neben den Anschlussen ange-
gebenen Keoozitiitsgrenzen iibersteigt.

Der Ton wird nieht Mort Inch dent Ein.

whelten eintromn. Bouillon Sie den Ab-
eehnitt Berri-b" auI Slit. 11.

AUFSTELLUNG DES GERATES

Obwohl des Gerilt normalerwaise kettle
grosse Werrne entwickelt, sollte es so eut-
Destellt warden, dos: seine Ventilation nicht
mstort wird. Sctzon Sie den G-ret auf die
hart. Obarfliche eines giinstig stehendon
Regal: odor Tisches, into at wedor durch
thrrne nodl Feuchtigkeit baeinfluut wird.
Lassen Sie mindcstens 5cm Zvvischenraum
an boiden Soiton sowie der Rilekteite do!
Gerfites und etwe 10cm deriibar.

PLACIERUNG DER LAUT-
SPRECHER

Slt'hll Alii I

1, HAUPTLAUTSPRECHER - Entspre-
chen dem Leutsprochorpuar, welches mit
den SPEAKER A Anschliitsen dee hinteren

I INSTALLATION

AVANT L'Eootité
Pour flu buoins d- riot-rid. a souvenir
«Wbmgmz

1. Ne pas hrancher oette unit! a la Iigne
dalimentation d: cot-rant alternaril want
que les enoeintns ne soient brenchées.

2. Sossurer oussi que lo oommutetaur d'aii-
mentation soit laifié sur la position "OFF"
at our: la contrbla de volume mit place' an
minimum. event one soit brenché Ia cdhle
d'alimentorion dans la prise murale.

3. Enceintu.

a) lunged-nee - S'essurer d'utiliser des
enceintes de 8 ohms ou au maximum de 16
ohms. Dans to ca: 00 vous enceintet lenient
de 4 ohms ou inlérieuret aux Sohms desires,
you: he pouvol utiliser qu'une pairs, ale
lors, do an; enminm main iamais on system
simultené de deux pairet de eel enoeintes.
Ceci pour évltar one impomnte surcharge at
das distorsions qui peuvent Otre dues at UM
impedance troo laibie qui pout induire un
courant axoeuivement Glove. Si vous nem
certain des velour: déulonnege dc vo: en-
ceintos, consulu-r ie vendeur ou la magain
de votre echet.

bl Bret-Mont - Avant dc branohor Ier
iilr det enoeintes aux borne; de luppereil,
s'assurer qu'il n'y a pas de towns dam in:
lils, cact pour éviter des roocourcvmments
antre Ies lils des cocaine: ou la: borne: on
chassis principal, Cane mall-con pour titre
orinéralernent is cause de la ionte das Iusible:
ou ale la surcharge.

4. Equipment Fournl desScrrtie d'Alimen-
tation,

Ii Ne pas interer on (Star de prrsede quelque
prise d'alimentation one on sort,quend I'ao-
pereil est branche it I'alimentetion. Ne pas
insérar euni d'ohiets changers, autres que
la prise convenebla, dens l'equiperrtent de
sortie d'eliment-tion.

b) NE pas brencher dautres appareils a l'é-
qurpemant de sortie rl'aiimentation s: leur
consummation lotele d'electricité depasse ie
leux indiuué é cote de la sortie.

mm
In min on march. do Iinurrupteurdalimln-
tetion. Se mm i in nation FONCTION-
NEMENT on pogo 11.

EMPLACEMENT DE L'ENSEMBLE

Comma cet ensemble ne déveloooe ginereler
ment pas de dieleur excessive, ll doit tire
place de telle sorta uue son svrtéme do venti-
lation rte soit pas empe'ché, Placer I'ensemble
sur one surface our: ~ quelque élagéro on
table, one cu soir, :onvenablunent siruée,
sur laquelle Iensemble he soulfrire ni de la
temperature ni de la moisissurtl. Lalsser un
Minimum libre do 5 cm de cheque odté at e
l'erriere de l'ensemhle, el environ 10 cm au
dessus dc I'ensemble. Ne lamais placer direc~
ternent quelque objet que as soil sur le haul
de l'ensemble.

PLACEMENT DES ENCEINTES

1. ENCEINTES FRINCIPALES , Elle:
son! an rapport Ivec une peire denceinut
brenchéet aux borne: SPEAKER A tur le