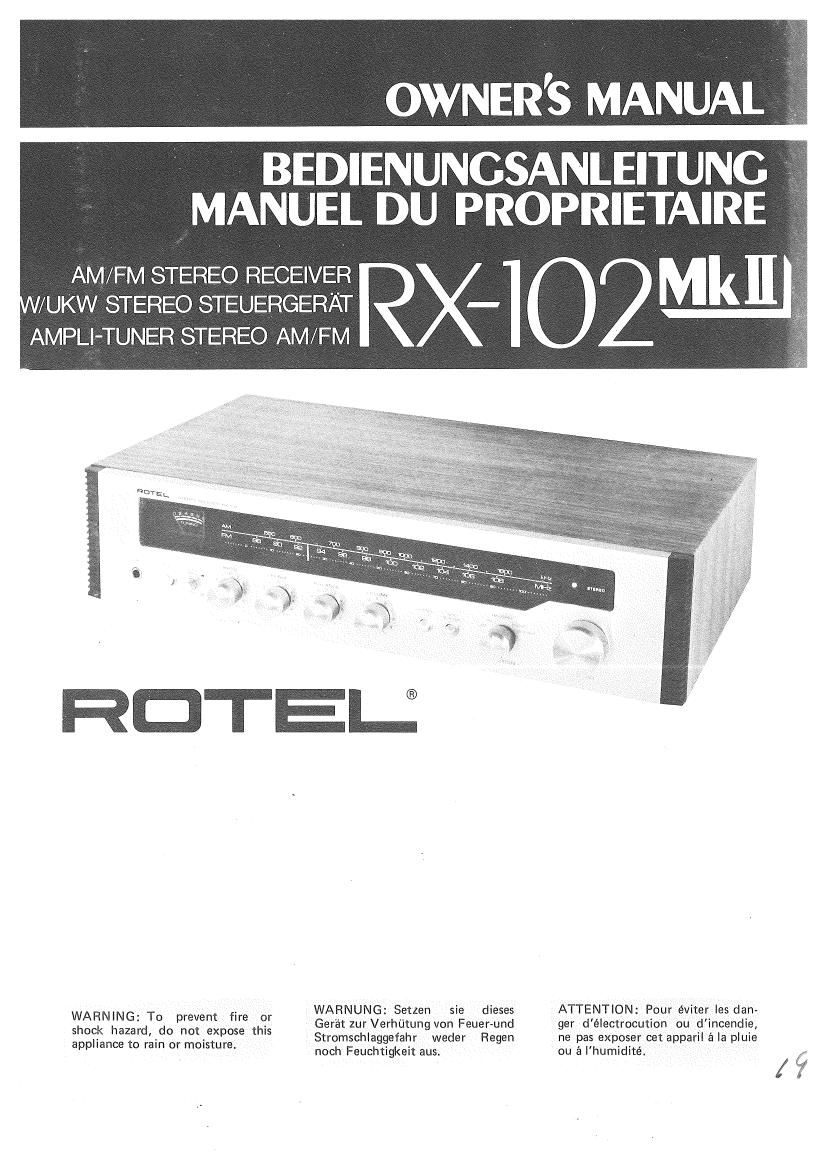
Rotel RX 102 MK2 OM
This is the 9 pages manual for Rotel RX 102 MK2 OM.
Read or download the pdf for free. If you want to contribute, please upload pdfs to audioservicemanuals.wetransfer.com.
Extracted text from Rotel RX 102 MK2 OM (Ocr-read)
Page 1
OWNER'S MANUAL
BEDIENUNGSANLEITUNG
MANUEL DU PROPRIETAIRE
AM/FM STEREO RECEIVER
/UKW STEREO STEUERGERAT
AMPLl-TUNER STEREO AM/ FM
_ . WARNUNG: Setzen sie dieses ATTENTION: Pour éviter les dan»
gégNEgET-zo pgzzegi (2': 3: Gerét zur Verhutung von Feuer-und ger délectrocution ou dincendie,
appliance to réin or moistullie Stromschlaggefahr weder Regen ne pas exposer cat apparil é la pluie
' noch Feuchtigkeit aus. ou é l'humidité.
/§
Page 2
INTRODUCTION
We would like to take this opportunity to
thank you for purchasing our audio comv
ponent. With the high quality design and
workmanship that goes into making this
equipment,you can be assured of its flawless
performance for many years to come.
We have fitted every control and feature
you could conceivably need. Built for both
versatility and ease of operation, this piece
of equipment will add professional studio
flexibility to your Hi-Fi sound center.
The performance is exceptional; it will
allow you to experience true high fidelity
as never before. Its full and natural sound
reproduction offers you musical entertain-
ment approaching that of live performances.
We sincerely hope you will treasure this
professional-type component.
The operations are really simple if you read
at least the first two sections of this manual.
The third section covers additional com-
ponents such as a record player and a tape
recorder that can be connected to this
equipment, and is recommended to be
followed if you wish to realize the full
potential of this advanced and superbly
engineered equipmentt
EIN FUHRUNG
Wir mochten diese Gelegenheit benutzen,
lhnen fiir den Kauf unseres Tonger'ates zu
danken. Die erstklassige Qualitat dieses
Gerates in Konstruktion und Ausiuhrung
gibt lhnen fiir viele Jahre die Sicherheit
einwandfreier Leistung.
Wir haben alle Bedienungselemente und
Eintichtungen eingebaut, die Sie sich nur
wu'nschen kénnen. Mit seiner Vielseitigkeit
und einfachen Bedienung wird dieses Gerat
lhrer HiFi-Tonanlage erhohte Professional-
Studio-Flexibilitat verleihen. Seine Leistung
ist hervorragend und wird Sie wirklichen
HiFi-Empfang geniessen lassen wie nie zuvor.
Die voile, natijrliche Klangwiedergabe er-
moglicht ein Musikerlebnis, das dem im
Konzertsaal kaum nachsteht. Wir hoffen,
dass dieses Professionalgerat lhre volle Wiirdi-
gung findet.
Wenn Sie wenigstens die ersten beiden
Abschnitte dieses Handbuches durchlesen,
wird lhnen die Bedienung sehr leicht fallen.
Der dritte Abschnitt handelt von Ergan-
zungsgeraten wie Plattenspieler und Ton-
bandgerat,die sich an dieses Gerat ansch-
liessen lassen; er ist sorgfaltig zu beachten,
wenn die Moglichkeiten dieses fortschritt-
lichen Spitzengerates voll ausgeschopft
werden sollen.
INTRODUCTION
Vous venez d'acquérir notre récepteur
stereophonique et nous vous remercions
de la confiance que vous nous te'moignez.
Notre materiel soigneusement élaboré est
caractérisé est par son degré irréprochable
de haute qualité qui vous permettre une
duree d'utilisation maximalei Toutes les
possibilités dadaptation et de réglage
que vous pourriez souhaiter ont été prévues.
Etudié pour une sensibilite maximale et
une grande facilité de fonctionnement,
cet appareil offrira au mélomane une
restitution sonore fidele jusque Ia reserves
aux professionnels. Ses performances sont
exceptionnellesEllesvous permettront d'ap-
precier la hautevfidelité comme vous ne
l'avez jamais fait encore et la qualité du son
vous donnera l'illusion de vous trouver
dans la salle meme de concert. Nous es»
pérons sincerement que ce récepteur de type
profession nel vous comblera.
Vous n'éprouverez aucune difficulté a
utiliser notre materiel apres avoir lu les 2
premiers chapitres de cette notice. Le
troisiéme chapitre traite des composants
additionnels: tourne-disques ou magneto-
phone, que vous pouvez brancher sur votre
ampli-tuner. Nous vous recommendons de
suivre nos conseils pour obtenir Ie meilleur
rendement de notre materiel qui bénéficie
de remarquables techniques davantgarde.
INSTALLATION
Caution: Do not apply power to the equip-
ment without first making sure that speakers
are connected properly and that the units
VOLUME is set to minimum.
LOCATING THE UNIT
Although the unit normally does not develop
high heat, it should be placed in such a way
that its ventilation system will not be
impeded. Place the unit on a hard surface
- any conveniently located shelf or table
where not affected by heat. Leave at least
2 inches (5 cm) clearance on each side and
in the rear of the unit, and about 3 inches
(8 cm) above the unit. Never directly
place an object on the ventilation at the
top of the unit, if there is such aventilation.
LOCATING SPEAKERS
Caution: Check that each speakers rated
impedance is 8 ohms or higher. (The value
should be marked near its connecting
terminals or indicated in its instruction
book or, if not, consult your dealer.) If
any speaker is rated at 4 ohms, and if
you have four speakers, severe overload
and distortion may be incurred when all
four speakers are played simultaneously.
In the event you have speakers rated at
4 ohms, make sure that only two speakers
are played at a time.
1. MAIN SPEAKERS - Two speakers are
required for stereo operation. Place both
speakers against a wall or on a shelf so
that they face your selected listening
position and are equal distance from
you. For optimum stereo, effect, they
should be 10 to 15 feet (3 meters) apart
and, if possible, at about ear level height.
You may determine best locations to
suit your personal tastes and listening
conditions.
2. REMOTE SPEAKERS - If you wish to
enjoy stereo sound in another room in
your home, you can connect a pair of
speakers to the REMOTE SPKFlterminals
located on the unit's rear panel. Though
you will need long cables between the
unit and the speakers in another room,
make sure they are not longer than 50
to 60 feet (15 to 20 meters) in length
and that they are of heavy duty type
in order to prevent loss of volume.
Follow the procedure described above
in the item (1) for placing the remote
speakers.
SPEAKE R CONNECTION
Caution: Do not apply power to the unit
until the speakers are connected properly as
described below.
As shown in Fig. I, the speaker terminals
are quick-connect Screw type, and are
arranged into two boards, one for MAIN
and the other for REMOTE.
Push back the tab on each terminal. slip the
bare wire at the free end of the speaker lead
into the opened jaw of the terminal, and
release the tab to grip the bare wire in the
jaw. (Note: if necessary, after stripping each
end of speaker leads to obtain a bare wire,
twist the bare strands together so it will be
easy to insert and also prevent shorting
INSTAL LATI ON
Vorsicht: Vor dem Einschalten des Gerates
ist darauf zu achten, dass die Lautsprecher
richtig angeschlossen sind und der Laut-
stéirkeregler (VOLUME) in Minimumstellung
steht.
AUFSTELLUNG DES GERATES
Obgleich das Ger'at normalerweise nicht vlel
Warme entwickelt, sollte es doch so auf-
gestellt warden, dass sein Liiftungssystem
nicht behindert ist. Zu epipfehlen ist Auf-
stellung auf einer harten Oberflache, etwa
auf einem passenden Regal oder Tisch an
einem nicht zu heissen Ort. An beiden Seiten
des Gera'tes und an seiner Riickseite miissen
mindestens 5 cm und fiber dem Gerat etwa
8 cm frei bleiben. Wenn das Ger'at oben
Liiftungsoffnungen hat, diirfen diese nicht
durch unmittelbar darauf gestellte Gegen-
stande verdeckt warden.
AUFSTELLUNG DER LAUTSPRE-
CHER
Vorsicht: Es ist darauf zu achten, class die
Nennimpedanzjedeseinzelnen Lautsprechers
mindestens 8 Ohm betragt. (Der lmpedanz-
wert sollte in der Nahe des Anschlusses am
Lautsprecher selbst oder in dessen Bedie-
nungsanweisung vermerkt sein; wenn nicht,
fragen Sie lhren Handler ) Wenn irgendeiner
der Lautsprecher nur 4 Ohm hat und vier
Lautsprecher angeschlossen sind, kann bei
gleichzeitigem Betrieb derselben schwere
Uberlastung und Verzerrung auftreten. Wenn
Sie Lautsprecher mit 4 Ohm lmpedanz
haben, achten Sie darauf, class nur zwei
gleichzeitig betrieben werden.
1. HAUPT
lieh. Man stellt diese so an eine Wand
oder auf ein Regal, dass sie nach der
gewahlten Ho'rposition zeigen und glei-
chen Abstand von dieser haben. Opti-
maler Stereoeffekt wird mit in 3 bis
4-1/2 rn Abstand voneinander ann'ahernd
in Ohrhohe aufgestellten Lautsprechern
erzielt. Am besten bestimmt man die
Plazierung durch Ausprobieren so, dass
sie dem eigenen Geschmack und den
Horbedingungen entspricht.
2. ZUSATZ-LAUTSPRECHER - Wenn Sie
Stereoklang in einem anderen Raum
lhres Helms geniessen mochten, kénnen
Sie ein Lautsprecherpaar an die Ansch-
lu'sse REMOTE SPKR auf derRiickseite des
Gerates legen. Hierzu brauchen Sie lange
Verbindungsleitungen, die jedoch héch-
stens 15-20 m lang sein diirfen und zur
Vermeidung von Lautstarkeveriust aus»
reichend dimensioniert sein miissen. Bel
der Aufstellung der Zusatz-Lautsprecher
verfahrt man wie vorstehend unter (1)
beschrieben.
LAUTSPRECHERANSCHLUSS
Vorsicht: Ger'at nur einschalten, wenn die
Lautsprecher richtig wie nachstehend be-
schrieben angeschlossen sind. I
Wie in Abb. 1 gezeigt, sind die Lautsprecher-
anschliisse vom Schnellschraubtyp;sie sind
auf zwei getrennten Platten angeordnet,
einer fiir die Haunt-Lautsprecher (MAIN I
und ainer fiir die Zusatz-Lautsprecher
3
INSTALLATION
Attention: Avant de brancher votre materiel
assurez vous que les enceintes soient con-
venablement montées et que Ie reglage de
puissance soit au minimurr
INSTALLATION DE LAMPLI-TUNER
Bien que l'appareil ait un faible dégagement
cle chaleur, il faut le placer de maniere que
rien ne gene son aeration. Posez lampli-
tuner sur une surface dure - étagere ou
table ._ ne craignant pas la chaleur, de
maniere a ce qu'il y ait un espace libre
d'au moins 5 centimetres de cheque cOté et
a l'arriere et d'environ 8 centimetres au-
dessus.Ne jamais poser d'objet sur la grille
d'aeration qui peut eventuallement se
trouver sur le dessus de lampli-tuner.
INSTALLATION DES ENCEINTES
Attention: Vérifiez bien que chaque en-
ceinte a une impedance dau moins 8 ohms
(cette valeur est indiquée pres de ses prises
de connexion ou dans la notice explicative;
Ie cas echéant consult'ez votre revandeur).
Si vous ecoutez simultanément 4 enceintes
de 4 ohms d'impédance, vous risquez une
forte distortion et surcharge. Si vos
enceintes ont une impedance de 4 ohms,
assurez-vous que seulement 2 dentre elles
fonctionnent a la fois.
1. ENCEINTES PRINCIPALES - Deux
enceintes sont nécessaires pour l'écoute
en stéréo. lnstallez les 2enceintes contre
un mur ou sur une étagere, a égale
distance et en face du lieu découte
choisi. Pour obtenir le meilleur effet
stéréophonique, les enceintes doivent
étre distantes de 3 a 4.5 metres lune
de Iautre et, si possible, placées a
hauteur d'oreille. Vous pouvez aisément
choisir leur emplacement selon vos
preferences et votre local d'écoute.
2. ENCEINTES SECONDAIRES - Si vous
souhaitez profiter de votre installation
stéréo dans une autre piece, vous pouvez
brancher une paire d'enceintes sur les
sortiesREMOTE SPKR situées sur la face
arriere de I'appareil. Bien que vous
puissiez avoir besoin d'une grande
Iongueur de fil entre l'ampli-tuner et
les enceintes disposées dans une autre
piece, assurez-vous que cette longueur
ne dépasse pas 15 a 20 metres et que les
fils aient une section suffisante pour
eviter toute perte de puissance.
Suivez les indications données précedem-
ment (1) pour situer les enceintes
secondaires.
BRANCHEMENT DES ENCEINTES
Attention: Assurez-vous que les enceintes
soient correctement branchées comme indiqué
ci-dessous, avant de mettre votre ampli-tuner
sous tension.
Comme le montre le schéma I, les bornes
d'enceintes sont de type RCA a intro-
duction a vis et sont disposées sur 2
plaquettes: l'une i MAIN i pour les
enceintes principales et lautre (REMOTE)
pour les enceintes secondaires. Ecartez
Ie taquet qui protege chaque borne de sortie,
introduisez le fil dénudé de lextrémité libre
du fil denceinte dans la cavite de la borne