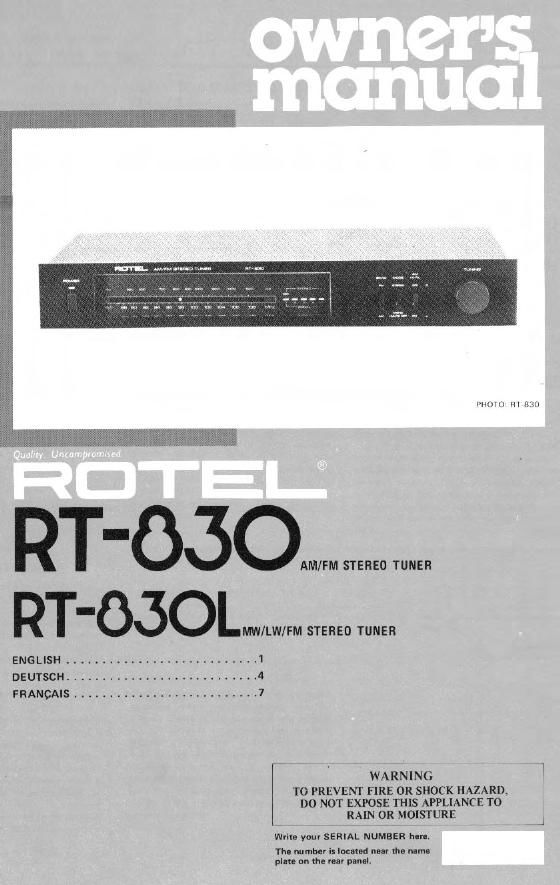
Rotel RT 830 830L OM
This is the 4 pages manual for Rotel RT 830 830L OM.
Read or download the pdf for free. If you want to contribute, please upload pdfs to audioservicemanuals.wetransfer.com.
Extracted text from Rotel RT 830 830L OM (Ocr-read)
Page 1
PHIHO m mu
T-OCSOWW
T-OCSOLW
ENGLISH ...........................
DEUTSCH ........................... 4
FRANCAIS .......................... 7
WARNING
TO PREVENT FIRE 0R SHOCK HAZARD,
DO NOT EXPOSE THIS APPLIANCE T0
RAIN 0R MOISTURE
inh you: SERIAL NUMBER hurl,
Thu numbu is loan-d nu! III. nlml
plm mu m. ruv pun-l.
Page 2
[llllllSll
CAUTION
As long as the power cord ts plugged into In
AC outlet, power I: suoolted to the unit
regardless at the sotttng ol the Power
AM/FM STEREO TUNER FIT-830 am",
MW/LW/FM STEREO TUNER RT-BSOL
INTRODUCTION CONNECTION T0 INTEGRATED at am
We at Hotel want to thank you lor purchasmg
our audio product,
Rate! audio products are dawned to use the
latest electrontc technology, and they Incorpo-
rate Our long nxperlenca as a spectaltst manulac-
turor pl audto equtpment. We are confident
that you wtll ltnd Satls'achan tn the htgh
quattty sound and too perlormance, am that
you wlll ltnd pleasura tn the functional beauty
achteyeo lhtough humanangtnoorlng concept
Belore starttng oporatton, pluase read thus
instructtorl manual thoroughly and acquatrtt
yoursell wttlt the proper mode ol usmg the unit
and all its connect-ans
We hope you th| enjoy top-notch performance
lor many years to come.
INSTAL LATION
Be sure to place the unll In a level and flat place
where rt ts tree Irom humidttv, lllbratlon, htgn
lmperature and not exposed to direct sunltylt.
Be carelul not to place the unit in a htghly
enclosed place such as near a wall or on a
bookshelf. A poor ventilatton wrll cause unde-
strahle clients to the unit.
POWER SUPPLY CONNECTION
For power the null reoutres the normal house
electrtcal Currant (ACIV VOu may stmply plug
the amt Into a wall outlet, or Into your ampli-
llers convenlence AC outlet,
CAUTION: Do not apply power wtthout ltrst
malortg sure the proper cannecllons are com
plated, It you live tn 0.x. and your untt comet
wlth Zrcore cord wuhout a plug. be sure to read
the exclustve caution lot U,K
IEXCLUSIVE NOTE FOR U.K.
Il your unit comes with a 2-core caolo
wnhout a plug, make cartotn Ilve and
neutral leads are connected to the proper
torrrttnals. Check that the terminals are
screwed down Itrmlv and no loose strands
oI wtro are present
IMPORTANT: The wtres In thls mains lead
are coloured In accordance with the follow
my code:
BLUE: NEUTRAL
BROWN LIVE
As tho colDurS oI the wtras In the "lam: lead
ol thts apparatus may not correspond wrth
lhl coloured marklrlgs roentlIytrtg the
tottttrnals in your plug proceed as lollows
The wtre whtch Is coloured BLUE must be
connected to the termtnal whtch ts marked
wrth the letter N or coloured BLUE or
BLACK The W": Mtrch Is coloured
BROWN must be connected to the tetmtnal
which IS marked wtth the letter L or Colour
ERROWN or RED.
AMPLIFIER
Ustng RCA ptn cords, securely connect the
OUTPUT terrmrtals on the rear panel OI tlm
urttt to the TUNER (or AUX) term-nals ol
amplllierr Make absolutely sure that RIGHT
terminal of one unlt is connected to thu RIGHT
terminal a! the other, and LEFT to LEFT.
AMPLIFIER
ANTENNA INSTALLATION AND
CONNECTION
I FM Antenna
Proper rnstallatton ol antenna ts the key to
smooth signal recoptton To Install the attached
T~shaoe Indoor antennal stretch tl taut and
secure hor-rontally along a wall or the like
tn a button where signal recoptton ls opttmal
Securely connect the antenna to PM antenna
tarmtnals marked "3000" on the rear panel
II outdoor type FM antenna Is Installed, the
Tashape antenna Is not necessary For proper
use at your outdoor FM antenna, lollow the
Instructtons below.
I Be sure to select lhe most approprtate
type or antenna tot tho Slgnal recopt-on Candi
ttons tn your aroa
2, A 750hm coaxtdl cable I: recommended
tn connecting the antenna to the amt.
3 Set the antenna In a posnton as htgh as
possible rl bulldlngs, muuhtarns or other
obstructtons nearby allecl receptlon
4. Thu 750m coaxlal antenna cable
should be properly hooked up to the dastgnated
antenna termmals on the rear panel Locate the
termtndls labeled "759" Connect the name:
conductor OI the cable to III: left hand ler-
mtnal. and connect the outer bralded conductor
DI the Cable to the rtghl hand termtnal lmatked
"Gl.
75$!
I AM Antenna
The loop antannl It provtdod tor opttmum AM
receptton Attach the loop antenna onto the
antenna holder on the rear panel, and connect
the load Wtres to the antenna screw terminals
marked G and "AM" If an outdoor antenna
Is destred lot better ruepuon due to difficult
receptlon areat connéct such antenna to the
same screw termrnals as theloop antenna Please
note that the loop antenna should be I'elt con-
nected to the tetmtnals even whorl the external
antenna connected
@375 _-
MK]
"II"
Mn...
\
75X]
\\
most men"