Rotel RP 900 OM

This is the 3 pages manual for Rotel RP 900 OM.
Read or download the pdf for free. If you want to contribute, please upload pdfs to audioservicemanuals.wetransfer.com.

Page: 1 / 3
Rotel RP 900 OM

Extracted text from Rotel RP 900 OM (Ocr-read)


Page 1

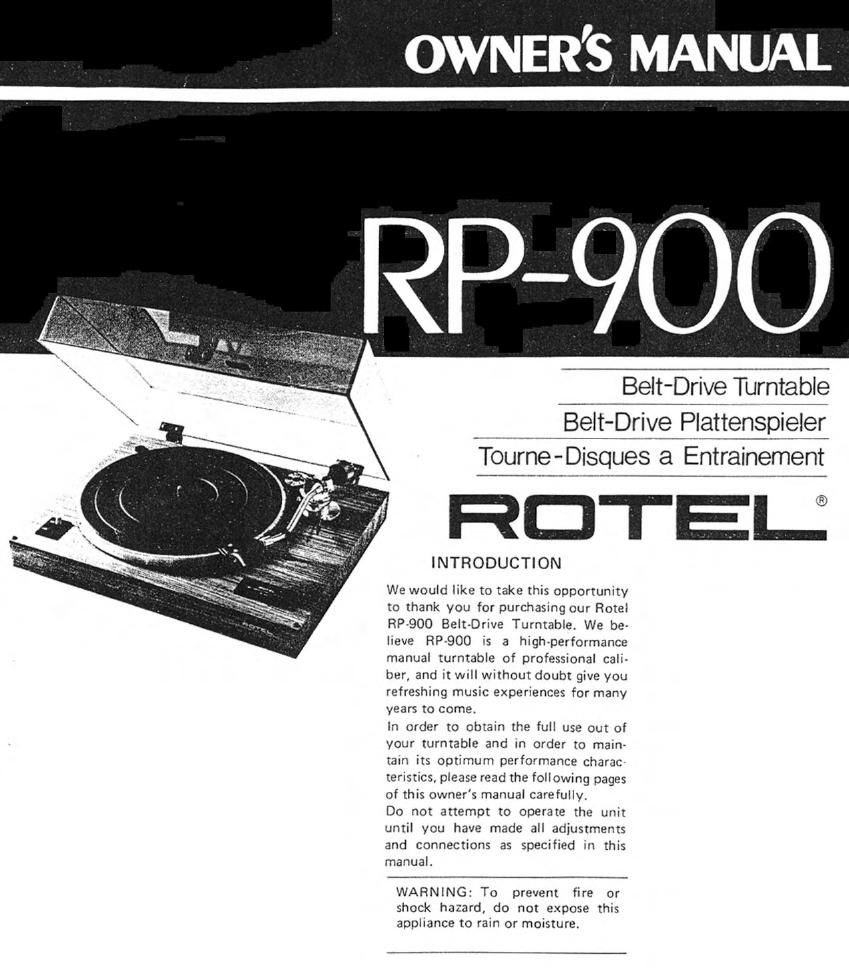
OWNER'S MANUAL

Belt-Drive Turntable
Belt- Driye Plattenspieler
Tourné- Disques a Entrainement


HOTEL

INTRODUCTION

We would like to take this opportunity
to thank you for purchasing our Hotel
RPAQOO Belt-Drive Turntable. We be
lieve RPQOO is a highperformance
manual turntable of professional cali-
ber, and it Will without doubt give you
refreshing music experience: for many
years to come.

In order to obtain the full use out of
your turntable and in order to main
tain its optimum performance charac
terisrics, please read the following pages
of this owner's manual carefully.

Do not attempt to operate the unit
until you have made all adjustments
and connections as specified in this
manual.

WARNING: To prevent fire or
shock hazard, do not expose this
appliance to rain or moisture.

Page 2

Fig. 1 Nomenclature

HEAOSHELL STAND
TURNTABLE PLAYTER

RUBBER MAT

YURNTABLE SHAFY

SPEED SELECYOR

EP AOAFTER (45 RPM) WlYH OVERA
HANG GAUGE READOUT

7. COUNTER~WE|GNT

8. STVLUS PRESSURE GAUGE RING
9. ANTI-SKATING DEVICE

, STRING-COUNTER-WEIGHT

, CUEINGSYICK

ARM REST AND ARM CLAMPER
. HEAOSHELL

95"?!3"?

Cartridge and Stylus u. Optlonnl and may
not be included m In. unll eon-mama on [NI
dunner-om.

LOCATION

The turntable can be set on any llat
surface as long as the location selected
will not be affected by excessive heat,
humidity, vibration and dusts. Do not
place the turntable near appliances
that utilize electric motors or large
power transformers. When connecting
the turntable to your amolilier or
receiver, it is also preferable to position
the turntable in such a way that the
power transformer in the amplifier or
receiver will be farthest from the
tonearm of the turntable.

PREPARATION

UNPACKING

When you open the carton, you will

notice the turntable body and the

dust cover packed in a vinyl bag

enclosed by two styrafoam side

mouldings. The turntable platter is

packed separately underneath the

mouldings. You will also find the

following items included in either one

of the above two packings:

1. A Headshell

2 A Rubber Mat

3 ACounter-Weightwith Stylus-Gauge
Readout and a String-Counter-
Weight for antiskating

4. A 45-rpm EP Adapter with Over~
hang-Gauge Readout
A small Screwdriver - for use in
cartridge installation

6. Assortmentofsmall screws and nuts
- for use in cartridge installation

PARTS NOMENCLATURE

lt is much easier to handle the turn-
table if you know the nomenclature
of the various parts Take a few
minutes to learn it by referring to
Figure 1.

Fig. 2 Looping the Belt

Fig. 3 Fitting The Headshell

ASSEMBLY

1. Set the turntable body on the llat
surface of selected location.

2. Find the belt around the drive rim
of the turntable (drive rim is on the
backside of the turntablei Wipe
clean any dust and oil from the
belt. Also, make sure there is no
dust in the center hole of the turn-
table platter and on the surface of
the turntable to avoid inclined set-
ting of the platter.

3. Put the turntable onto the turntable
body. Loop the belt around the
capstan and the drive rim. Make
sure the belt will be on the neck
of the capstan. See Fig. 2 for
looping the belt.

4 Fit the turntable platter firmly onto
the turntable body (Note: make
sure there is no dust in the center