Rotel RP 840 OM
This is the 4 pages manual for Rotel RP 840 OM.
Read or download the pdf for free. If you want to contribute, please upload pdfs to audioservicemanuals.wetransfer.com.
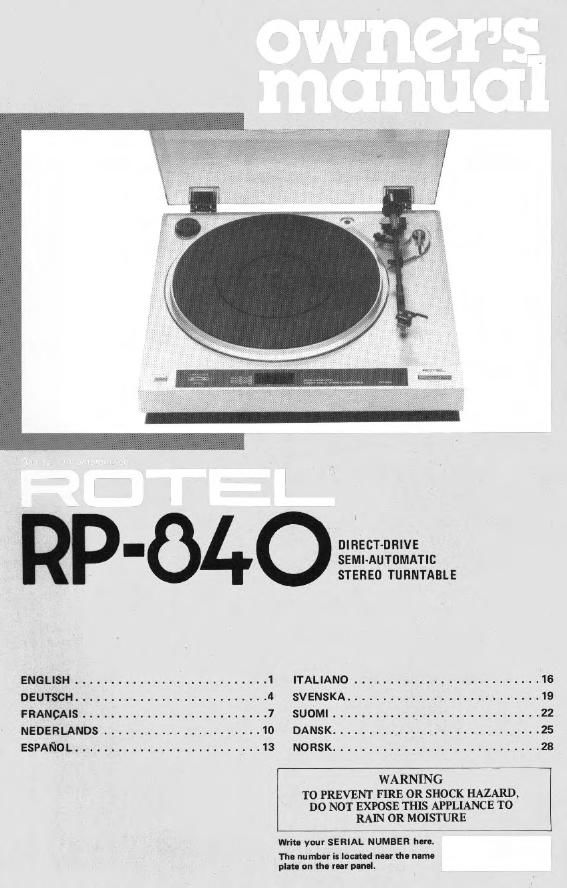
Extracted text from Rotel RP 840 OM (Ocr-read)
Page 1
- DIRECT-DRIVE
SEMI-AUTOMATIC
STEREO TURNTABLE
ENGLISH ........................... 1
DEUTSCH ........................... 4
FRANCAIS .......................... 7
NEDERLANDS . . . .10
ESPANOL .......................... 13
Wriu you SERIAL NUMBER hm.
Th- numbor iu loan-d Mu the cum.
pllu on the 7-! pun-L
ITALIAN!) .......................... 16
SVENSKA . . ..... 19
SUOMI ..... 22
DANSK. . ..... 25
NORSK ............................ 28
WARNING
TO PREVENT FIRE 0R SHOCK HAZARD,
DO NOT EXPOSE THIS APPLIANCE T0
RAIN 0R MOISTURE
Page 2
iNIilISII
DIRECT-DRIVE SEMI-AUTOMATIC STEREO TURNTABLE RP-840
INTRODUCTION
We at Hotel want to thank you Ior purchasing
our audio product.
Rotel audio products are deelgned to uee the
latest electronic technology, and they incorpo-
rate our long eitperience as a specialist manufac-
turer of audio equipment. We are confident
that you will rind satisfaction in the high
quality sound and top pertormance, and that
you wi find pleasure in the lunctional beauty
achieved through humnn~englrleerina concept.
aetore starting operation. please read this
lnttructlon menuel thoroughly and acquaint
younelf with the proper mode at using the unit
and all its connections,
We hope you will enjoy top-nolch performance
tor meny years to come.
UNPACKING
The Blllchmlnti and eccusoriel including
headmall end cauntrwlight are stored inside
the ttyroloam moulding.
TURNTABLE PLATTER
AND RUBBER MAT
POWER SUPPLY CONNECTION
For power the unit requires normal house.
hold current (AC). Simply plug the unit into e
wall outlet. or your emplitiers (or receivers)
convenience receptacle an the rear panel. II it
is plugged to a convenience receptacle marked
"SWITCHED," you cannot operate the unit
Mien the power switch on the ampfifler or
receiver is set to OFF.
INSTALLATION
To prevent hum. do not place the unit near
appliances with motor: or large tramfurmers.
Be sure the unit'l location it not subject to
high temperature, humidity, or direct sunlight,
to prevent possible troubles.
Vibration or tilled Installation will impede
good periormahce at the turntable and the
stylus will skip grooves.
EXCLUSIVE NOTE FOR U.K.
II your unit comes with a 2-core cable
without a plug. make certain live and
neutral leads are connected to the proper
terminals. Check that the turminals are
screwed down firmly and no loose strands
OI wire are praunt.
IMPORTANT: The Wires in this mains lead
are coloured in accordance with the follow»
ing code:
BLUE: NEUTRAL
anown: LIVE
As the colours of the wires in the mains lead
at this apparatus mlv nDt correspond With
the coloured markings identifying the
terminalt ln your plug proceed as tollows.
The Wire which is coloured BLUE mutt be
connected to the termlnai which is marked
with me letter N Or coloured BLUE or
BLACK. The wire whlch is coloured
BROWN must be connected to the terminal
VllthIl is marked with the letter L or colour»
ed BROWN or RED.
$1; éeé
i>f ,
PART NAMES
(ll EP adaptor
l2) Turntable spindle
l3) Platter/rubbermet
(4) Speed teleotor
(5) Speed control knob
l6) Stroboscope
l7) HEJECT button
(3) Headshell
l9) Tonoarrn
(10) Arm rest/clamp
I11l Cueing stick
(I2) Antltcating device
(13) Stylus force gauge
(14) Counterweight
(15) Headsheli stand
CARTRIDGE INSTALLATION
If your unit it not equipped mm a cartridge,
install a cartridge onto the headshell The lead
WI!!! extending lrom the headshell are color
coded as listed below. Be sure to connect each
wire correctly.
Green: RIQII'I
Blue: Leitl-
Red: Rightl+
White: LeIt/r
Fit the cartridge into the headshell using nuts
and bolts.