Rotel RP 700 OM

This is the 5 pages manual for Rotel RP 700 OM.
Read or download the pdf for free. If you want to contribute, please upload pdfs to audioservicemanuals.wetransfer.com.

Page: 1 / 5
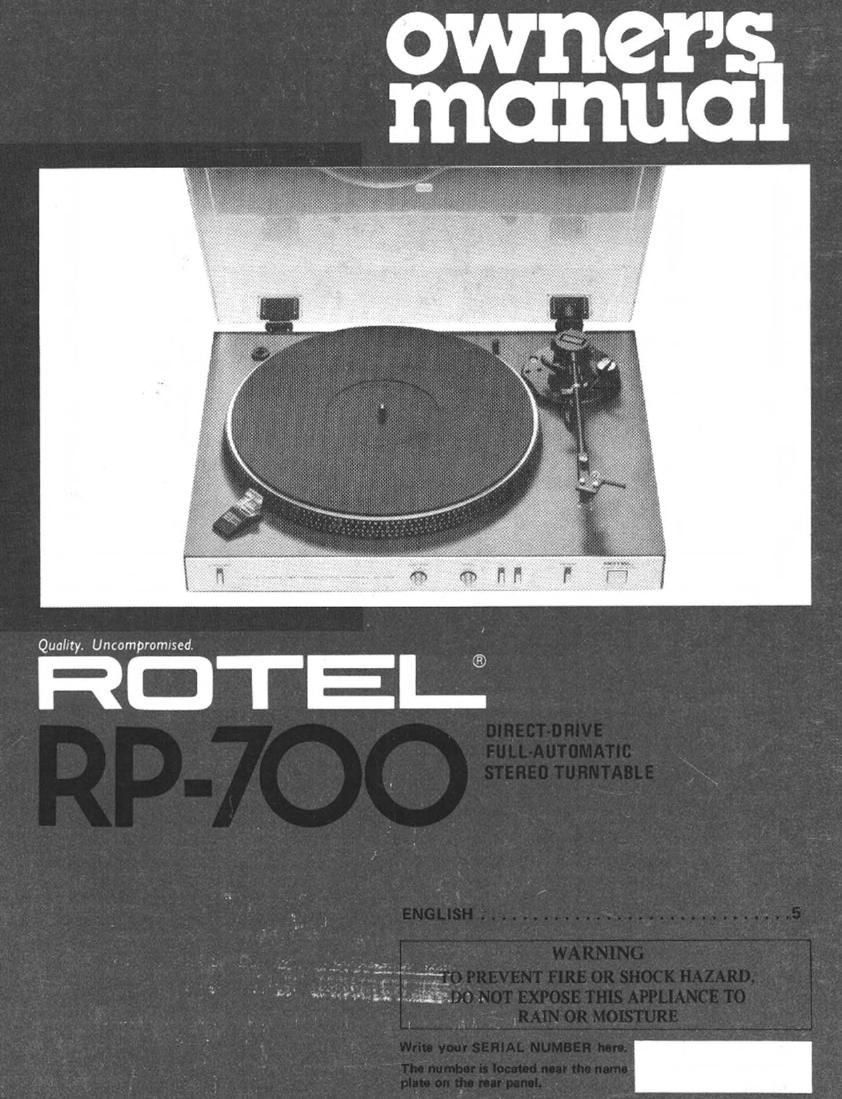
Rotel RP 700 OM

Extracted text from Rotel RP 700 OM (Ocr-read)


Page 1

owner!
manna

(33

Quality. Uncompromlsed.

Page 2

ENGLISH

DIRECT-DRIVE FULLAUTOMATIC STEREO TURNTABLE FIP-7OO

INTRODUCTION

We at Hotel want to thank you for purchasing
our audio product.

Hotel audio products are designed to use the
lanest electronic technology, and they incorpo-
rate our long experience as a specialist manulac-
turer of audio equipment. We are confident
that you will find satisfaction in the high
quality sound and top performance, and that
you will find pleasure in the functional beauty
achieved through human-engineering concept.
Before starting operation, please read this
instruction manual thoroughly and acquaint
yourself with the proper mode of using the unit
and all its connections.

We hope you WIII enjoy top-notch perlarmance
for many years to come.

UNPACKING

The attachments and accessories such as head
shell and counterweight are stored inside the
styroloam moulding,

\
ACCESSORIES
TU RNTABLE PLATTE R

AND RUBBER MAT

POWER SUPPLY CONNECTION

For power the unit requires the normal house-
hold current lAC). You may simply plug the
unit to a wall outlet, or to your amplifier's
lor receiver's) convenience receptacle on the
rear panel. If it is plugged to a convenience
receptacle marked "SWITCHED," you cannot
operate the unit when the power switch on the
amplifier or receiver is set to OFF.

EXCLUSIVE NOTE FOR UK.

If your unit comes with a Z-core cable
without a plug, make certain live and
neutral leads are connected to the proper
terminalst Check that the terminals are
screwed down Iirmly end no loose strands
of wire are present.

IMPORTANT: The wires in this mains lead
are coloured in accordance with the lollow

ing code:
BLUE: NEUTRAL
BROWN: LIVE

PART NAMES

CAUTION

Standby Button.

As long as the power cord is plugged into an
AC outlet, power is supplied to the unit
regardless of the setting position of the

(1) Headshell stand

(2) Turntable spindle

(3) Turntable/rubber mat
l4) Stroboscope

l5) Standby switch

As the colours of the wires in the mains lead
of this apparatus may not correspond With
the coloured markings identifying the
terminals in your plug proceed as follows.
The wire which is coloured BLUE must be
connected to the terminal which is marked
with the letter N or coloured BLUE or
BLACK. The wire which is coloured

BROWN must be connected to the terminal
which is marked with the letter L or colour-
ed BROWN or RED,

INSTALLATION

Do not place the unit near appliances that
utilize motor or large translormers to prevent
hum, Be sure to place the unit in a place
where it is free from high temperature, humidi-
ty and not exposed [0 direct sunlight to prevent
possible troubles.

Vibrations and unlevel installation will affect
the performance of the turntable adversely and
the stylus skip grooves.

(6) Record size selector
(7) Speed control knob
(8) Speed selector
(9) Repeat switch
(10) Start/reject button
(11) Headshell
I12) Toneerm

(l3) Arm rest/clamp
(14) Cueing stick

(15) Antiskating device
(16) Stylus lorce gauge
(17) Countorweight
(18) EP adaptor

CONNECTION TO AMPLIFIER OR
RECEIVER

The unit is crowded with FICA cord; for both
channels, and a ground wire. The RCA cord
wrth white plug should be connected to L (IeIt
channel) of PHONO terminals and the cord
With red plug to R (right channel) of PHONO
terminals on the amplifier or receiver. Connect
the ground wire to GND terminals on the
amplifier or receiver.


AMPLIFIER
lnA~700l on
RECEIVER
(RXJOOI

VIP-700