Rotel RP 400 OM

This is the 4 pages manual for Rotel RP 400 OM.
Read or download the pdf for free. If you want to contribute, please upload pdfs to audioservicemanuals.wetransfer.com.

Page: 1 / 4
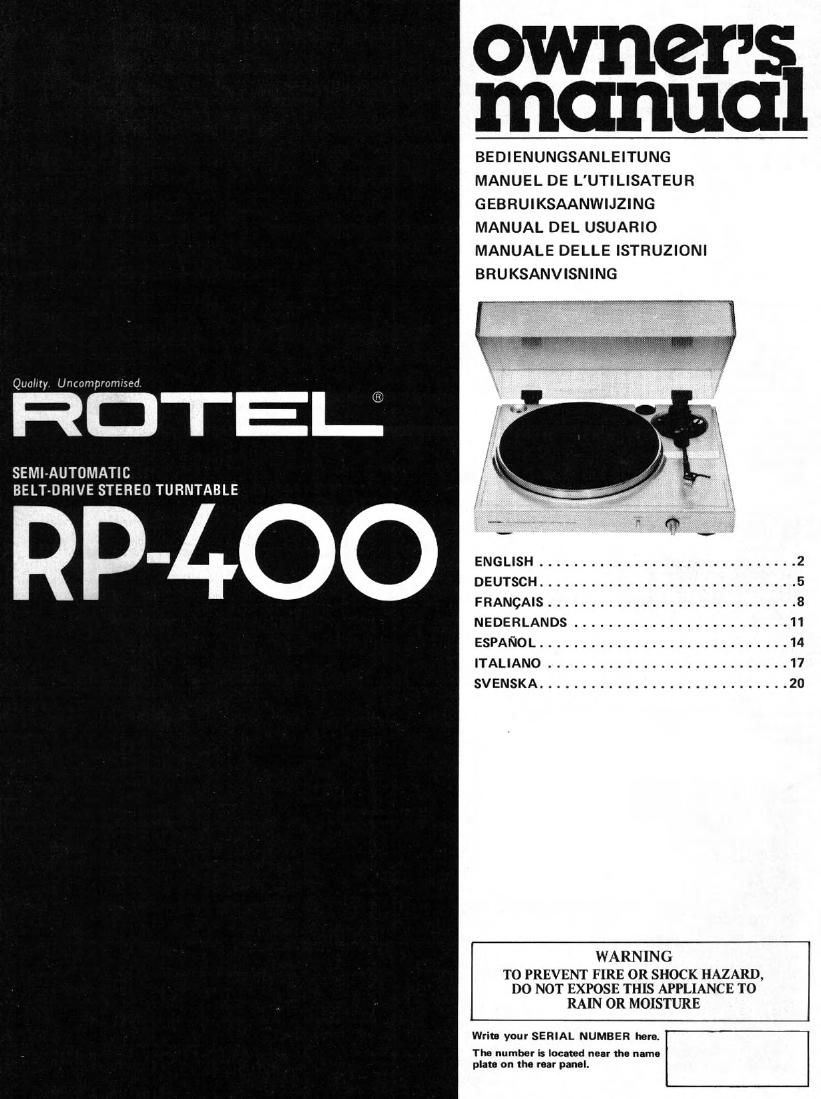
Rotel RP 400 OM

Extracted text from Rotel RP 400 OM (Ocr-read)


Page 1

owner S
manna

BEDIENUNGSANLEITUNG
MANUEL DE L'UTILISATEUR
GEBRUIKSAANWIJZING
MANUAL DEL USUARIO
MANUALE DELLE ISTRUZIONI
BRUKSANVISNING

Quality Uncompromlsed

SEMI-AUTOMATIC
BELT-DRIVE STEREO TURNTABLE

- ENGLISH .............................. 2
DEUTSCH .............................. 5

FRANCAIS ............................. 8
NEDERLANDS ......................... 11
ESPANOL ...................... . .14
ITALIANO ..................... .

SVENSKA ............................. 20

WARNING

TO PREVENT FIRE 0R SHOCK HAZARD.
DO NOT EXPOSE THIS APPLIANCE TO
RAIN OR MOISTURE

Writs your SERIAL NUMBER hem

Thu number is located near to namu
plate on the rear panel.

Page 2

ENGLISH

SEMI-AUTOMATIC BELTDRIVE
STEREO TURNTABLE RP-40

INTRODUCTION

We at Hotel want to thank you for
purchasing our audio product.

Rotel audio products are designed
to use the latest electronic techno-
logy, and they incorporate our long
experience as a specialist manufac-
turer of audio equipment. We are
confident that you will find satis-
faction in the high quality sound
and top performance, and that you
will find pleasure in the functional
beauty achieved through human
engineering concept. Before start-
ing operation, please read this
instruction manual thorougily and
acquaint yourself with the proper
mode of using the unit and all
its connections.

We hope you Will enjoy top-notch
performance for many years to
come.

EXCLUSIVE NOTE FOR
U.K.

If your unit comes with a 2,
core cable wlthout a plug, make
certain live and neutral leads
are connected to the proper
terminals. Check that the tar
minals are screwed down firmly
and no loose strands of Wire are
present.

IMPORTANT: The wires in this
mains lead are coloured in ac-

cordance With the followmg
code:

BLUE: NE UTRAL
BROWN: LIVE

As the colours ol the Wires in
the mains lead ol this apparatus
may not correspond Wllh the
coloured markings identifying
the terminals in your plug pro-
ceed as follows,

The which is coloured
BLUE must be connected to the
terminal which is market! with
the letter N or coloured BLUE
or BLACK. The Wire which is
coloured BROWN must be con-
nected to the terminal which is
marked With the letter L or
coloured BROWN or RED,

Wire


UNPACKING

The attachments and accessories
such as hinges and counterweight
are stored inside the Styrofoam
moulding.

PART NAMES
ll) Head shall stand

(2) Turntable/rubber mat (11) Arm rest when: it is free from high tempera
l3) Turntable shaft (12) Tonearm with headshell tum. humidity and nor exposed in
(4) Capstan (13) Speed selector direct sunlight to prevent possuhlc

trouhles

Vibrations and iirilevel installation
Will affect the performance of the
turntable adversely and the stylus

l5) Reject button

(6) EP adaptor

l7! Counterweighi
(Bl Stylus force gauge

INSTALLATION

Do not place the unit near appli»

ances that utilize motor or large wtll skip grooves.
l9) AnlI'Skal'nQGEV'Ce transformers to prevent hum Be
(10) Cueingstick sure to place the unit in a place