Rotel RD 550 OM

This is the 6 pages manual for Rotel RD 550 OM.
Read or download the pdf for free. If you want to contribute, please upload pdfs to audioservicemanuals.wetransfer.com.

Page: 1 / 6
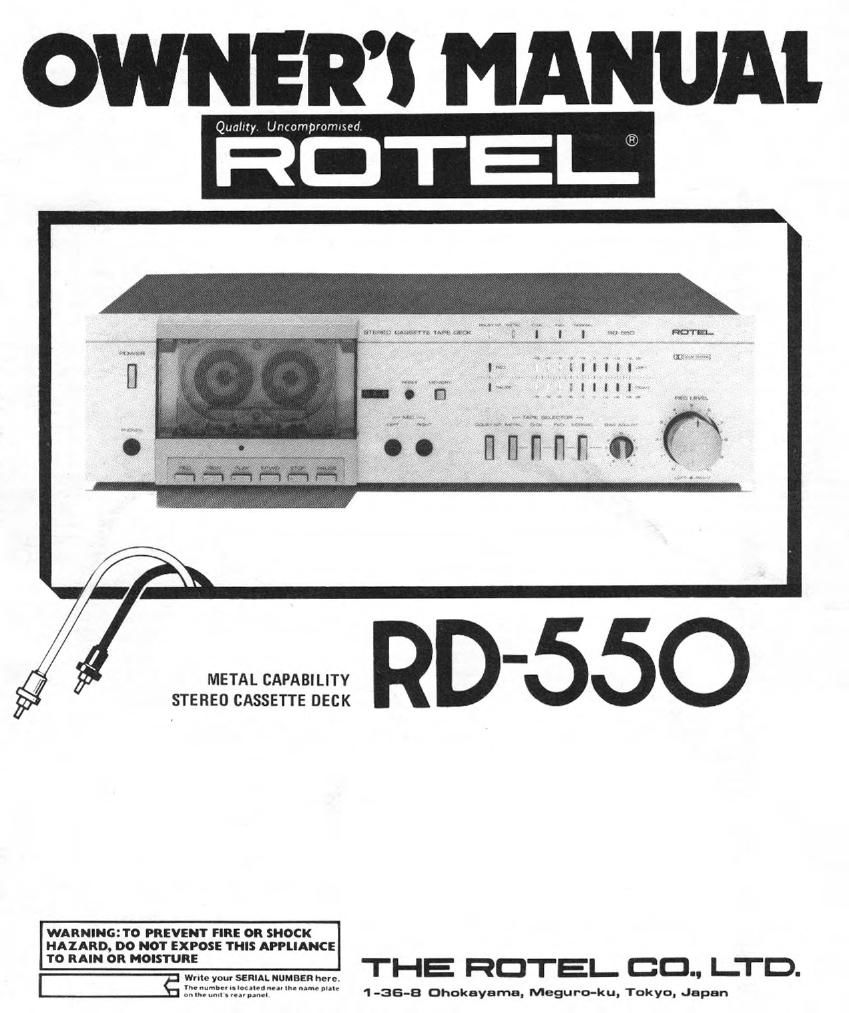
Rotel RD 550 OM

Extracted text from Rotel RD 550 OM (Ocr-read)


Page 1

OWNERS MANUAI.

Quality, Unwmpromtsed

-
METAL CAPABILITY
STEREO CASSETTE DECK

WARNINGZTO PREVENT FIRE OR SHOCK
HAIARD. DO NOT EXPOSE THIS APPLIANCE

To RAIN on MOISTURE
Wm, seammmm. THE RDTEI- CD LTD.
3 1373377111332?"mm" W" 1 -36-8 Dhokayama, Meguro-ku. Tokyo. Japan

Page 2

INTRODUCTION

We at Hotel want to thank you Ior
purchasmg our audio product.
Rotel audio products are dcsrgned
to use the latest electronic techno-
logy, and they incorporate our long
experience as a specialist manulac
turcr ol audio equipment. We are
confident that you _will Iind satis-
Iactron in the mgr quality sound
and top purlorrrtanctr, and that you
Will Iintl pleasure in the lurictronal
beauty achieved through huruaw
engineering concept. Belore start
my opemliull. please read this
instruction manual thoroughly and
acquaint yoursell wuh the proper
mode oI usrrrg the unit and all
IlS conrrecuuns

We hope you mll enroy top-notch
periorrnancr- Ior many years to
Coll!

POWER SUPPLYCONNECTION

For power the unit requires the
normal house electrical current
(AC). You may simply plug the
unit into a wall outlet, or into your
ampliliers switched or unswitched
AC outlet. II it is plugged into a
switched outlet, by leaving the
power switch a! the unit on. you
will be able to maintain switch-
ing control (or the R0550 with
your ampl er. If it is connected to
an unswitched outlet, like connect-
ing to a wall outlet you must use
the RD-SSO's own power switch
for switching control.

CAUTION: Do not apply power
without Iirst making sure the
proper connections are completed.
If you live in U.K. and your unit
comes with 24mm cord without a
plug, be sure to read the exclusive
caution for UK

INSTALLATION

Be sure to place the unit in a level
and flat place where it is free from
humidity, vibration, high tempera
ture and not exposed to direct
sunlight. Be careful not to place the
unit in a highly enclosed place such
as near a wall or on a bookshellK A
poor ventilation will cause undesira-
ble effects to the unit.

CONNECTION TO INTE-
GRATED AMPLIFIER

Two pairs of RCA cords for LINE
lN/OUT extend out from the rear
panel oi the cassette deck The cord
from the LINE IN terminals of the
deck should be plugged into the
TAPE MONITOR OUT terminal of
the amplifier, and the cord from
LINE OUT terminal to the TAPE
MONITOR IN terminal. RCA cards
with white plugs are for left chan-
nel (L) connection, and cords with
red plugs are for right channel (RL

CASSETTE DECK

EXCLUSIVE NOTE FOR
U.K.

Il your turn comes wnh a 2

certam Irve antl ncurrui leads
are connected to the proper
lerrnrnals Check that the ier
nirnals are screwed down Irrmly
and no loose strands oi war-
are present

IMPORTANT The wires in this
mains lead are coloured l"
accordance With the lollowrng

code
BLUE NEUTRAL
BROWN LIVE

core cable wrthoul a plug malte-

As the colours oi the WI'PS I"
[711' mains Iuml oi ilus apparatus
may not correspond With the
culuuretl "wrung; rtIcirtilyrng
the [lelnuIS in yuur plug pru-
cr-otl as Inllows

Tlu- wrrr- wlrrrh rs tOIOurt-tl
BLUE thus] he (unfit-(ted lo the
Il'llVIlllrlI which rs marked with
the lLllL-l N m coloured BLUE
or BLACK The Wire which IS
coloured BROWN must be con
"erred to "11- terminal which is
marked With the Ieier L or
coloured BROWN or RED

AMPLIFIER (REAR PANEL)

TAPE MONITOR
IN