Rotel RD 20 OM
This is the 11 pages manual for Rotel RD 20 OM.
Read or download the pdf for free. If you want to contribute, please upload pdfs to audioservicemanuals.wetransfer.com.
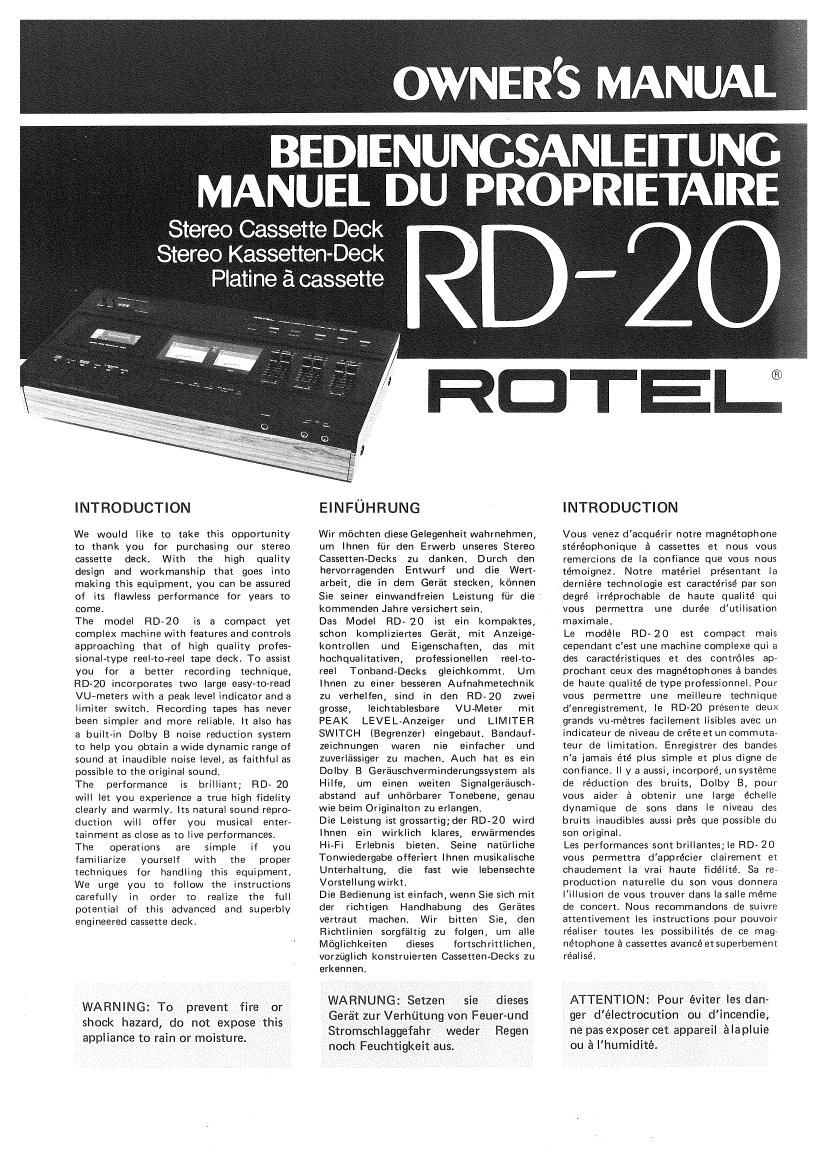
Extracted text from Rotel RD 20 OM (Ocr-read)
Page 1
OWNER'S MANUAL
BEDIENUNCSANLEITUNG
MANUEL DU PROPRIETAIRE
S ereo Cassette Deck RD 2 O
S ereo Kassetten-Deck
RDTEU
Platine a cassette
INTRODUCTION
We would like to take this opportunity
to thank you for purchasing our stereo
cassette deck. With the high quality
design and workmanship that goes into
making this equipment, you can be assured
of its flawless performance for years to
come.
The model RD»20 is a compact yet
complex machine with features and controls
approaching that of high quality profes~
sionaI-type reel
FIB-20 incorporates two large easy-to-read
VU-meters with a peak level indicator and a
limiter switchi Recording tapes has never
been simpler and more reliable. It also has
a built-in Dolby B noise reduction system
to help you obtain awide dynamic range of
sound at inaudible noise level, as faithful as
possible to the original sound.
The performance is brilliant; RD- 20
will let you experience a true high fidelity
clearly and warmly. Its natural sound repro-
duction will offer you musical enter-
tainment as close as to live performances.
The operations are simple if you
familiarize yourself with the proper
techniques for handling this equipment.
We urge you to follow the instructions
carefully in order to roalize the full
potential of this advanced and superbly
engineered cassette deck.
WARNING: To prevent fire or
shock hazard, do not expose this
appliance to rain or moisture.
EINFUHRUNG
Wir mochten diese Gelegenheit wahrnehmen,
um lhnen fiir den Erwerb unseres Stereo
Cassetten-Decks zu danken. Durch den
hervorragenden Entwurf und die Wert-
arbeit, die in dem Gerét stecken, konnen
Sie seiner einwandfreien Leistung fiir die
kommenden Jahre versichert sein,
Das Model RD-ZO ist ein kompaktes,
schon kompliziertes Gerat, mit Anzeige»
kontrollen und Eigenschaften, das mit
hochqualitativen, professionellen reel-to-
reel Tonband-Decks gleichkommt. Urn
lhnen zu einer besseren Aufnahmetechnik
zu verhelfen, sind in den RD-20 zwei
grosse, leichtablesbare VU-Meter mit
PEAK LEVEL-Anzeiger und LlMlTER
SWITCH (Begrenzer) eingebaut, Bandauf-
zeichnungen waren nie einfacher und
zuverlassiger zu machen. Auch hat es ein
Dolby B Gerauschverminderungssystern als
Hilfe, urn einen weiten Signalgerausch<
abstand auf unhorbarer Tonebene, genau
wie beim Originalton zu erlangen.
Die Leistung ist grossartig;der RD-20 wird
lhnen ein wirklich klares, emarmendes
Hi-Fi Erlebnis bieten. Seine natiirliche
Tonwiedergabe offeriert lhnen musikalische
Unterhaltung, die fast wie lebensechte
Vorstellungwirkt.
Die Bedienung ist einfach, wenn Sie sich mit
cler richtigen Handhabung des Gerates
vertraut machen. Wir bitten Sie, den
Flichtlinien sorgfaltig zu folgen, urn alle
M" lichkeiten dieses tortschrittlichen,
vorziiglich konstruierten Cassetten-Decks zu
erkennen,
WARNUNG: Setzen sie dieses
Geri-it zur Verhtlitung von Feuer-und
Stromschlaggefahr weder Regen
noch Feuchtigkeit aus.
INTRODUCTION
Vous venez d'acquérir notre magnétophone
stéréophonique a cassettes et nous vous
remercions de la confiance que vous nous
témoignez. Notre matériel presentant la
derniere technologie est caracterisé par son
degré irréprochable de haute qualité qui
vous permettra une durée d'utilisation
maximale,
Le modele RD-ZO est compact mais
cependant cest une machine complexe qui a
des caractéristiques et des contréles ap»
prochant ceux des magnétophones a bandes
de haute qualité de type professionnel. Pour
vous permettre une meilleure technique
d'enregistrement, le RD~20 presente deux
grands vu-métres facilement lisibles avec un
indicateur de niveau de créte et un commuter
teur de limitation. Enregistrer des bandes
n'a jamais ete plus simple at plus digne de
confiance. H y a aussi, incorporé, un systeme
de reduction des bruits, Dolby B, pour
vous aider a obtenir une large échelle
dynamique de sons dans le niveau des
bruits inaudibles aussi pres que possible du
Son original.
Les performances sont brillantes; le RD- 20
vous permettra d'apprécier clairement et
chaudement la vrai haute fidelité. 5a rer
production naturelle du son vous donnera
lillusion de vous trouver dans la salle meme
de concert. Nous recommandons de suivre
attentivement les instructions pour pouvoir
re'aliser toutes les possibilités de ce magr
nétophone a cassettes avarice et superbement
réalise.
ATTENTION: Pour éviter les dan
ger delectrocution ou dincendie,
ne pas exposer cet appareil alapluie
ou a l'humidité.
Page 2
H EADPHONES
KOPFHORER
CASQUES
LINE OUT
MICROPHONES
MIKROPHONE l R
MICROPHONES
l. R
O
AUSGANGE
/ sontg
LINE IN
EING'ANGE
ENTREE
REC/PB SOCKET
REC/PB STECKDOSE
LIGNE D'ENTREE
BANDE DE SORTIE BANDE DENTREE
TAPE OUTPUT TAPE INPUT
BANDAUS BANDEIN
o omw COWS
STEREO RECEIVER (AMPLIFIER)
STEREOEMPFANGER (VERSTARKERI
RECEPTEUR STEREO (AMPLIFICATEUR)
3..
EXCLUSIVE NOTE FOR UK.
3rcore cord without a plug, be sure to
read the following exclusive caution
for UK.
schalten, wenn man sich versichert hat,
dass alle Verbindungen richtig aus»
gefuhrt sind. Falls Sie in England
leben, und Ihr Gera't hat eindreiadriges
Kabel ohne Stecker, lesen Sie un-
bedingt die exklusive Erklarung far
England.
I'alimentation avant de s'assurer
d'abord que les autres branchements
ont été faitse Si vous habitez en
Grande Bretagne et que votre appareil
vous soit fourni avec un cordon a
trois fils sans prise, s'assurer de lire la
notice suivante et destinée a la Grande
Bretagne.
If your unit comes with a 3-core cable
without a plug, make certain live, neutral
and (where appropriate) Barth leads are
connected to the proper terminals. Check
that the terminals are screwed down firmly
and no loose strands of wlre are present.
WARNING: THIS APPARATUS MUST BE
EARTHED
INPORTANT: The wires in this mains lead
are coloured in accordance with the fol-
INSTALLATION
POWER SUPPLY CONNECTION
For power the unit requires the normal
house electrical current (AC). You
may simply plug the unit to a wall
outlet, or to your amplifiers (or
receiver's) switched or unswitched AC
outlet. If it is plugged to a switched
outlet, by leaving the power switch of
the unit on, you will be able to main-
tain switching control for the cassette
deck with your amplifier or receiver.
If it is connected to an unswitched
outlet, like connecting to a wall outlet
you must use the cassette's own power
switch for switching controll
CAUTION ~ Do not apply power
without first making sure the proper
connections are completed If you live
in UK. and your unit comes with
INSTALLATION
NETZANSCHLUSS
Das Gerat benbtigt normalen Haushalts»
strorn (AC). Es ist einfach mit einer
Wandsteckdose, Ihrem Verstarker
(oder Empfa'nger) an den geschalteten
oder ungeschalteten AC-Anschlljssen
zu verbinden. ist es mit einem ge-
schalteten Netzanschluss verbunden,
durch Anlassen des Netzschalters am
Gera't, erméglicht es lhnen, die Schalt-
kontrolle mit Ihrem Versta'rker 0d.
Empfanger filr das Cassetten-Deck zu
erhalten. lst es mit einem unge-
schalteten Netzanschluss verbunden,
wie Z.B. Verbindung mit einer Wand-
steckdose, muss man des Cassetten-
Decks eigenen Netzschalter zur Schalt-
kontrolle benutzen.
ACHTUNG - Das Gerat ist erst einzu-
2
INSTALLATION
BRANCHEMENT DE LA SOURCE
DALIMENTATION
Pour l'alimentation, cet appareil
necessite le courant électrique normal
(AC). Brancher simplement la prise de
lappareil a la prise murale ou a la
prise AC branchée ou non branchée
de votre amplificateur ou récep-
teur. Si elle est branchée a la prise
branchee, en laissant ouvert Ie com-
mutateur de l'appareil, vous pourrez
maintenir le contrble de commutation
du magnétophone a cassettes par
votre amplificateur ou récepteur. S'il
est branché a la prise non branchée,
vous clevez utiliser la propre source
d'alimentation du magnétophone pour
le contrOle de commutation.
REMARQUE - Ne pas brancher
lowing code:
GREEN/VELLORW: EARTH
BLUE: NEUTRAL
BROWN: LIVE
As the colours of the wires in the malns
lead of this apparatus may not correspond
with the coloured markings identifying the
terminals in your plug proceed as follows,
The wire which Is coloured GHEEN/
YELLOW must be connected to the terminal
in the plug which ls marked by the letter
E or by the safety earth symbol -:L or
coloured GREEN or GREEN/YELLOW.
The wire which is coloured BLUE must be
connected to the terminal which is marked
with the letter N or coloured BLUE or
BLACK. The wire which is coloured
BROWN must be connected to the terminal
which is marked with the letter L or
coloured BROWN or RED. The apparatus
must be protected by a 3 Amp. fuse if a
13 Amp. (BS 1363) plug is used. If another
type of plug is used a 5 Amp. fuse or lower
must be used, either in the plug or adapter
or at the distribution board.
LOCATING THE UNIT
Although the unit normally does not
develop high heat, it should be placed
in such a way that its ventilation
system will not be impeded. Place the
unit on a hard surface 7 any con»
veniently located shelf or table where
most practical for operation and least
affected by heat or moisture. Leave
at least 5cm (2 inches) clearance on
the rear of the unit,
AC FUSE
(not externally installed for Scandi-
navia)
An AC fuse is installed on the rear
panel for protection against possible
damage due to overload or short cir-
cuits. In the event of fuse failure,
replace only with the same fuse type
used and never replace with a fuse of
higher rating. TO use a higher rating
fuse will not protect your unit and
could result in severe damage (which
will not be covered by warranty).
CONNECTIONS T0 AMPLIFIER/
RECEIVER
Either a single shielded cable with DIN
plug on each end of the cable or two
cables with RCA plugs, depending on
the destination, are included with the
unit for your convenience. If your
unit comes with the DIN cable, simply
plug one end to the DIN socket on
the rear of the unit and the other end
to the DIN socket marked TAPE or
TAPE MONITOR on the connection
panel of your amplifier or receiver.
AU FSTELLUNG DES GERATES
Auch wenn das Geréit fUr gethnlich
keine grosse Warme entwickelt, sollte
es doch so aufgestellt werden, dass sein
Ventilations-System nicht behindert
wird. Das Gerat ist auf eine harte
Oberflache zu stellen. Jeder geeignet
stehende Tisch, Regal usw. und am
wenigsten durch warme u. Feuchtigkeit
beeinflusste Ort, sind am praktischsten
fUr den Betrieb. An der Fillickseite des
Gera'tes sind mindesten 5cm Platz zu
lassen.
AC-SICHERUNG
(nicht aussen eingebaut fur
Skandinavien)
Eine Wechselstromsicherung ist an
der hinteren Anschlussplatte als
Schutz gegen Uberlastung oder
Kurzschluss angebracht. Falls die
Sicherung versagen sollte, ist sie
durch eine neue des gleichen Types
auszuwechseln und nicht etwa durch
cine, die fiir hohere Belastung gedacht
ist. Wenn man eine solche verwendet,
wird Ihr Gerat nicht mehr geschutzt
und schwerer Schaden kann dadurch
verursacht werden '(der nicht von
der Garantie gedeckt ist).
VERBINDUNGEN MIT
VERSTARKER/EMPFANGER
Entweder befinden sich bei dem
Gerét eirl einzelnes, geschirmtes Kabel
mit DlN-Stecker an jedem Ende, oder
zwei Kabel mit RCA-Steckern, was
vom Bestimmungsort abhangig ist.
Wenn lhr Gerét mitDlN-Kabel kommt,
verbindet man ein Ende einfach mit
3
EMPLACEMENT DE LAPPAREIL
Bien que lappareil ait un faibledegage-
ment de chaleur, i| taut le placer de
maniére que rien ne gene son aeration.
Posez lappareil sur une surface dure
létagere ou table) he craignant pas la
chaleur, de maniere a ce qull y ait un
espace libre dau moins 5 centimetres
de chaque COte et a Iarriere et
denviron 8 centimétres au-dessus.
FUSIBLE DE COURANT
ALTERNATIF
(ll n'est pas installé a l'extérieur pour
la Scandinavia)
Un fusible de courant alternatif est
installé sur le panneau arriere pour
permettre une protection contre tout
dommage possible do a une surcharge
ou a des court-circuits. Dans le cas
dune panne de fusible, ne remplacer
qu'avec un fusible cle type similaire et
jamais avec un fusible detalonnage
supérieur, Lusage dun fusible
détalonnage supérieur n'est pas en
mesure de proteger votre appareil et
pourrait provoquer un dommage
severe (lequel ne sera pas couvert par
la garantie).
CONNEXIONS AVEC
LAMPLIFICATEUR/RECEPTEUR
Sont inclus avec Iappareil pour votre
convenance, soit un cable gainé avec
prise DIN 'a cheque extremité du
cable, ou deux cables dotés cle prises
RCA, suivant la destination. Au cas
ou votre appareil est livré avec le
cable DIN, brancher tout simplement
une extrémité dans la prise DIN