Rotel RD 10F OM

This is the 11 pages manual for Rotel RD 10F OM.
Read or download the pdf for free. If you want to contribute, please upload pdfs to audioservicemanuals.wetransfer.com.

Page: 1 / 11
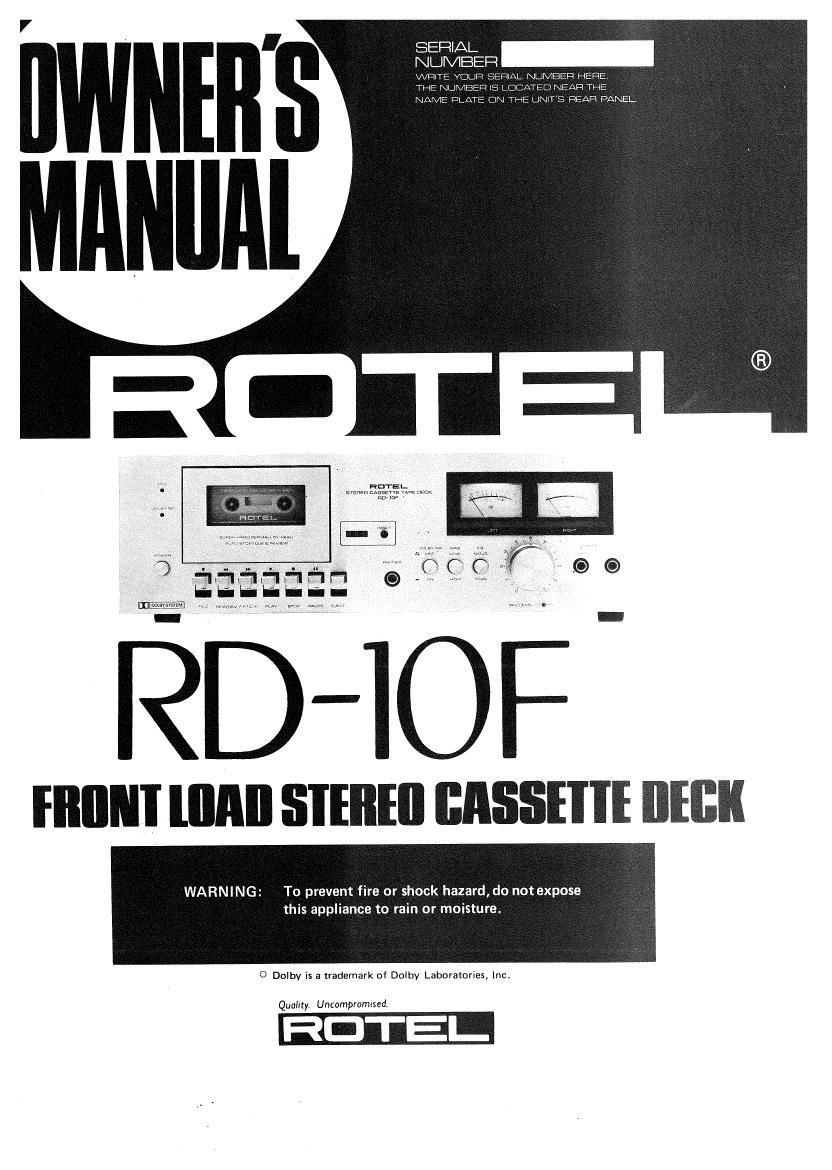
Rotel RD 10F OM

Extracted text from Rotel RD 10F OM (Ocr-read)


Page 1

SER'AL -
NUMBER

WFUTE your: SERIAL NUMBER HERE,

THE NUMBER as La,. TED NEAR THE

NAME PLATE DN THE MTS PEAR PANEL.

nan-3.

sYEnFn saws was neck

HIIINI lllflll SIEIIEII EASSHIE IIEBII

WARNING: To prevent fire or shock hazard, do not expose

this appliance to rain or moisture.

0 Dolby is a trademark of Dolby Laboratories, Inc

Quality. Uncompromrsed.

RDTEI-

Page 2

INTIIIIDIIBTIIIN

We would like to take this opportunity to thank you
for purchasing our stereo cassette deck. With the
high quality design and workmanship that goes into
making this equipment, you can be assured of its
lawless performance for years to come.

The operations are simple if you familiarize yourself
with the proper techniques for handling this equip-

ment. We urge you to follow the instructions carefully
in order to realize the full potential of this advan-
ced and superbly engineered cassette deck.

EINFIIHIIUNE

Wir mochten diese Gelegenheit wahrnehmen, urn
Ihne'n ftJr den Erwerb unseres Stereo-Kassetten-Decks
zu danken. Die hohe Qualitat in Konstruktion und
Ausfiihrung, die in diesem Gerat verwirklicht wurde,
steht Burge fiir viele Jahre ungetriibten Laistungs-
vermégens.

Die einfache Bedienungsweise werden Sie schnell in
den Griff bekommen, nachdem Sie sich mit den Ei-
genschaften des Gerates vertraut gemacht haben.
Bitte befolgen Sie die Einzelheiten in dieser Bedie-
nungsanleitung, urn alle Méglichkeiten dieses fort-
geschrittenen und hochwertigen Kassetten-Decks
auszuschopfen.

mucus mmonucnuii

Nous aimerions saisir cette opportunité pour vous
remercier de votre achat de notre platine a cassette
stereo. Prenant en consideration la conception de
grande qualité et la technique utilisée pour la réali-
sation de cet équipement, vous pouvez etre garanti
de sa performance sans défaut pourdesannées avenir.
Les operations sont simples si vous vous familiarisez

avec les techniques adéquates pour l'utilisation de
cet équipement. Nous vous recommendons de suivre
avec attention les instructions afin de réaliser pleine-
ment le potentiel de cette platine a cassette élaborée
et merveilleusement concue.

0 INSTALLATION
O INBETBIEBNAHME
INSTALLATIIIN
I INSTALABIIIN
I INSTALLAZIIINE
INSTALLATION

EXCLUSIVE NOTE FOR UK.
Asyour unit comes without a plug,
make certain that live and neutral
leads are connected to the correct
terminals of your plug. Check that
the terminals are screwed down firmly
and no loose strands are present.
IMPORTANT:

The wires in the mains lead are
coloured in accordance with the
following code:

BLUE: Neutral

BROWN: Live

As the colours of the wires in the
mains lead may not correspond with
the coloured markings identifying the
terminals in your plug, proceed as
follows.

The wire which is coloured BLUE
must be connected to the terminal
which is marked with the letter N or
coloured BLUE or BLACK.

The wire which is coloured BROWN
must be connected to the terminal
which is marked with the letter »L or
coloured BROWN or RED.

The apparatus must be connected by
3 Amp fuse if a 13 Amp (381363)
plug is used. If another type of plug
is used a 5 Amp fuse or lower must
be used, either in the plug or adaptor
or at the distribution board,

0-000

0 099999 00990

. ,

POWER SUPPLY CONNECTION

For power the unit requires the normal house elec-
trical current (AC). You may simply plug the unit to
a wall outlet, or to your amplifiers (or receiver's)
switched or unswitched AC outlet. if it is plugged to
a switched outlet, by leaving the power switch of the
unit on, you will be able to maintain switching con-
trol for the cassette deck with your amplifier or re-
ceiver. If it is connected to an unswitched outlet,
like connecting to a wall outlet you must use the
cassettes own power switch for switching control.
CAUTION - Do not apply power without first mak-
ing sure the proper connections are completed.
LOCATING THE UNIT

Although the unit normally does not develop much
heat, it should be placed in such a way that its venti-
lation system will not be impeded. Place the unit on
a hard surface - any conveniently located shelf or
table where most practical for operation and least af-
fected by heat or moisture. Leave at least 5cm (2
inches) clearance on the rear of the unit.

0

NETZANSCHLUSS

Als Stromversorgung verwendet das Gerat das nor-
male Haushaltsnetz (Wechselstrom). SchlieBen Sie es
an eine Wandsteckdose oder an den schaltbaren oder
nicht-schaltbaren Netzausgang Ihres Verstfirkers
Ibzw. Empféingers) an. Bei AnschluB an einen
schaltbaren Netzausgang kann das Kassetten-Deck
durch Beta gen des Netzschalters Ihres Verstarkers
bzw. Empfangers ein- und ausgeschaltet warden,
wenn der Netzschalter des Kassetten-Decks zinge-
schaltet bleibt. Bei Anschluis an einen nichtschalt-
baren Ausgang wie eine Wandsteckdose wird das
Gerfit fiber den eigenen Netzschalter betatigt.
ACHTUNG -~ Den Strom nicht aher einschalten. als
bis alle Anschlfisse einwandfrei vorgenommen
wurden.

AUFSTELLUNG

Obwohl das Gerat unter normalen Bedingungen keine
Hitze entwickelt, sollte bei der Aufstellung darauf
gcachtet warden, daB geniigend Ventilation vorhan-
den ist. Stellen Sie das Gerat auf eine feste Ober-
flache, wie 1.5. in sin Schrankfach oder auf einen
Tisch, welche leicht zugi-inglich und weder Hitze noch
Feuchtigkeit ausgesetzt ist. An der Fliickseite das Ge-
rates sind mindestens 5cm Abstand einzuhalten.

ESPANUL

INTBIIIIIIGGION

Nos complace aprovechar esta oportunidad para ag-
radecerle la compra de nuestro deck estéreo cassette.
La calidad de disefio y maestrfa puestas al hacer este
aparato le aseguran rendimiento impacable por
muchos afios.

El manejo es simple una vez familiarizado con las
técnicas apropiadas para usar este aparato. Le rogamos

seguir cuidadosamente las instrucciones a fin de
tener el potencial pleno de este avanzado deck cas
to de soberbia ingenieria.

INTBIIIILIZIIINE

Desideriamo cogliere questa occasione per ringraziarvi
di avere acquistato il nostro registratore a cassetta
stereofonico. Grazie al design e all'esecuzione di ele-
vata qualité usati nel produrre questo apparecchio,
potete essere sicuri della sua impeccabile prestazione
negli anni a venire.

ll funzionamento risulta semplice dipo che vi si
familiarizzati con tutti i dettagli per I'uso di que
apparecchio. Vi suggeriamo di seguire attentame
le istruzioni per poter utilizzare tutte Ie possibi
ofterte da questo avveniristico registratore a casse
superbamente studiato.

SVENSIIA

INLEIININli

Vi tacker for an Ni valt v§rt stereo-kassettdiick HD-
IOF. Med den enastfiende kvaliteten och det nog-
grann utfc'irandet kommer detta stereodack sa'kert an
99 Er fullsfindig tillfredsstallelse i mfinga 5r.

Advandningssattet ar mycket enkelt, men for att be-
ma'stra alla finesser p8 denna apparat och till iullo
§tniuta dess utomordentliga prestanda rfider vi Er att

noggrant lesa genom denna handbok innan Ni anv
der apparaten.

CONNEXION DALIMENTATION

Lappareil utilise Ie courant électrique domestique
normal (AC). ll vous suffit de simplement brancher
lappareil a une prise murale, on a la prise commuta-
ble ou non commutable AC de votre amplificateur
(ou réoepteur). Au cas ou elle est branchée a une
prise commutable, vous avaz Ia possibilité, en Iaissant
le commutateur d'alimentation en circuit, de main-
tenir un controle de commutation pour votre platine
a cassette a partir de votre amplificateur ou de votre
récepteur. Au cas ou elle est branchée sur une prise
non commutable, comme par exemple une prise
murale, vous devez utiliser le propre interrupteur de
la platine pour le contrOIe de commutation.
ATTENTION - Ne procéder au branchement du
courant qu'apres setre assure que les connexions
adéquates ont étées effectuées.

EMPLACEMENT DE LAPPAREIL

Bien que l'appareil ne développe pas dordinaire de
forte chaleur, il est preferable de la placer de telle
maniere a ne pas obstruer son systcme de ventilation.
Placer Iappareil sur one surface dure, telle qu'une
étagere ou une table correctement située pour la
protection de I'appareil contre la chaleur ou lhumi-
dité. Laisser un écart d'au moins 5cm 9 l'arriere de
lappareil,

I

CONEXION A LA RED

El deck requiere para su alimentacién corriente eléc-
trica normal (CAI. Se puede conectar a un enchufe
en la pared o a una torna CA del amplificador Io
receptor). Si se conecta a una toma "switched", la
corriente pasa al deck solo cuando esta encendido el
amplificador (a receptor); dejando el interruptor del
deck en 0N, este solo se enciende al encender el am<
plificador. Si se conecta a una toma "unswitched" o
a un enchufe en la pared hay que usar el interrupter
del deck para encender o apagar.

PRECAUCION - No encender antes de comprobar
que estén completes las conexiones apropiadas.

UBICACION DE LA UNIDAD

Aunque Ia unidad no desarrolla gran calor, debe colo-
carse de modo que no so impida su sistema de vantila-
cién. Coloque la unidad en una superficie dura,
estante o mesa donde sea facil el manejo y no haya
riesgo de calor o humedad. Deie libres 5cm al menos
por detras del deck.

CONNESSIONE DELLA FONTE DI ENEFIGIA
Come energia l'apparecchio richieda la normals c
rente elettrica dl uso domestico (AC). Potete semi
cemente connettere lapparecchio ad una presa a n
to, o alla presa AC aperta o chiusa del vostro ampl
catore (0 receiver). Se é inserito in una presa di c
rante aperta, con I'interruttore di corrente dell'ap
recchio in funzione, potete mantenere il contra
dell'interruttore con vostro amplificatore o receiv
Se é inserito in una presa di corrente chiusa, comt
presa a mum, é necessario usare l'interruttore di en
gia della cassetta.

ATTENZIONE - Non immettere energia senza est
si prima assicurati che tutti i contatti siano stati c
rettamente inseriti.

POSIZIONE DELL'APPARECCHIO

Sebbene lapparecchio normalmente non genera
cassivo calore, é comunque consigliabile porlo in l
sizione tale che il suo sistema di ventilazione n
venga ostacolato. Porre l'apparecchio su una supe
cie dura - qualsiasi scatfale o tavolo a Iivello prat
per Iuso e il meno possibile influenzato da calon
umidité. Lasciare almeno 5cm di spazio dietro l'
parecchio.

NATANSLUTNING

Apparaten skall anslutas till den vanliga natstrfi
men (vaxelstrém) Ni anvénder hemma. Bara ans
stickkontakten till vagguttaget eller stromuttaget
Er fdrstarkare eller mottagare. 0m stromuttaget
forstarkaren eller mottagaren utnyttjas, skall Ni
sta'll a omkopplaren p3 detta kassetdack i ON-li
och p§- eller frankoppla apparaten genom forstérl
rens eller mottagarens strbmbrytare. Ansluts dacl
till vagguttaget skall dackets egen omkopplare (stro'
brytare) anvandas for pS- och frfinkoppling.

OBS - lnnan apparaten ansluts till nétet skall
forsakra Er orn ett alla anslutningarna ar korrekt
forda.

DACKETS PLACERING

Fasta'n denna apparat normalt inte utger hog val
skall den placeras be en val ventilerad plats. PIaCl
apparaten heist pa on hard yta, eller en hylla eller
bard dér apparaten kan manEwreras p8 ett bekva
och praktiskt satt och dt'ir det at minst risk for fu

.aller viirmeskada. Lamna ett utrymme pa minst 54

bakom apparaten for ventilation.