Rotel RC 870 OM
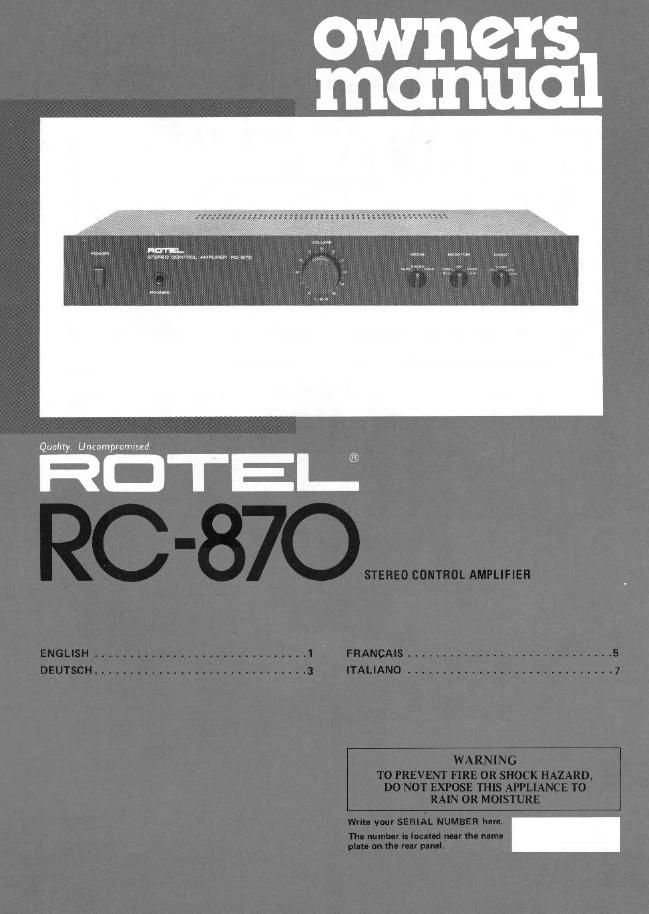
This is the 3 pages manual for Rotel RC 870 OM.
Read or download the pdf for free. If you want to contribute, please upload pdfs to audioservicemanuals.wetransfer.com.
Extracted text from Rotel RC 870 OM (Ocr-read)
Page 2
llllillSll
STEREO CONTROL AMPLIFIER RC-870
INTRODUCTION
We at Hotel want to thank you lot purchasing
our Iudio product.
Hotel audio products are designed to use the
latest electronic technology, and they incorpo<
rate our long experience as a specialist manulec
turer oi audio equipment. We are confident
that you will find satislaction in the high
quality sound and top performance, and that
you will lind pleasure in the functional beauty
achieved through human-engineering concept.
Belore darting operation, please read this
instruction manual thoroughly and acquaint
yoursell with the proper mode at using the unit
and all its connections
We hope you will enjoy topriulch performance
Ior many years to come,
BEFORE ENJOYMENT/
POWER SUPPLY
Follow the instructions below ior maximum
saletv:
1. Use a well atttiet tor power mpplv
Be sure to connecl the AC line cord to a house-
hold wall OuIlEl. Be certain that the outlet
voltage matches the electrical rating at the unit,
lound on the rear panel name plate.
2. Connecting end removing AC cord
Be sure to connect or disconnect the AC line
cord only alter turning all the power Mllch to
prevent passtble shock horse or damage to
the speakers.
3. Ventila the unit well
Never block any venttlatron holes at the top
and bottom at the amt. Be sure also to amt/rue
ample ventilation space around lhe unit, Poor
ventilation may result tn damage due to uxces~
swe heat.
4. Do not open the cabinet
In order to eve-d electric shock or damage to
the component. never open the cabinet. It a
loraign object Iallt mode the unit by mistake,
turn the power a", disconnect the wall plug,
and consult a Quilllied eleclrlctan at your
dealer.
5. Insullltinn
Be sure to place the unit in a level and lint place
where it is tree lrom humidity, ytbratton, high
temperature and not exposed to direct sunlight.
Be carelul not to place the unrt tn a highly
enclosed place such as near a well or on a
bookshell. A poor ventilation Will cause unde-
sirable ellecls to the unit.
6. Moving llteunil
when transporting, remove the AC cord Irom
the wall outlet and all orher connected cards on
the rear panel to prevent W"! breakage and
short Circuits.
7. lithe unit gets wet
ll the unit should get wet, immediately discon-
nect the AC cord, and consult your dealer or a
qualified electrician.
5. Cleaning and maintenance
Do not use chemicals such as benztne or thrn-
ners on the Iront panel. Alwayt use a soft, dry
cloth to clean the unit.
9. Owner's manual
Keep the owner's manual near the unit, and
record the serial number llound on the rear
panel) on the cover.
-
Caution lappiictla to the USA. Canada,
Hone Kohl, and SIMIIIMR.ASIIII On the rear
panel ol the RC~87O are two sets pl AC outlet
through which power is supplied to audio
equipment (turntable. CD player, tuner, cas-
sette deck, etc.) you use in conjunction min
the Home. Each AC outlet is the switched
tvpa. turned on or oil upon switchtng on or o
the power tn the Pic-870, and has rating oI 200
watts maximum. Do not attempt to connect
equipment whose power consumption exceeds
the rating oi these AC outlets. Never connect a
power amplllier to these AC outlets.
-
CD. (COMPACT DISC) PLAYER
CONNECTING COMPONENTS
Connect all necessary audio components to the
rear panel ol the unit, using RCA pin cords, See
the illustration lor properly completed con-
nections. When connecting RCA pin cords, be
sure that L llelti and Ft (right) marktngs on
each component are matched correctly. Con-
nect the grounding tmra ol the turntable to the
termrnal marked GND on the amplillei.
Note: The unit is provided with two sets ol
FHONO input terminals, labeled MM end MC
respectively. When using a turntable equipped
with a moving magnet (MM) type unridge.
use the PHONO MM terminals. When using a
turntable with an MC type cartridge, use the
PHONO MC terminals.
ll you have two turntables. one with an MM
type cartridge and the other with an MC type,
you may connect both units simultaneously.
CASSETTE DECK
U
TURNTABLE
(with MC Cartridge)
TURNTABLE
(with Moving Magnet
Cartridge)
SWITCHES AND CONTROLS
(1) Power Button
Depress this button to turn on the power in the
unit. Pres the button a second time to release
it and to cut all the power.
(2) Power Indicator
Glows when power it turned on with the power
button.
(3) Headphone Jack
For private listening, plug your hmdphpnes
into this jack, which cuts a" the sound Irom
speakers. The volume of the headphone sound
can be regulated with the volume control.
(4) Volume Control
Used to regulate the volume level. Turn clock-
wise to increase the volume. and counter-
clockwise to reduce it. This is a dual conA
AMPLIFIER
R8670
TUNEFI
centric knob which permits either separate or
combined adjustment 0' both channels
(5) Mode Selector
Used to select the reproducing mode or the
stereo signel led into the unit. STEREO pot'r
tion It for normal stereo reproduction. and
MONO position for monophonic reproduction.
when the selector is set to MUTE position,
output or the unit is cut oil, and no sound will
be heard,
(6) Tape Monitor Selector
Used to listen to a signal supplied from the tape
deck. Set the selector to TAPE I position for
the signal train a tape deck connected to TAPE
1 terminals on the rear panel, and set to TAPE
2 tor the deck connected to TAPE 2 terminal;
When it it sat to the i > 2 position. you fill
perlorm (399404596 copying Item the TAPE I 1
->
STEREO POWER