Pioneer SA 6300 Owners Manual

This is the 12 pages manual for Pioneer SA 6300 Owners Manual.
Read or download the pdf for free. If you want to contribute, please upload pdfs to audioservicemanuals.wetransfer.com.

Page: 1 / 12
Pioneer SA 6300 Owners Manual

Extracted text from Pioneer SA 6300 Owners Manual (Ocr-read)


Page 1

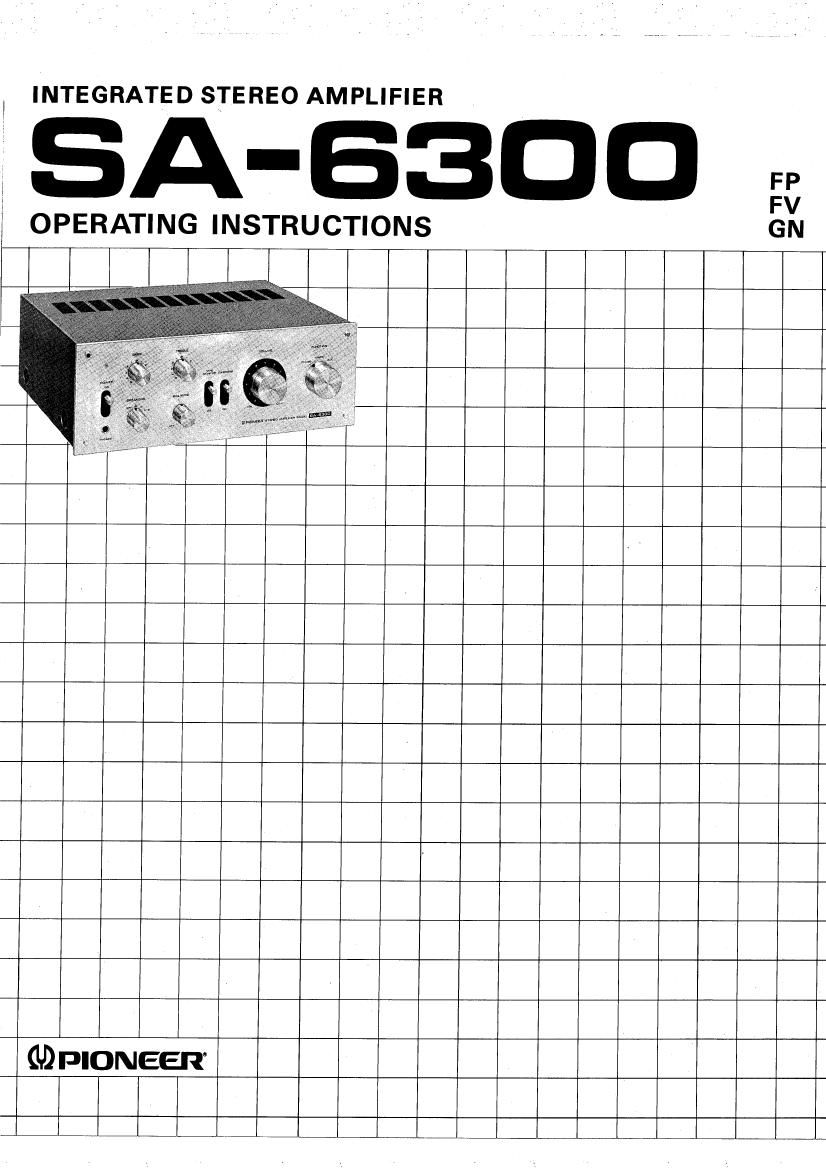
INTEGRATE D STEREO AMPLIFIER

SA-BSDD 5.,

OPERATING INSTRUCTIONS

GDPIONEER

Page 2

Features............................ 2 BeforeOperation..... ....... 7
StereoSystemSet-up..... ........ 3 Operation ........ 7
Speaker Connection ....... . ..... . . '. . . . 3 Employing Tape Deck . . . . . . . . ..... . . . . . 8
Connection Diagram . . . . . . . . . , . . , ..... 4 Checking Operating Procedure . . . ...... . . . 9
Connections ............. . . . . . . . . . . . . 5 Conditions Frequently Mistaken for
Malfunction . . ......... . . . . ...... . . . 10
FrontPanelFacilities.................. 6
Specifications........................11

FEATURES

Power to Spare for Low Distortion

The pure complementary OCL circuitry employs high
reliability NPN and PNP silicon power transistors, a
differential first stage and direct coupling at all stages, The
result is superb frequency response, output bandwidth
and distortion characteristics. 20W per channel provides
ample reserves of power for rich and stable stereo repro-
duction.

lC Equalizer Section

RIAA deviation, the most important factor in record
reproduction, is minimized by the lC equalizer section to
provide advanced fidelity. Transistorized constant current
circuits are employed throughout, increasing the accept-
able dynamic margin. Low distortion record playback,
with a wide dynamic range, can thus be enioyed.

All Program Sources can be Played

The rear panel is provided with special input iacks for
turntable, tuner and tape deck, plus AUX jacks for
cartridge tape player deck, etc. Virtually all program
sources can be enjoyed.

Accepts 2 Sets of Speaker Systems

The SA-6300 is equipped with 2 sets of speaker terminals
and a speaker selector switch. Comparison listening of 2
speaker systems, or simultaneous operation of speakers in
different rooms can be performed by single switch
selection.

New Design Underscores Performance Quality
Simple, elegant front panel design provides built-in
operational case. A matching stereo tuner is also available
for composing an easy to use high performance stereo
system.

WWW

LINE VOLTAGE AND FUSE

SA-6300 amplifiers are designed to accept different line
voltages, according to the country in which they are to be
used, although the operation of the various models is the
same in every other respect. The line voltage connection is
on the rear panel.

Fig. A shows the line voltage connection of a model design-
ed to operate at 220V only.

Fig. B shows the line voltage selector and fuse of a model
designed to operate at any of five preselected voltages
(110V,120V, 130v, 220V, 240V).

220V (GN) MODEL ONLY 5-LINE VOLTAGE MODEL


AC INLET WM

Changing Line Voltage Setting and Fuse

To remove the fuse, unscrew the fuse cap located in the
center of the line voltage selector and withdraw it, together
with the fuse. Next, pull the line voltage selector plug out
of its socket, rotate it until the cutaway aligns with the
appropriate line voltage marked on the back of the unit,
then push it back into its socket. It is important to check
the rating of the fuse; a 1.5A fuse should be used with
either 220V or 240V, while a 3A fuse should be used for
110V, 120V or 130V operation. If the fuse rating is correct,
replace it and screw in the fuse cap.

Fuse Replacement

When the fuse blows, remove the fuse cap and replace the
fuse with a new one. Fig. C.

PHILIPS r
SCREWDRIVEH p SOCKET
SELECTOR PLUG

2' FUSE Fig. C
FUSE CAP