Pioneer svsl 6 c owners manual
This is the 4 pages manual for pioneer svsl 6 c owners manual.
Read or download the pdf for free. If you want to contribute, please upload pdfs to audioservicemanuals.wetransfer.com.
Extracted text from pioneer svsl 6 c owners manual (Ocr-read)
Page 1
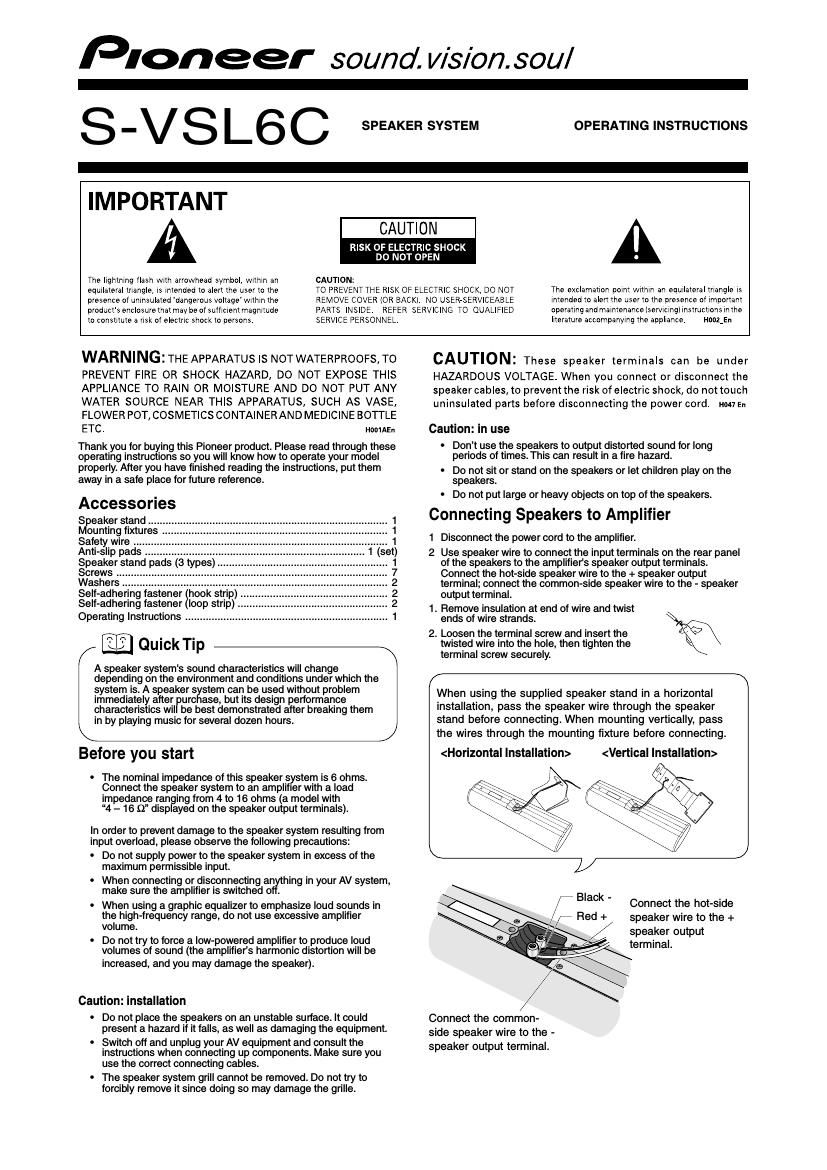
2 The speaker system's input terminals can also be connected using a banana plug (only with horizontal installation) After connecting the wires to their speaker system terminals, pull gently on the wires and confirm that the leads are fastened securely to their terminals. Insecure connections will result in broken sound and noise. Do not allow bare wire ends to protrude excessively from the terminals. If bare wires from the two leads touch each other, excessive load will be placed on the amplifier, leading to possible damage or malfunction. Be sure to connect the + and – leads to their correct terminals. If the poles at one end of the wires are connected mistakenly (+ to –, – to +), proper stereo effect will not be produced. Rack Installation Preparation When mounting the speakers on a rack, use the supplied accessory anti-slip pad or self-adhering fastener strips. The anti-slip pads may not be fully effective on some surfaces; if any danger of tipping or falling exists, do not attempt to mount the speakers in that position. - Using anti-slip pads Peel off the protective paper backing from the four anti-slip pads and apply to the four bottom corners of the speaker stand. ` Using self-adhering fastener 1. Peel off the protective paper backing from the two loop strips and apply to the bottom surface of the speaker stand. 2. Peel off the protective paper backing from the two hook strips and apply to the surface of the installation surface in alignment with the two loop strips on the speaker stand.Anti-slip pads Self-adhering fastener (loop strip) Self-adhering fastener (hook strip) Pads Pad (Fig. a) (Fig. b) Wall hanging screws (buy commercially) Horizontal installation Vertical installation Installation surface Assembly Assembling the speaker stands requires use of a medium Phillips screwdriver. Connect speaker wires before assembly Installation example 1 (Horizontal installation) 1. Affix mounting pads 2. Use two supplied screws to fasten the speaker stand to the speaker Installation example 2 (Vertical installation) 1. Affix mounting pad 2. Use 4 supplied screws to attach the accessory mounting fixture to the speaker stand (Fig. a) 3. Use 2 supplied screws to attach the mounting fixture and speaker stand to the speaker (Fig. b) Pay special attention to choosing a safe installation location when mounting the speaker vertically, since it may tend to tip over. Wall Mounting This speaker system is supplied with a mounting fixture for wall mounting. When using the speaker system in a wall installation, take full precautions to prevent the speaker from falling. Check the wall location thoroughly to ascertain its ability to support the weight of the speaker system. If you are unable to determine the structural strength of the wall, consult a building professional before attempting to install the speaker system on a wall. No screws or bolts are provided for use in a wall installation. Supply your own threaded fasteners in accordance with the wall or pillar's material structure and strength. Install only on a vertically plumb surface. Installation at an angle may result in dangerous loosening of the fixture, causing a fall. 1. First decide on whether you will install the speakers vertically or horizontally. Use commercially available threaded fasteners (screws or bolts) to attach the accessory mounting fixtures to the wall. When installing the speakers horizontally, use two screws installed at the two locations shown (left and right); when using a vertical installation, place one screw in the center as shown. 2. Loosen the screws slightly to allow the mounting fixture to be removed. 3. Attach the speaker wire to the speaker. 4. Use one provided accessory screw and one washer to attach the accessory safety wire to the speaker as shown. 5. Use two provided accessory screws to attach the speaker to the mounting fixture. 6. Use a commercially available screw or bolt and one of the provided accessory washers to connect the loose end of the safety wire to the wall. 7. Align the speaker with the screws installed in step 1, and fasten to the wall.
Page 2
3 Installation Example 1 (Horizontal installation) Safety wire Commercially purchased screw Washers Accessory screws Installation Example 2 (Vertical installation) Commercially purchsed screw Safety wire Washers Accessory screws Frequency response and harmonic distortion 100 80 60 100 1 k50 kHz 40 20 0 10 10 k 0°22.5° 45° Specifications Type ........................................ Fully enclosed (acoustic suspension) bookshelf speakers with magnetic-shielded design Speaker composition ........................................................ 2-way type Woofer ................................................................... 8.3 cm cone x 2 Tweeter ................................................................. 2 cm dome type Nominal impedance ...................................................................... 8 Ω Frequency response .................................................... 90–40,000 Hz Output level ............................................................... 86 dB / W (1 m) Permissible input Maximum power................................................................... 130 W Crossover frequency .............................................................. 4.0 kHz External dimensions Speaker only Horizontal mount .......................... 350 (W) x 102 (H) x 80 (D) mm With speaker stand Horizontal mount ........................ 350 (W) x 126 (H) x 101 (D) mm Vertical mount ............................ 102 (W) x 385 (H) x 103 (D) mm Weight ........................................................................... 2.2 kg (each) Appearance and specifications subject to change without notice. Remark This speaker system is magnetically shielded. However, depending on the installation location, color distortion may occur if the speaker system is installed extremely close to the screen off a television set. If this happens, turn off the television, then turn it on again after 15 to 30 minutes. If the problem persists, place the speaker system away from the television set. 30 Quiet library, soft whispers 40 Living room, refrigerator, bedroom away from traffic 50 Light traffic, normal conversation, quiet office 60 Air conditioner at 20 feet, sewing machine 70 Vacuum cleaner, hair dryer, noisy restaurant 80 Average city traffic, garbage disposals, alarm clock at two feet. Selecting fine audio equipment such as the unit youve just purchased is only the start of your musical enjoyment. Now its time to consider how you can maximize the fun and excitement your equipment offers. This manufacturer and the Electronic Industries Associations Consumer Electronics Group want you to get the most out of your equipment by playing it at a safe level. One that lets the sound come through loud and clear without annoying blaring or distortion-and, most importantly, without affecting your sensitive hearing. Sound can be deceiving. Over time your hearing comfort level adapts to higher volumes of sound. So what sounds normal can actually be loud and harmful to your hearing. Guard against this by setting your equipment at a safe level BEFORE your hearing adapts. To establish a safe level: Start your volume control at a low setting. Slowly increase the sound until you can hear it comfortably and clearly, and without distortion. Once you have established a comfortable sound level: Set the dial and leave it there. Taking a minute to do this now will help to prevent hearing damage or loss in the future. After all, we want you listening for a lifetime. We Want You Listening For A Lifetime Used wisely, your new sound equipment will provide a lifetime of fun and enjoyment. Since hearing damage from loud noise is often undetectable until it is too late, this manufacturer and the Electronic Industries Associations Consumer Electronics Group recommend you avoid prolonged exposure to excessive noise. This list of sound levels is included for your protection. Information courtesy of the Deafness Research Foundation. 90 Subway, motorcycle, truck traffic, lawn mower 100 Garbage truck, chain saw, pneumatic drill 120 Rock band concert in front of speakers, thunderclap 140 Gunshot blast, jet plane 180 Rocket launching pad THE FOLLOWING NOISES CAN BE DANGEROUS UNDER CONSTANT EXPOSURE Decibel Level Example