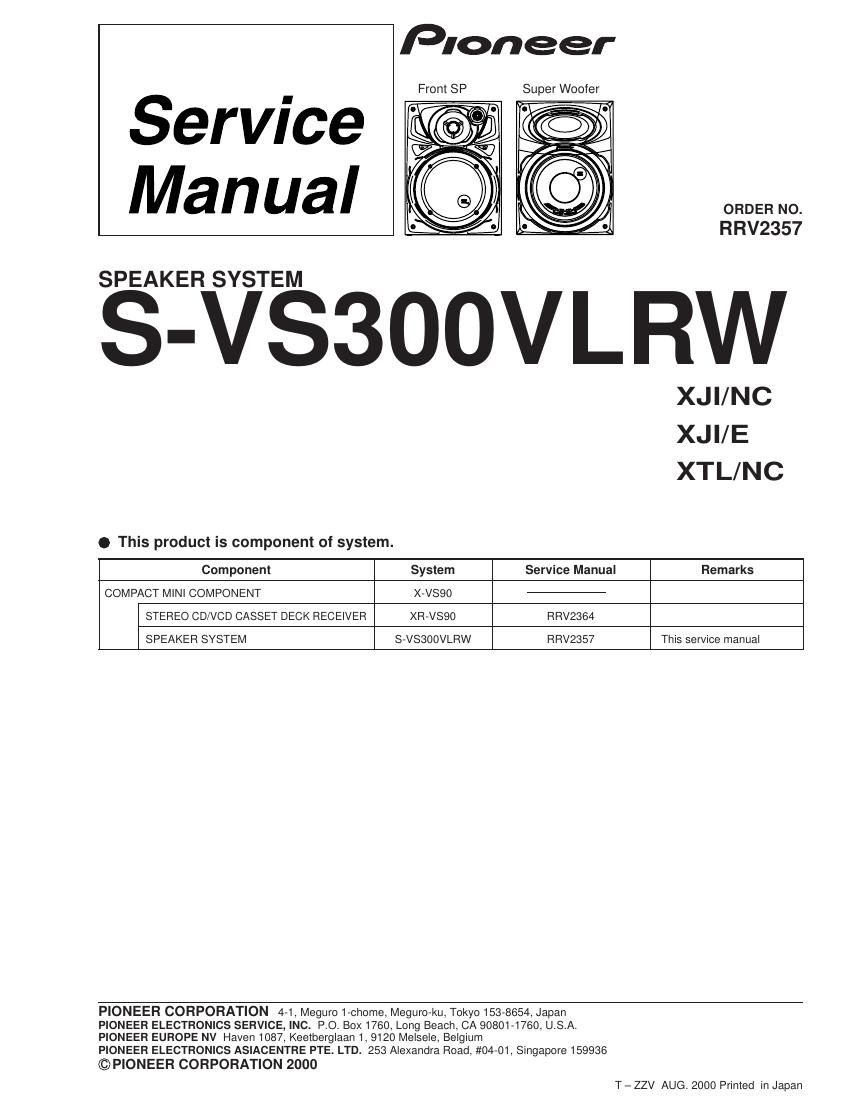
Pioneer svs 300 vlrw service manual
This is the 6 pages manual for pioneer svs 300 vlrw service manual.
Read or download the pdf for free. If you want to contribute, please upload pdfs to audioservicemanuals.wetransfer.com.
Extracted text from pioneer svs 300 vlrw service manual (Ocr-read)
Page 1
FOR PRECAUTION OF REASSEMBLY AND DISASSEMBLY The cosmetic baffle assy is attached to the cabinet by 4 external hexagon socket screws. To detach the cosmetic baffle assy, loosen these screws by the hexagon screw driver. Then care- fully disconnect the wires of the woofer and mid-range mounted on the cosmetic baffle assy. To attach the cosmetic baffle assy, replace it on the cabinet correctly and secure with 4 screws. The woofer is attached to the cosmetic baffle assy by 4 internal screws. To detach it ,unfasten these screws. When attaching it, face its terminal downward. The mid-range is attached to the cosmetic baffle assy by 2 inter- nal screws. To detach it, loosen these screws. Then carefully disconnect the wires of the tweeter mounted on the cosmetic baffle assy by adhesion. To attach the mid-range, replace it on the cosmetic baffle assy correctly and secure with 2 screws. The network assy is connected to the input terminal. To detach it, disconnect the wire from the input terminal. To attach the network assy, connect the wire of the network assy to the input terminal correctly. When exchange the tweeter, do it with the cosmetic baffle assy. ( for Front Speaker) ( for Super Woofer) The cosmetic baffle assy is attached to the cabinet by 4 external hexagon socket screws. To detach the cosmetic baffle assy, loosen these screws by the hexagon screw driver. Then care- fully disconnect the wires of the woofer mounted on the cos- metic baffle assy. To attach the cosmetic baffle assy, replace it on the cabinet correctly and secure with 4 screws. The woofer is attached to the cosmetic baffle assy together with the cosmetic ring assy by 4 internal screws. To detach the woofer(cosmetic ring assy), lossen these screws. To attach the cosmetic ring assy, fit the notch of the cosmetic ring to the pro- jection of the cosmetic baffle assy. To attach the woofer ,face its terminal downward and upward. At this occasion, set the terminal up-down direction so that the print label of the woofer is right direction seeing from the speaker system front side. To attach the cosmetic ring assy and woofer, replace it on the cos- metic baffle assy correctly and secure with 4 screws. The network assy is attached to the bottom board by one inter- nal screw and adhesive. To detach it, unfasten that screw and pry it out. To attach it, apply adhesive to the bottom board. Then press it to the bottom board, and secure with one screw. When attaching the network assy, do it carefully so that each wire is not touched. S-VS300VLRW 2
Page 2
S-VS300VLRW 3 Mark No. Description Part No. For Packing Parts marked by "NSP" are generally unavailable because they are not in our Master Spare Parts List. The mark found on some component parts indicates the importance of the safety factor of the part. Therefore, when replacing, be sure to use parts of identical designation. NOTES: PARTS LIST NSP CS ASSY (Front Speaker) See Contrast table (2) NSP CS ASSY (Super Woofer) See Contrast table (2) Speaker Wire (for Front speaker) SDS1057 Speaker Wire (for Woofer) SDS1084 Spacer See Contrast table (2) NSP Packing Case See Contrast table (2) NSP CS ASSY (Front Speaker) SMW1594 SMW1596 SMW1615 * 1 NSP CS ASSY (Super Woofer) SMW1595 SMW1597 SMW1616 * 2 Spacer SHD1046 SHD1046 SHD1047 Packing Case SHG2273 SHG2285 SHG2314 Part No. Remarks Mark S-VS300VLRW S-VS300VLRW S-VS300VLRW (2) CONTRAST TABLE S-VS300VLRW/XJI/NC, /XJI/E and /XTL/NC models are constructed the same except for the following: Symbol and Description /XJI/NC/XJI/E/XTL/NC (1) PARTS LIST CS ASSY (Front Speaker) (1) PARTS LIST NSP Cabinet See Contrast table (2) Network Assy SWN1656 Input Terminal KKX1014 Gasket (Baffle wide) See Contrast table (2) Non Skid Pad See Contrast table (2) Gasket (Baffle height) See Contrast table (2) NSP Stamped Model Label (L) See Contrast table (2) NSP Stamped Model Label (R) See Contrast table (2) NSP Acoustic Absorbent See Contrast table (2) Cosmetic Baffle Assy (L) SXB1410 NSP Duct (L) SMR1315 NSP Duct (R) SMR1316 NSP Punching Net SNC1183 NSP Cosmetic Baffle (L) SNK2466 Diaphragm Assy20 SXE1092 NSP Ceramic Tweeter SCA1017 NSP Terminal SKF1034 NSP Terminal SKF1035 * 1 : Refer to Ò CS ASSY (Front Speaker) Ò. * 2 : Refer to Ò CS ASSY (Super Woofer) Ò. Mark No. Description Part No. Cosmetic Baffle Assy (R) SXB1411 NSP Duct (L) SMR1315 NSP Duct (R) SMR1316 NSP Punching Net SNC1183 NSP Cosmetic Baffle (R) SNK2467 Diaphragm Assy20 SXE1092 NSP Ceramic Tweeter SCA1017 NSP Terminal SKF1034 NSP Terminal SKF1035 Speaker (Woofer) A14LC83-51H Speaker (Mid) E52AP39-58D Screw (for Mid) See Contrast table (2) Screw (for Woofer) See Contrast table (2) Tapping Screw SBA1162 Top Protector See Contrast table (2) Bottom Protector See Contrast table (2) Protection Sheet See Contrast table (2) NSP Polyethylene Bag S5 See Contrast table (2) Mark No. Description Part No. For Packing