Pioneer sst 606 service manual

This is the 6 pages manual for pioneer sst 606 service manual.
Read or download the pdf for free. If you want to contribute, please upload pdfs to audioservicemanuals.wetransfer.com.

Page: 1 / 6
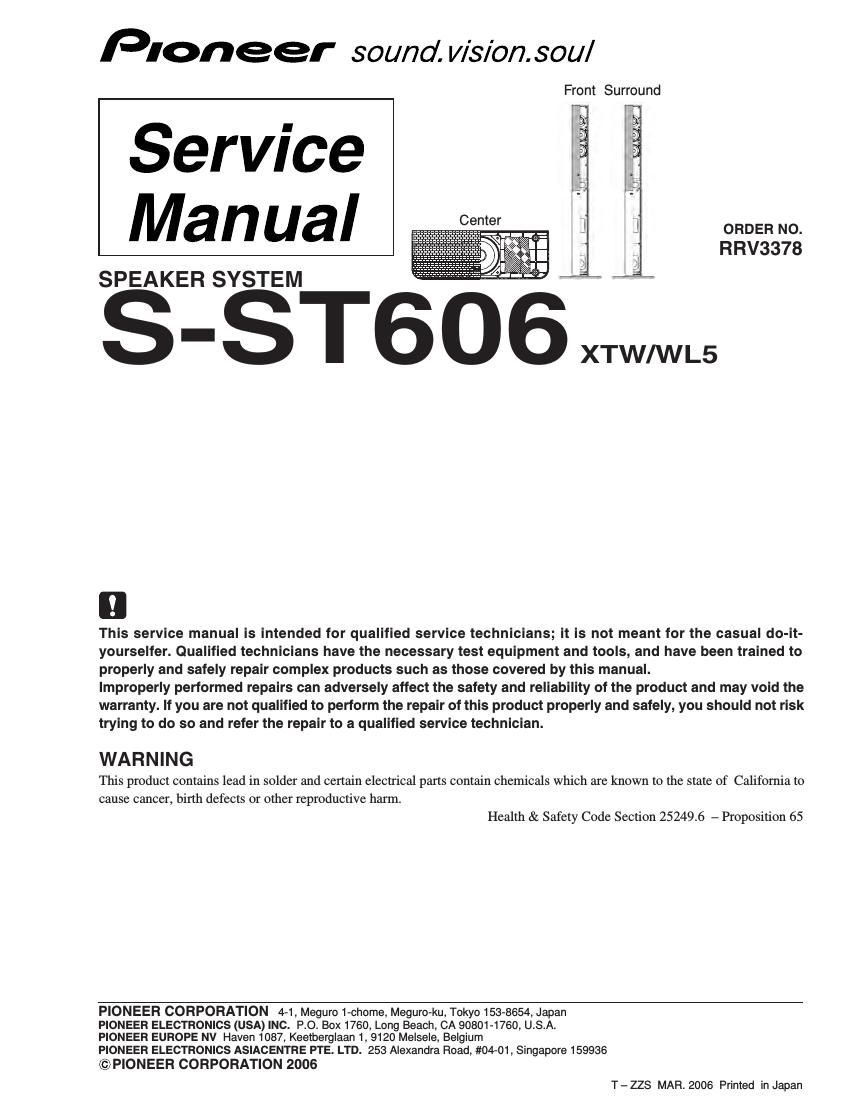
pioneer sst 606 service manual

Extracted text from pioneer sst 606 service manual (Ocr-read)


Page 1

2 1 23 4 1234 C D F A B E S-ST606 1. FOR PRECAUTION OF REASSEMBLY AND DISASSEMBLY GRILLE The grille is attached to the cabinet by its bosses applied with adhesive. To detach it, pry it open by inserting a flat blade screwdriver into lower right and lower left slot. To attach it, apply adhesive to the holes on the baffle. Then press it to the baffle. WOOFER The woofer is attached to the baffle by 4 external screws. To detach it, unfasten those screws. To detach it, first remove the grille. Then remove the screws. When attaching it, face its terminal upward. TWEETER The tweeter is attached to the baffle by 3 external screws. To detach it, unfasten those screws. To detach it, first remove the grille. Then remove the screws. When attaching it, face its terminal leftward or rightward. COSMETIC PANEL The cosmetic panel is attached to the baffle by its bosses. To detach it, pry it open by inserting a flat blade screwdriver into lower slot. To detach it, first remove the speaker stand base and grille. Then remove the cosmetic panel. When attaching it, fit the boss into the hole on the baffle. SPEAKER STAND BASES The speaker stand base is attached to the bottom of cabinet by 3 external screws. To detach it, unfasten those screws. Attach the speaker stand bases to the stems using the screws provided. Once you have aligned the stem and base, secure with the small screws at the points shown below. Note that the speaker should face in the direction of the base of the isosceles triangle (outlined below). GRILLE The grille assy is attached to the cabinet by 8 external screws. To detach it ,unfasten those screws. SPEAKER UNIT The speaker unit, together with the grille assy, is attached to the cabinet by 4 external screws. To detach it, first remove the grille assy. Next remove the cabi- net. Then remove the cable. When attaching it, face its terminal toward the input terminal. 1.1 CS Assy (Front, Surround) 1.2 CS Assy (Center) Rear Front Stem (the bottom of cabinet) Speaker Stand Base CAUTION In order to prevent the bosses of the grill breaking, be sure to insert a flat blade screwdriver from just beside of its bosses. Refer to the drawing (page 4).

Page 2

3 1 234 1 23 4 C D F A B E S-ST606 6-(2/2) 85-(2/2) 5-(1/2) 5-(1/2)1 1 8 5-(2/2) 10 4 792 3 6-(1/2) 4Speaker Stand Base SMS6027 5Protector SHA6110 6Protector (Middle) SHA6111 7Protection Sheet SHC6051 8Protection Sheet SHC6052 9Polyethylene Bag S2 SHL1417 10 Packing Case SHG6218 NSP Model Label (FL) SAN6360 NSP Model Label (FR) SAN6361 NSP Model Label (SL) SAN6362 NSP Model Label (SR) SAN6363 NSP Model Label (C) SAN6364 Parts marked by "NSP" are generally unavailable because they are not in our Master Spare Parts List. The mark found on some component parts indicates the importance of the safety factor of the part. Therefore, when replacing, be sure to use parts of identical designation. NOTES: 2. PARTS LIST NSP 1 CS Assy (Front, Surround) SMW6198 NSP 2 CS Assy (Center) SMW1931 NSP 3 Accessory Set SME6089 Speaker Wire (FL: White) SDS1174 Speaker Wire (FR: Red) SDS1175 Speaker Wire (SL: Blue) SDS1176 Speaker Wire (SR: Gray) SDS1177 Speaker Wire (C: Green) SDS1178 NSP Screw Set SME6071 Screw CYC40P250FTC Polyethylene Bag S0 SHL1314 Non Skid Pad (for Front Speaker) SEP6014 Non Skid Pad (for Center Speaker) SEP6017 Non Skid Pad (for Sub Woofer) SEC2070 Polyethylene Bag SHL1251 PACKING Parts List Mark No. Description Part No. Mark No. Description Part No. 2.1 PACKING