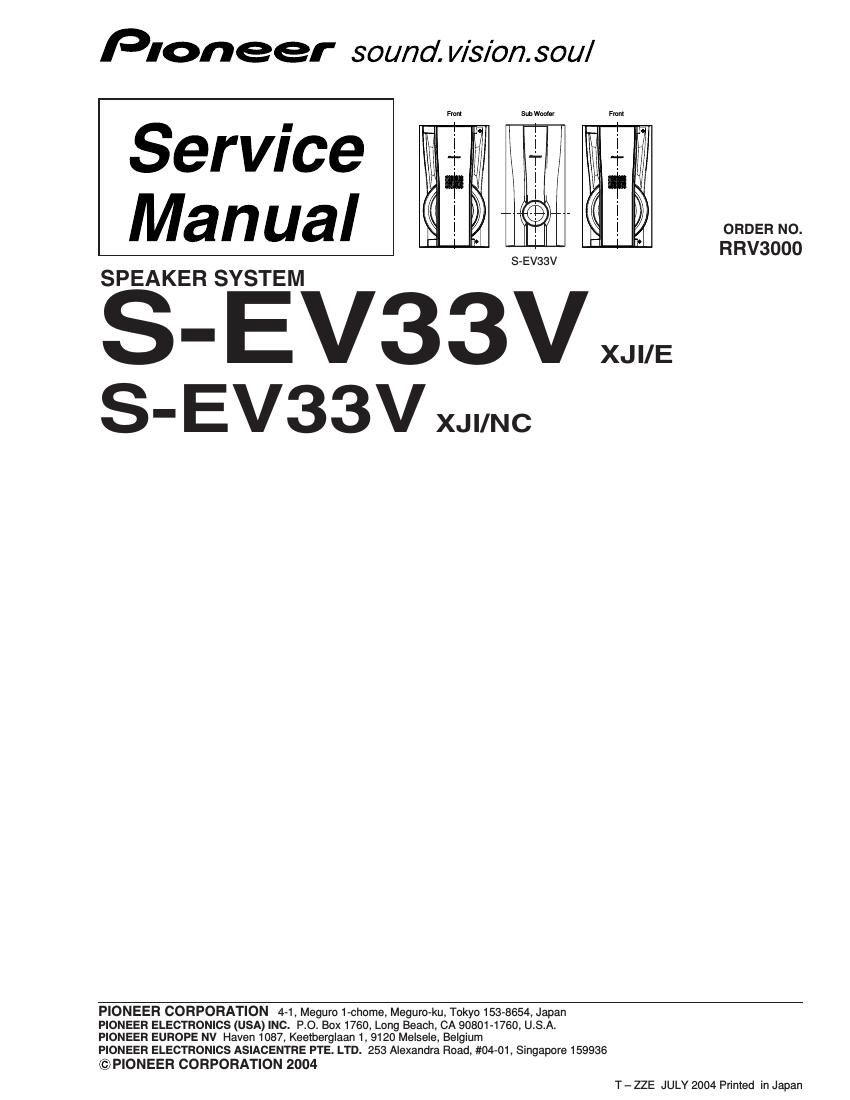
Pioneer sev 33 v service manual
This is the 5 pages manual for pioneer sev 33 v service manual.
Read or download the pdf for free. If you want to contribute, please upload pdfs to audioservicemanuals.wetransfer.com.
Extracted text from pioneer sev 33 v service manual (Ocr-read)
Page 1
FOR PRECAUTION OF REASSEMBLY AND DISASSEMBLY The grille is attached to the cabinet by catches. Detach by pull- ing it toward you. The woofer is attached to the cosmetic baffle by 4 internal screws. The cosmetic baffle is atached to the cabinet by 4 exter- nal screws. To detach it, first insert a sharp-pointed tool like an eyeleteer into the catch and push up. Next unfasten screws for the cosmetic baffle. Then unfasten those screws. When attaching the woofer, face its terminal downward. When attaching the cosmetic baffle on the cabinet by screws. The tweeter is attached to the cosmetic baffle by 2 internal screws. The cosmetic baffle is atached to the cabinet by 4 exter- nal screws and 2 bosses. To detach it, perform same as the woofer. (Front SP) (Sub Woofer) The woofer is attached to the back board by 4 external screws. To detach it, unfasten those screws. The input terminal is attached to the back board of the cabinet together with the adhesive by press-fitting. To detach the input terminal, pry it open by inserting a flat blade screwdriver into the upper and lower slot of the input terminal. To attach the input terminal, replace it on the back board of the cabinet cor- rectly together with the adhesive by press-fitting. (The red ter- minal is right-side.) The cosmetic baffle is attached to the baffle of the cabinet to- gether with the adhesive by press-fitting. To detach the cos- metic baffle, pry it open by inserting a flat blade screwdriver into the lower slot of it. To attach the cosmetic baffle, replace it on the baffle of the cabinet together with the adhesive by press- fitting. How to replace the cosmetic baffle and cosmetic duct 1.Remove the speaker from the cabinet, first removing the four screws. 2.Reach through the hole where the speaker was originally lo- cated and pull out the damper attached at the end of the cos- metic duct by hand. (Damper: See Product Appearance 11.) Note: Detach the damper with great care so as not to damage the interior surface of its circumference. 3. With the aid of a flathead screwdriver inserted through the slit at the lower part of the cosmetic baffle, remove the cosmetic baffle from the cabinet.4. Reassemble the subwoofer, as shown below: 4-1 Apply adhesive to the cosmetic baffle and press it into the cabinet. 4-2Apply adhesive to the interior surface of the circumfer- ence of the damper previously removed. 4-3 Insert the damper into the cabinet through the hole where the speaker was, and adhere it so that the end of the cos- metic duct is on the same plane as the surface of the damper. 4-4Secure the speaker to the cabinet with the four screws pre- viously removed.
Page 2
3 1 234 1 23 4 C D F A B E S-EV33V Parts marked by "NSP" are generally unavailable because they are not in our Master Spare Parts List. The mark found on some component parts indicates the importance of the safety factor of the part. Therefore, when replacing, be sure to use parts of identical designation. NOTES: PARTS LIST Mark No. Description Part No. NSP CS Assy (Sub Woofer) SMW1853 NSP CS Assy (Front ) SMW1852 for Accessory NSP Accessories Set SME3449 NSP Polyethylene Bag S1 KHL1079 Speaker Cord SDS1064 for XJI/E type NSP Stamped Label SME3503 NSP Model Label (Front) SAN3509 NSP Stamped Label SME3504 NSP Model Label (Sub Woofer) SAN3510 for XJI/NC type NSP Stamped Label SME3588 NSP Model Label (Front) SAN3534 NSP Stamped Label SME3589 NSP Model Label (Sub Woofer) SAN3535 for Packing Top Protector SHA2387 Bottom ProtectorSHA2388 Protection Sheet S3 SHC1803 Packing Case (for XJI/E type)SHG2596 Packing Case (for XJI/NC type)SHG2603 NSP Polyethylene Bag S5 (for Front and Sub WF) SHL1385 7 77 7 7 CS Assy (Front SP) Mark No. Description Part No. NSP Cabinet SMM2006 Grille Assy SMG1826 NSP Badge 36 SAM1441 NSP Grille Frame SMH1089 NSP Punching Net SNC1204 NSP Double face tape SEH1062 Network Assy SWN1703 Non Skid Pad SEC1827 Gasket SEC1629 Packing SEC1726 NSP Acoustic Absorbent SMV1886 NSP Acoustic Absorbent SMV2207 Catch SNK2176 Cosmetic Baffle SNK2803 Speaker (Woofer) A14LU75-51D Speaker (Tweeter) E52AP45-55D Screw (for Speaker) BPZ40P100FNI Screw (for Cosmetic Baffle) PYC40P400FNI 7 77 7 7 CS Assy (Sub Woofer) Mark No. Description Part No. NSP Cabinet SMM2008 Input Terminal KKX1014 Connection Cord SDD1317 Non Skid Pad SEC1827 NSP Packing SEC1535 NSP Duct 48 SMR1369 NSP Acoustic Absorbent SMV1886 Cosmetic Baffle SNK2683 NSP Cosmetic Board (Top) SNK2686 NSP Cosmetic Board (Under) SNK2687 Speaker Q13LR82-51D Screw (for Speaker) BYC40P200FNI