Pioneer rt 701 owners manual

This is the 20 pages manual for pioneer rt 701 owners manual.
Read or download the pdf for free. If you want to contribute, please upload pdfs to audioservicemanuals.wetransfer.com.

Page: 1 / 20
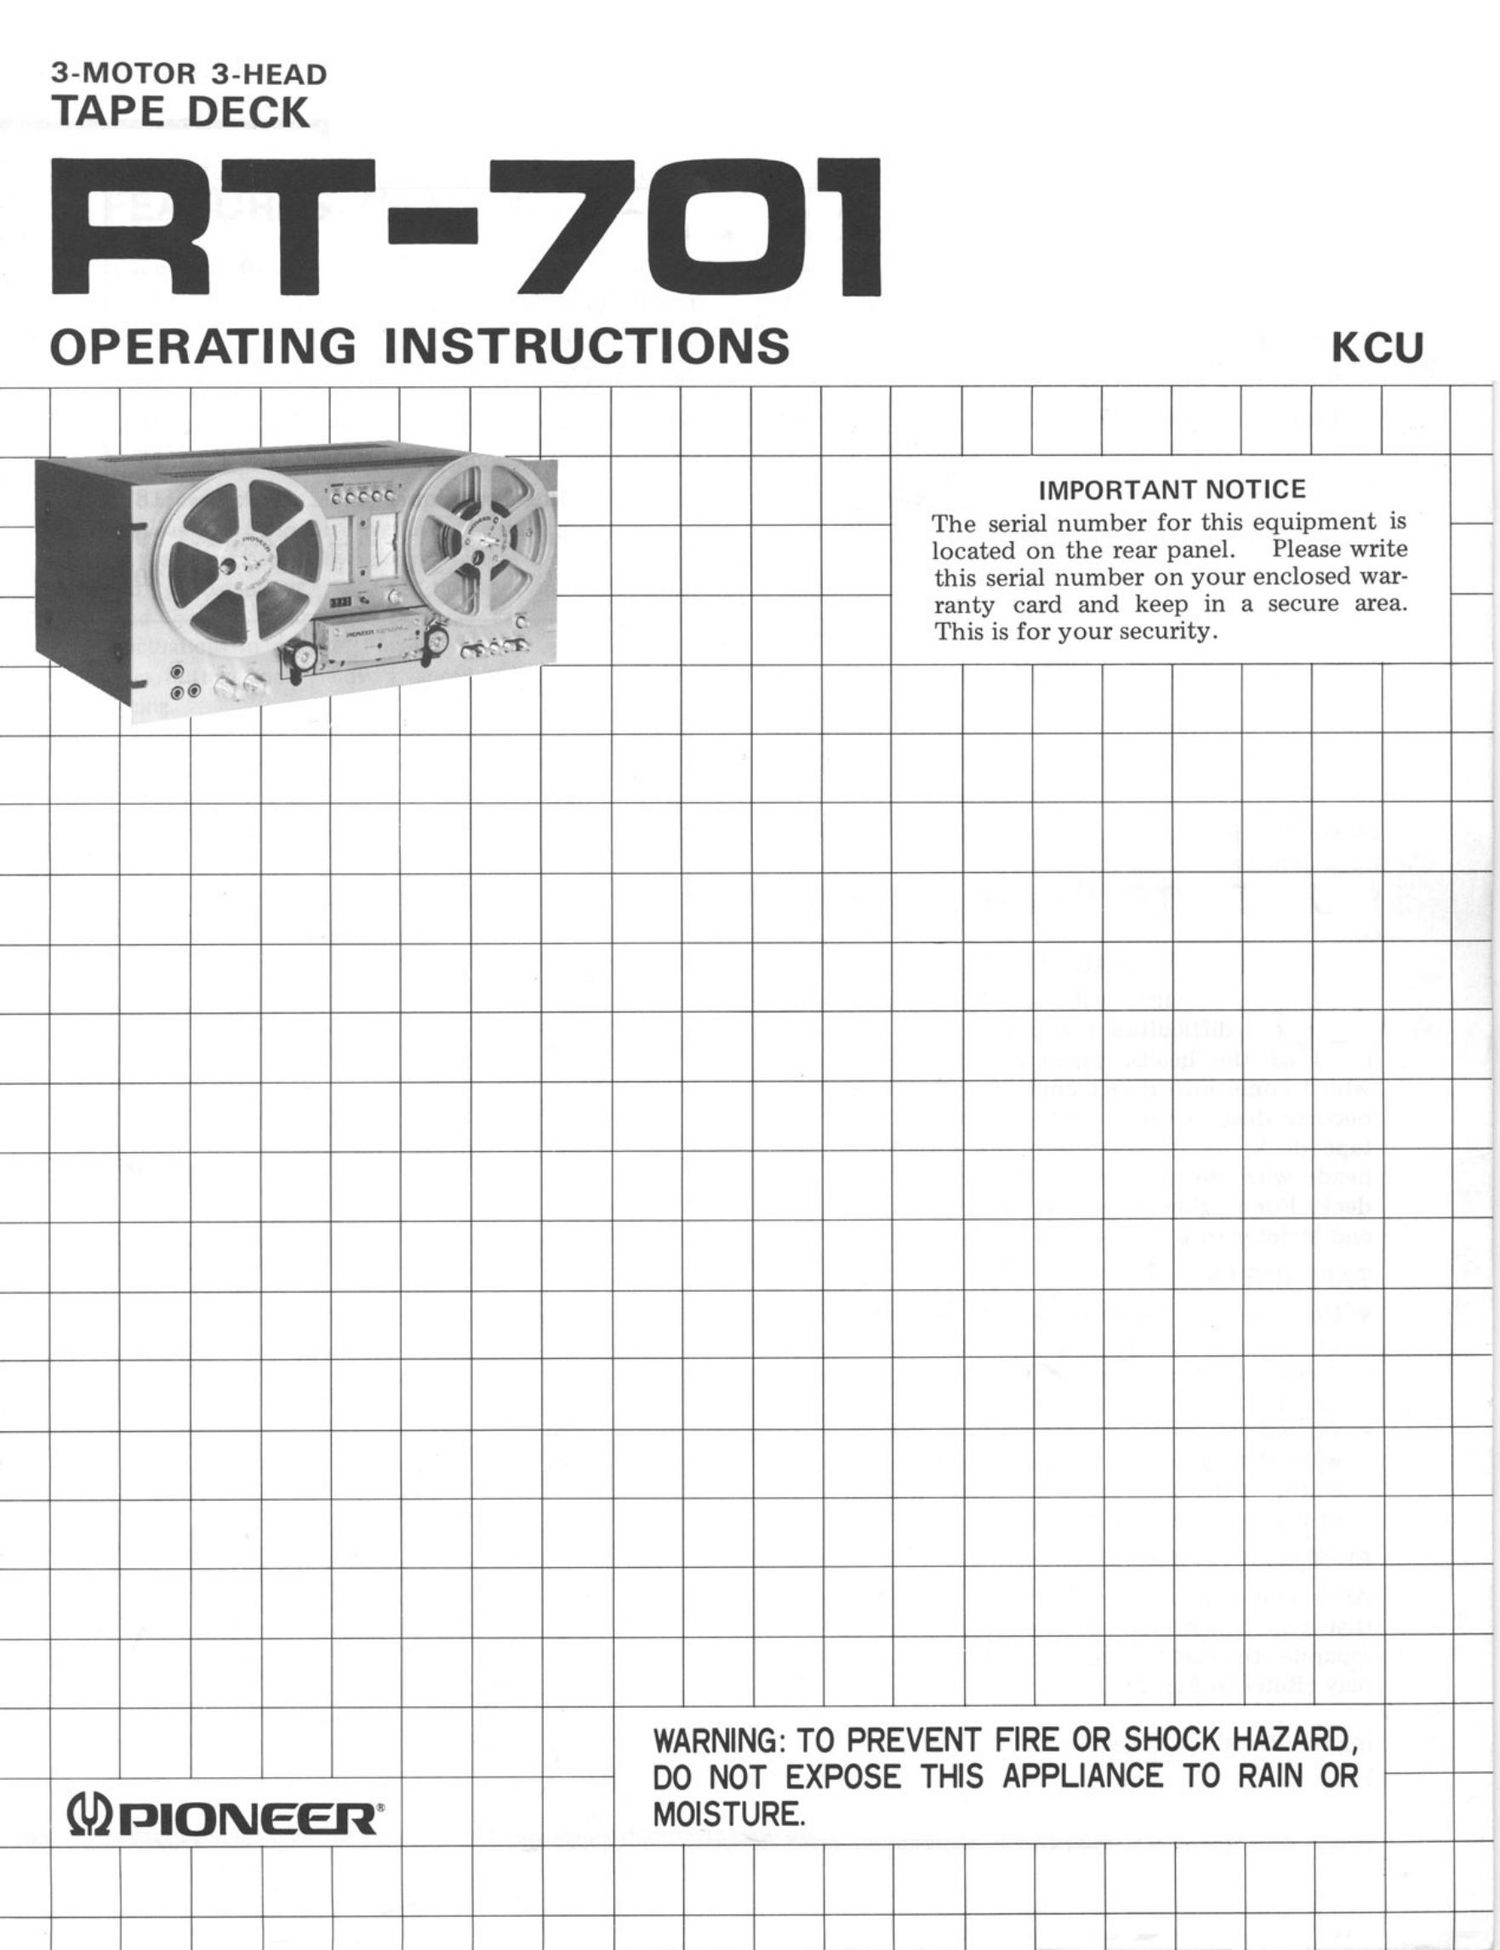
pioneer rt 701 owners manual

Extracted text from pioneer rt 701 owners manual (Ocr-read)


Page 1

3-MOTOR 3-HEAD
TAPE DECK

T-7I'I

OPERATING INSTRUCTIONS KCU

IMPORTANT NOTICE

The serial number for this equipment is
located on the rear panel. Please write
this serial number on your enclosed war-
ranty card and keep in a secure area.
This is for your security.

WARNING: TO PREVENT FIRE 0R SHOCK HAZARD,

DO NOT EXPOSE THIS APPLIANCE T0 RAIN OR
GDPIONEER" MOISTLRE.

Page 2

CONTE NTS
Points to Bear in Mind ................. 2 Recording ........................... 11
Features ............................ 3 Microphone Recording ................. 14
Choosing a Location ................... 3 Other Methods of Recording ............ 15
Front Panel Facilities .................. 4 Handling Tapes ....................... 16
Connection Diagram .................. 6 Care and Maintenance ................. 17
Threading the Tape ................... 7 Live Recording Techniques ............. 18
Basic Operations ...................... 8 Specifications ........................ 19
Playback ............................ 10 Troubleshooting ...................... 20

POINTS TO BEAR IN MIND

KEEP THE TAPE HEAD SECTION CLEAN

The sound quality will deteriorate and other
unforeseen difficulties may arise if you allow the
areas of the heads, capstan, pinch roller, etc.,
which come into direct contact with the tape, to
become dusty or dirty. Before actually using the
tape deck, be sure to clean the surfaces of the
heads with the cleaning swabs supplied with the
deck. For further details, refer to page 17, Care
and Maintenance.

TAPE REELS

0 Use 7-inch or 5-inch reels. Both reels should be
of the same size. If they are not, they will slow
down at different rates which leads to unstable
tape run.

0 Do not use reels which have been deformed or
warped in any way, or reels with a broad tape
width. If the tape comes in contact with the side
of the reel, it will be damaged.

BE SURE TO CLAMP THE REELS

After you mount the reels, make absolutely sure
that you clamp both reels so that they will not
separate themselves from the bases during tape
play (Refer to Fig. 2).

For further details, refer to the section on Mount-
ing the Reels on page 7.

Recording head

Erase head - Playback head
1 --Tape guide
a PION 611 j!
v
.. ..- a
3 = Q Q
Tape guide
Shut-off lever -
Fig. 1
Slot
1%

Reel clamper K

Fig. 2