Pioneer rc 760 owners manual

This is the 8 pages manual for pioneer rc 760 owners manual.
Read or download the pdf for free. If you want to contribute, please upload pdfs to audioservicemanuals.wetransfer.com.

Page: 1 / 8
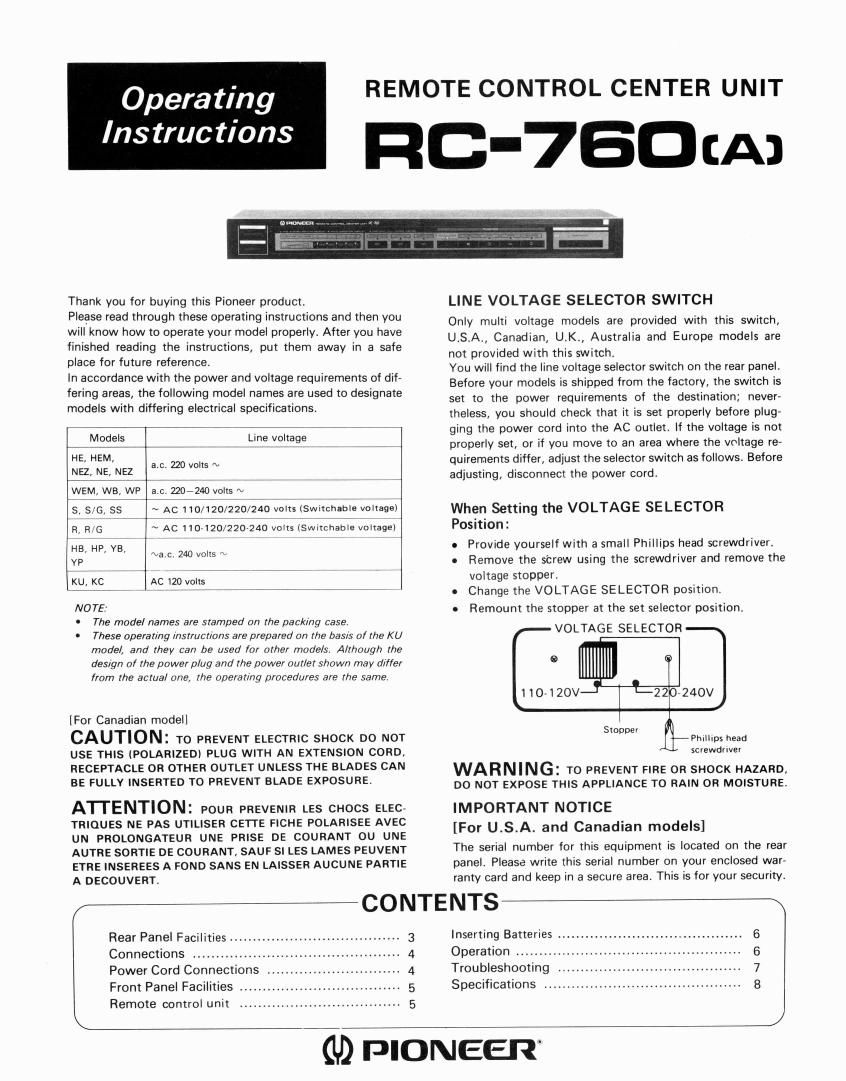
pioneer rc 760 owners manual

Extracted text from pioneer rc 760 owners manual (Ocr-read)


Page 1

Operating

Instructions

REMOTE CONTROL CENTER UNIT

C'7EDCA)

Thank you for buying this Pioneer product.

Please read through these operating instructions and then you
will know how to operate your model properly. After you have
finished reading the instructions, put them away in a safe
place for future reference.

In accordance with the power and voltage requirements of dif-
fering areas, the following model names are used to designate
models with differing electrical specifications.

Models Line voltage

HE, HEM,

NEZ. NE. NEZ a.c. 220 volts ~

WEM, WB, WP ac 220~240 volts «1

S, 5/6, SS ~ AC 110/120/220/240 Volts (Switchable voltagel
R, R/G ~ Ac 1107120/220-240 volts ISWItchabIe voltage)
HB HP YB' ~a.c 240 volts x

YP

KU, KC Ac 120 volts

NOTE:

0 The model names are stamped on the packing case,

' These operating Instruct/ans are prepared on the basis of the K U
model, and they can be used for other models. Although rhe
design of the power plug and the power outlet shown may differ
from the actual one, the operating procedures are the same.

[For Canadian model]

CAUTION: TO PREVENT ELECTRIC SHOCK DO NOT
usE THIs (POLARIZED) PLUG WITH AN EXTENSION CORD.
RECEPTACLE OR OTHER OUTLET UNLEss THE BLADES CAN
BE FULLY INSERTED To PREVENT BLADE EXPOSURE.

ATrENTION: POUR PREVENIR LEs CHOCS ELEC-
TRIOUEs NE PAs UTILISER CETTE FICHE POLARISEE AVEc
UN PROLONGATEUR UNE PRISE DE COURANT ou UNE
AUTRE SORTIE DE COURANT. SAUF SI LEs LAMEs PEUVENT
ETRE INSEREES A FOND SANS EN LAISSER AUCUNE PARTIE
A DECOUVERT.

Rear Panel Facilities .....................................
Connections ......................................
Power Cord Connections .....
Front Panel Facilities ...........
Remote control unit

CONTENTS

3

- 4

LINE VOLTAGE SELECTOR SWITCH

Only multi voltage models are provided with this switch,
U.S.A., Canadian, U.K., Australia and Europe models are
not provided with this switch.

You will find the line voltage selector switch on the rear panel.
Before your models is shipped from the factory, the switch is
set to the power requirements of the destination; never,
theless, you should check that it is set properly before plug-
ging the power cord into the AC outlet. If the voltage is not
properly set, Or if you move to an area where the voltage re,
quirements differ, adjust the selector switch as follows. Before
adjusting, disconnect the power cord.

When Setting the VOLTAGE SELECTOR
Position:

Provide yourself with a small Phillips head screwdriver.
Remove the screw using the screwdriver and remove the
voltage stopper.

I Change the VOLTAGE SELECTOR position.

- Remount the stopper at the set selector position.
VOLTAGE SELECTOR

° El

110~120V

L2207240V

Stopoer
Phrlllps head
screw): Iver

WARNING: TO PREVENT FIRE OR SHOCK HAZARD.
Do NOT EXPOSE THIs APPLIANCE T0 RAIN 0R MOISTURE.
IMPORTANT NOTICE

[For USA. and Canadian models]

The serial number for this equipment is located on the rear
panel. Please write this serial number on your enclosed warv
ranty card and keep in a secure area, This is for your security,

Inserting Batteries ........................................ 6
Operation ........ 6
Troubleshooting .. .. .. 7
Specifications ........................................... 8

GD PIONEER

Page 2

SAFETY INSTRUCTIONS

READ INSTRUCTIONS 7 All lhe salety and
operating instructions should be read belore the
appliance IS operated

RETAIN INSTRUCTIONS 7 The operating instruc»
trons should be retained Ior Iuture reIerence.

HEED WARNING 7 All warnings on the appliance
and in the operatrng Instructions should be adhered

ID,

FOLLow INSTRUCTIONS 7 All operating and use
Instructions should be lollowed,

WATER AND MOISTURE 7 The appliance should
not be used near water 7 Ior example, near a
bathtub, washbowl, kitchen sink, laundry tub. in a
wet basement, or near a swimmrng pool, etc.

LOCATION 7 The appliance should be installed in a
stable location

WALL OR CEILING MOUNTING 7 The applrance
should not be mounted to a wall or ceiling

VENTILATION 7 The appliance should be sttuared so
that Its location or positron does not Interlere with
rts proper ventilatron, For example, the applrance
should not be srtuated on a bed, sole, rug, or
Slmllar surrace that may block the yentilatron Ooerlr
ings. or, placed in a built-m Inslallallon, such as a
bookcase or cabrnet that may rrnoede the Ilow ol
air through the yentrratron openrngs.

HEAT - The appllance should be situated away lrorn
heat sources such as radrators. heat regrsters,
Slaves, or other applrances lrncludrng amleIIels)
that produce heat,

POWER SOURCES 7 The aoplrance should be Corr
nected to a power supply only oi the type descrlbr
ed in the operating rnstructlons or as marked On the
applrance.

POWERCORO PROTECTION 7 Powelrsupuly cords
should he routed so that they are not Ilkely to be
walked on or prnched by items placed upon or
agarnst them, payrng pamcuIal attention to cords
at plugs. convenience receptacles, and the palm
where they exll Irom the appllance

POLARIZATION 7 ll your purchased product is was
Vlded wrth a polarized power plug, please read the
lollowing rnstructrons This product ls eouipped
wtlh a polarized alternating currenr lrne plug la plug
haying one place wrder than the otherl Thrs plug
wrll Irt Into the power outlet only one way This rs a
salety leature, lI you are unable to insert the plug
Iully In) the outlet, try IeverSIng the plug ll the
plug should still lail to In. contact your electrician
to replace your obsolele outlet no not delear the
salety purpose oi the DOIarlzed plug

CLEANING 7 The appliance should be cleaned only
with a polrshing cloth Or a sort dry cloth Neyer
clean wrth lumrture wax, benzlne, Insecticides or
other uolatrle liquids slnce they may corrode the
cabrnet

POWER LINES 7 An outdoor antenna should be
located away Irorn power lrnes.

NONUSE PERIODS 7 The power cord ol the av
pliance dhvuld be unplugged Irorn the outlet when
Ielt unused lot a long period oI time,

OBJECT AND LIOUID ENTRv 7 Care should be
taken so that Objects do not Iall and Ilqulds are not
spilled Into the enclosure through openings.

DAMAGE REQUIRING SERVICE 7 The applrance
should he seryioed by Pioneer authorired servlce
center or oualrlied seniice personnel when;

- The powersuppv cord or the plug has been,
damaged; or

- Oblects haye Iallert, or Irourd has been spilled lnlo
the appliance; or

- The appliance has been exposed to rain; or

- The appliance does not appear to operate normally
or exhibits a marked change In pertormance, or

- The appliance has been dropped, or the enclosure
damaged

SERVICING 7 The user should not attempt to service
the appliance beyond that described In the
operating instructions, For all other servrcrng, con-
Iac IRE neaIeSI Ploneer athOllZed sen/ICE center.

/


OUTDOOR ANTENNA GRouNnING 7 Ir an
outside antenna is connected to the antenna
termrnal, be sure the antenna system rs
grounded so as to provide some protection
against voltage surges and built up static
charges
In the U s,A section 510 ol the National 5190
trical Code, ANSI/NFPA No. 704934, pro7
yldes inlotrnatron wrth respect to proper
grounding ol the mast and supporting SIIuCr
ture, grounding OI the leadnn wire to an amen-
na drscharge uni Slze ol grounding conduCr
tors, location or antennadrscharge unit, Carr
nectron to groundtng eleclwnes: and le»
ouirements tor the groundrng electrode. See

Flg A,

al UseNo. lnch I53rnm1l
copper, No 3 AM; (54
mmI aluminum, No, l7
AWG llo mm) copper

euwu hers
255$ clad steel, oronze wire, or
my, a larger as ground wire.
ENIRchI I -In an
/ wwwm , D 5WD w bl Secure antenna ead d
wsr resume-s r ground tunes to house wrth
stand-D" lnsulalms Spaced
§ Irorn 4 leet ll.72 metarsl to
/ 3 6 leet (1.83 rnatersl apart
~ / cl Mount antenna dlscharge
I r gorge M unit as closely as possiole lo
" ' / where lead-In enters house
I r WaEILTZorée'éENtr or Use jumper wrre not smaller
I \/ than No a AWG ll3,3 mmI
I copper or eouiualent when
)1 camp WE hisfs'cflaar curt fen-"ale amenna-gwund
staurrrormcr r r ilwvs irig electrode is used,
IouIPMIRI If cROUhLl
L. erE .r
uaowo
more steurrr I niues
erUONOIM. rtttraccr srarru
menarche we g:33:'m
c ELIRODL
u r rr 7
Ifugr'fi- 'I~wro" rrrr riarLr .r
Maui-roar
rr me can s
FIGA u arrsrtrroehror r

IMPORTANT 1

The lrghtning Ilash with arrowhead, WIlI'IlrI an
eoullalelal tnangle, rs rntended to alert the user ol the
presence ol unrnsulated dangerous voIlage" wrthrn the
product's enclosure that may be ol surIicient magnitude
to constitute a risk oi electric shock to persons

CAUTION

RISK OF ELECTRIC SHOCK
DO NOT OPEN

CAUTION,

TO PREVENT THE RISK OF ELECTRIC SHOCK, DO
NOT REMOVE COVER IOR BACKL NO USER»
SERVICEABLE PARTS INSIDE. REFER SERVICr
ING TO QUALIFIED SERVICE PERSONNEL.

The echamaIIOrI poinl wllhln an equllaleval [Ilangle IS
intended to alert the user oi the presence or lmpunanl
operating and marntenance [sen/Icing) instructions in
the lrterature accompanvlng the appliance

IMPORTANT 2

II the apparatus rs Ilned with Ac main power outletlsl,
see REAR PANEL FACILITIES Ior convenient connec
tron ol additlonal Herr componentlsl Make all connec
tions to the Ac outletlsl and the srgnal termrnals lrrst.
Connect the plug to the wall socket last, make sure that
the power swrtch rs on Orsconnect the wall plug when
The Equlomenl ls TICII In (lamar use, 9.9 when on Vaca-
tron

FOR USE IN THE UNITED
KINGDOM

WARNING- This plug mun only bl connected to eln
"onic Ipnu tin equipped with tuit-Irle took-rt.
out-rem- cut a" and diaper- ol the plug, Ind lit In
unwrap to one in accordance with the instruction
below.

The wires in thls mains lead are coloured In accordance
wrth the Iollowmg code

Blue Neutral

Emwn lee

As the colours ol the wrres In the mains lead ol thrs ap7
paratus may not correspond with the coloured marking
ldenzl'ymg the termrnals In your plug proceed as
tollows,

The wrre whrch I5 coloured blue must be connected to
the terminal which rs marked with the letter N or col
oured black

The wire whrch .s coloured hrown must be connected to
the terminal which rs marked wrth the letter L or Col»
oured red,