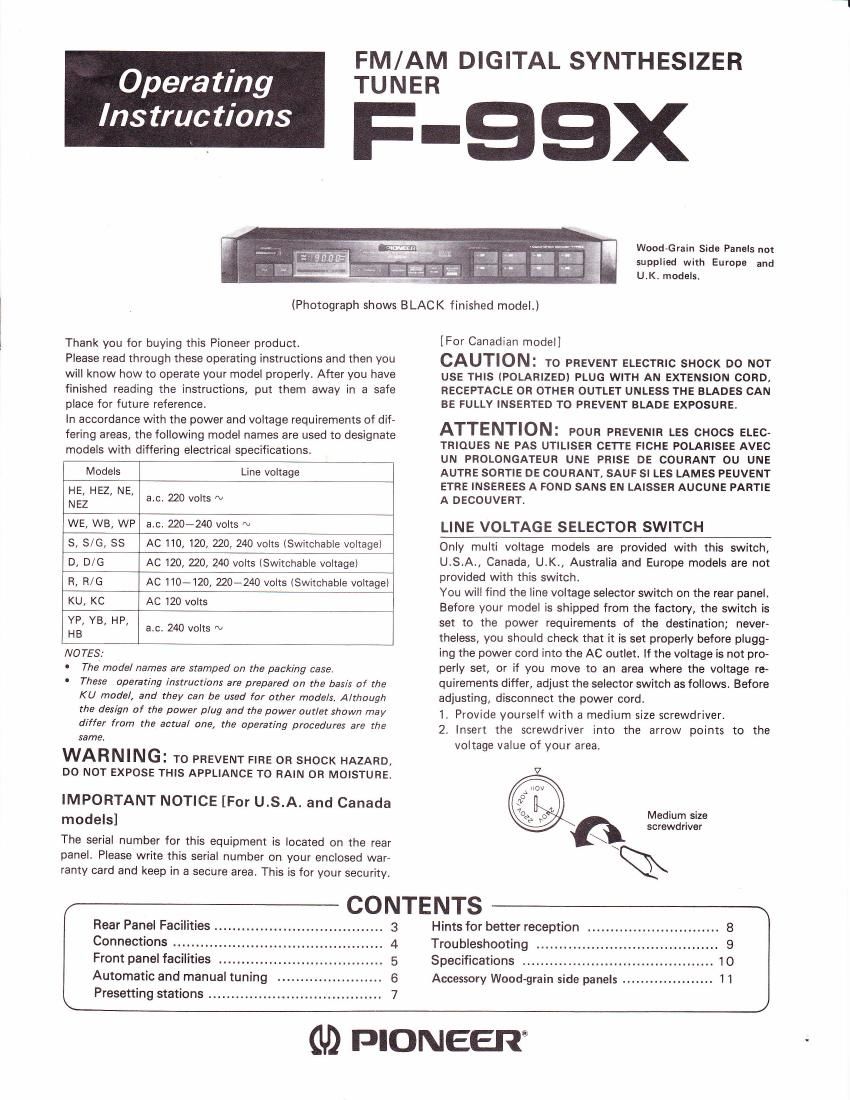
Pioneer f 99 x owners manual
This is the 12 pages manual for pioneer f 99 x owners manual.
Read or download the pdf for free. If you want to contribute, please upload pdfs to audioservicemanuals.wetransfer.com.
Extracted text from pioneer f 99 x owners manual (Ocr-read)
Page 1
SAFETY INSTRUCTIONS READ INSTRUCTIONS All the safety and operatihg instructions should be read before the appliance is operated. RETAIN INSTRUCTIONS - The operating instruc- tions should be retained for luture relerence. HEED WARNING - All warnings on the appliance and in the operdting instructions should be adhered to. FOLLOW INSTRUCTIONS - All operating and use inslructions should be followed. WATER AND MOISTURE The appliance should not be used near water - for example, near a bathtub, washbowl, kitchen sink, laundry tub, in a wet basement, or near a swimming pool, etc. LOCATION - The appliance should be installed in a stable location. WALL OR CEILING MOUNTING - The appliance should not be mounted to a wall or ceiling. VENTILATION The appliance should be situated so that its location or position does not interfere with its proper ventilation. For example. the appliance should not be situated on a bed, sota, rug, or similar surtace that may block the venlilation open- ings; or, placed in a built-in installation, such as a bookcase or cabinet that may impede the flow of air through the ventilation openings. HEAT The appliance should be sitoated away from heat sources such as radiators, heat registers, stoves, or other appliances (including ampliliers) that produce heat. POWER SOURCES - The appliance should be con nected to a power supply only of the type describ- ed in the operating instructions or as marked on the appliance. POWER-CORD PROTECTION - Power-supply cords should be routed so that they are not likely to be walked on or pinched by items placed upon or against them, paying panicular attention to cords at plugs, convenience receptacles, and the point where they exit from the appliance. POLARIZATION - lf your purchased product is pro- vided with a polarized power plug, please read the following instructions. This product is equ;pped with a polarized alternating current line plug (a plug having one blade wider than the other). This plug will lit into the power outlet only one way. This is a satety feature. lJ you are unabie to inseft the plug tully into the outlet, try reversing the plug. lJ the plug should still fail to fit, contact your electrician to replace your obsolete outlet. Do not defeat the sa{ety purpose of the polarized plug. CLEANING - The appliance should be cleaned only with a polishing cloth or a soft dry cloth. Never clean with furnature wax, benzine, insecticides or other volatile liquids since they may corrode the cabinel. POWER LINES - An outdoor antenna should be located away trom power lines. NONUSE PERIODS The power cord ot the ap- pliance should be unplugged from the oullel when left unused for a long period of time. OBJECT AND LIOUID ENTRY - Care should be taken so that objects do not fall and liquids are not spilled into the enclosure through openings. DAMAGE REOUIRING SERVICE The appliance should be seruiced by Pioneer authorized setuice center or qualified service personnel when: . The power-supply cord or the plug has been damaged; or . Objects have lallen, or liquid has been spilled into the appliance; or . The appliance has been exposed to rain; or . The appliance does not appear to operate normally or exhibits a marked change in performance; or . The appliance has been dropped; or the enclosure damaged. SERVICING - The user should not attempt to seruice the appliance beyond that described in the operating instruclions. For all other seaicing, con- tact the nearest Pioneer authorized setuice center. OUTDOOR ANTENNA GROUNDING - lf an outside antenna is connected to the antenna lerminal, be sure the antenna system is grounded so as to provide some protection against voltage surges and built up static charges.ln the U.S.A. section 810 of the National Elec- trical Code, ANSI/NEPA No. 70-1S4, pro- vides information with respect to proper grounding of the mast and supporting struc- ture, grounding ol the lead-in wi.e to an anten- na discharge unit, size of grounding conduc tors, location of antenna-discharge unit, con nection to grounding electrodes, and re- quirements lor the grounding electrode. See Fis. A. a) Use No. 10 AWG (5.3 mm?) copper, No,8 AWG (8.4 mm,) aluminum, No. 17 AWG (1.0 mm'?) copper- clad steel, bronze wire, or larger as ground wire. b) Secure antenna lead-in and ground wires to house with stand-off insulators spaced from 4 {eet (1.22 meters) to 6 feet (1.83 meters) apaft. ci Mount antenna discharge unit as closely as possible to where lead in enters house. d) Use jumper wire not smaller than No.6 AwG (13.3 mm'l) copper or equivalent when separate antenna-ground ing electrode is used. CFOUND NG ELECTROOE SYSI€M re I nreoo' mera wsrer orFl FIG.A IMPORTANT 1 CAUTION The lightning flash with arrowhead, within an equilateral triangle, is intended to alen the user of the presence of uninsulated "dangerous voltage" within the product's enclosure that may be o{ sufficient magnitude to constitute a risk of electric shock to persons. CAUTIONITO PREVENT THE NISK OF ELECTRIC SHOCK, DO NOT REMOVE COVER (OR BACK). NO USER. SERVICEABLE PARTS INSIDE, BEFER SERVIC, ING TO OUALIFIED SERVICE PERSONNEL. The exclamation point within an equilateral triangle is intended to aleit rhe user of the presence of important operating and maintenance (seruicingi instructions in the literature accompanying the appliance. IMPORTANT 2 lf the apparatus is titted with AC mains power ourler(s), e€ REAR PANEL FACILITIES for conv€nisnt connec- tion of sdditional Hi-Fi component(s), Mako all connec- tions to the AC outl€r(sl 8nd the signal terminals fi6t. Connect the plug to ths wsll sck€t last, make sure thal the pow€r switch is oft. Disconnect th€ wall plug when th€ squipm€nt is not in (regulsr) ue, a,g. whan on vacation. FOR USE IN THE UNITED KINGDOM The wires in this mains lead are colour€d in sccordance with th€ lollowing code:Elue: N€utral Brown: Live As the colouE of the wires in the mains l€ad of this ap- paratus may not corraspond with the coloured marking id€ntifying the tsrminals in your plug proceed as follows:The wire which is colourod blue must be conntrted to th€ torminal which is marked with th€ l6nsr N or col- oursd black. The wir€ which is coloursd brown must be connecled to th€ tsrminal which is marked with the l€tter L or col- ourd red, Equipmcnt sold in tho U.K. is not euppliod wlth a powrr plug. 2
Page 2
REAR PANEL FACILITIES Depending on the point of destination, the rear panel ter- minals and switches differ as follows: e FM 75 Ohm antenna terminal Connect an FM antenna using 75 ohm coaxial cable. @ AfU loop antenna terminal Use for connecting the accessory AM loop antenna, an exter- nal AM antenna and for making antenna ground connections. @ aru STEREo ouTpUT jack (KU and KC models only) This jack is for AM stereo broadcasts. When listening to the AM stereo broadcasts, connect the adaptor component to this jack. For further details, refer to the the operating instrctions of the AM stereo adaptor component. @ FM DE-EMPHASIS switch (S, S/G and SS models only) This switch is used to select the De-emphasis value. Before the tuner leaves the manufacturing factory, it is set to the Deem- phasis of the tuner's destination. For the United States and Canada, it is set to 75 ps. Check that the switch is set properly before use. lf the switch is set to the wrong position, the high- frequencies will sound unnatural during the reception of an FM broadcast. Contact your dealer and inquire if you are not sure about the Deemphasis in your area. @ llrue voLTAGE SELECToR switch (S, S/G and SS models only) Refer to the front page about switching LINE VOLTAGE SELECTOR. @ cHnruruEL STEP switch (S,S/G and SS models only) This switch is located only on the rear panel of the models listed above. Before leaving the factory, this switch is set to match the channel allocation of the area in which the unit is sold. lf this switch is set to the incorrect position, the numbers of the reception frequency display will not stop. ln order to assure that this doesn't happen, check the setting of the switch before using the unit. 100/10 kHz side: Areas in which FM is allocated at 0.1 MHz increments, and AM at 10 kHz increments. 50/9 kHz side: Areas in which FM is allocated at 0.05 MHz increments and AM at 9 kHz increments. NOTE:lf unclear about the channel allocation in your area, consult your dealer. @ OUTPUT terminal KU and KC models HE, HB andHEZ models S, SS and S/G models 3