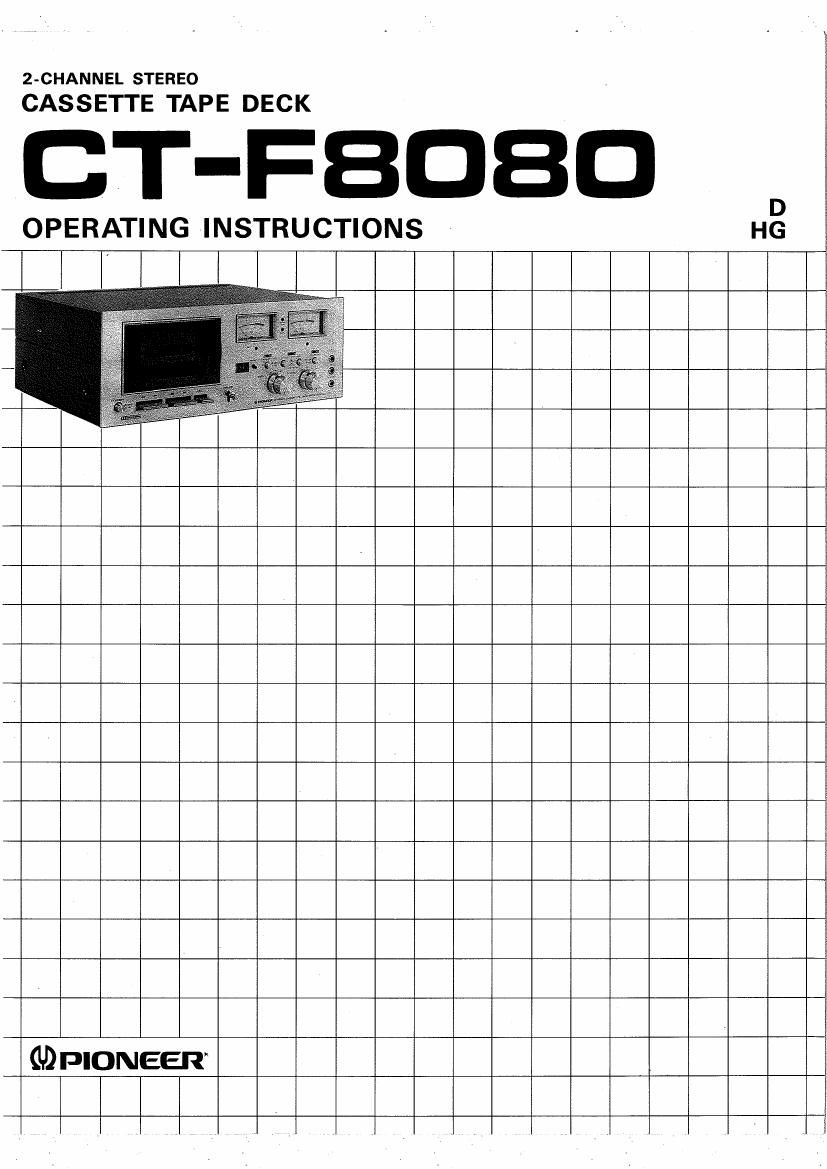
Pioneer ctf 8080 owners manual
This is the 20 pages manual for pioneer ctf 8080 owners manual.
Read or download the pdf for free. If you want to contribute, please upload pdfs to audioservicemanuals.wetransfer.com.
Extracted text from pioneer ctf 8080 owners manual (Ocr-read)
Page 2
CONTENTS
Line Voltage and Rear Panels ............ 2
Features ........................... 3
Front Panel Facilities .................. 4
Connection Diagram ................... 6
Type of Cassette Tapes ................. 7
Basic Operation ....................... 8
Recording Steps ...................... 10
Recording via Microphones .............. 12
Other Recording Techniques ............. 12
Playback Steps ....................... 13
Operation with Timer .................. 14
Maintenance ......................... 15
Employing Dolby System ............... 16
Trouble? Please Check ................. 17
Specifications ....................... 18
Schematic Diagram .............. Insertion
LINE VOLTAGE AND REAR
PANELS
CT-F8080 are designed to accept different line
voltages, according to the country in which they
are to be used, although the operation of the
various models is the same in every respect. Fig. A
shows the model designed to operate at any of two
pre-selected voltages (220V, 240V).
Fig. B shows the model designed to operate at any
of three selected voltages (120V, 220V, 240V).
Line voltage and fuse can be changed and set as
follows:
220V and 240V MODEL
Changing line voltage setting (Fig. C)
1.
. 2.
3.
4
5
Disconnect the AC. mains cord.
Use a Phillips screwdriver to take out the VOL-
TAGE SELECTOR plug locking screw.
Pull out the VOLTAGE SELECTOR plug from
the socket.
. Rotate the plug until the cutway aligns with the
appropriate line voltage marker on the back of
the unit, and then replace it in the socket.
. Replace the fuse and FUSE CAP.
120V, 220Vand 240V MODEL
Changing line voltage and fuse setting (Fig. C)
1.
. Use a Phillips screwdriver to take out the FUSE
2
3.
0'30!
Disconnect the AC. mains cord.
CAP and fuse.
Pull out the VOLTAGE SELECTOR plug from
the socket.
.Put the selector plug back so that the appro-
priate line voltage marking can be seen through
the cut in the edge of the plug.
. Change the fuse in accordance with the table.
. Replace the fuse and FUSE CAP.
220V, 240V model Rear Panel
Fig. A
«w\
PHILLIPS socx
SCREWDRIVER - ET
QR PLUG
" FUSE
FUSE CAP
Table Fig C
VOLTAGE FUSE
120V 1.2A
220V
240V SOOmA